Capture One Vignetting
The Capture One Vignetting tool is a very simple but versatile tool and easy to use. It allows you to add a specific mood to the image. By darkening the corners the onlooker is drawn into your image.
Capture One Vignetting
With the Capture One Vignetting tool, you can darken or brighten the corners and edges of your image. Most of the time I use a negative value to darken the corners to create a specific mood and focus the attention to the brighter center of the image. With a positive adjustment, you can correct vignetting from the lens too. Note, however, that the Lens Correction tool might be better suited to do that.
The Vignetting tool is basically an exposure adjustment. In contrast to the regular Exposure slider, the Vignetting tool works in a concentric way. The corners are affected the most, next to the edges and the center is least affected. Color and contrast are not affected.
As a result, I prefer to set the Vignetting adjustment in conjunction with the Exposure adjustment and cropping before I make adjustments with Levels and Curve tools as these are affected by exposure adjustments.
A Slider And A Drop-Down List
As noted the tool is pretty straightforward in its design and use but there might be more to it than expected.
With the slider, you control the amount of vignetting. You can make either a negative or positive adjustment, making corners darker or brighter respectively. The adjustments range is up to -/+ 4.00 EV or stops, which allows you to make quite extreme effects.
You can select the desired Method from a drop-down list. There are three methods to choose from:
- Elliptic on Crop
the vignette has an elliptic shape and takes the crop into account; this is the default and probably the most used option - Circular on Crop
the vignette has a circular shape and takes the crop into account; for when you prefer a different shape for the vignette - Circular
the vignette has a circular shape around the full image, whether you crop the image or not; for mimicking or compensating for lens vignetting.
The Elliptic method is visually the most pleasing option, plus cropping aware and therefore the default for the tool.
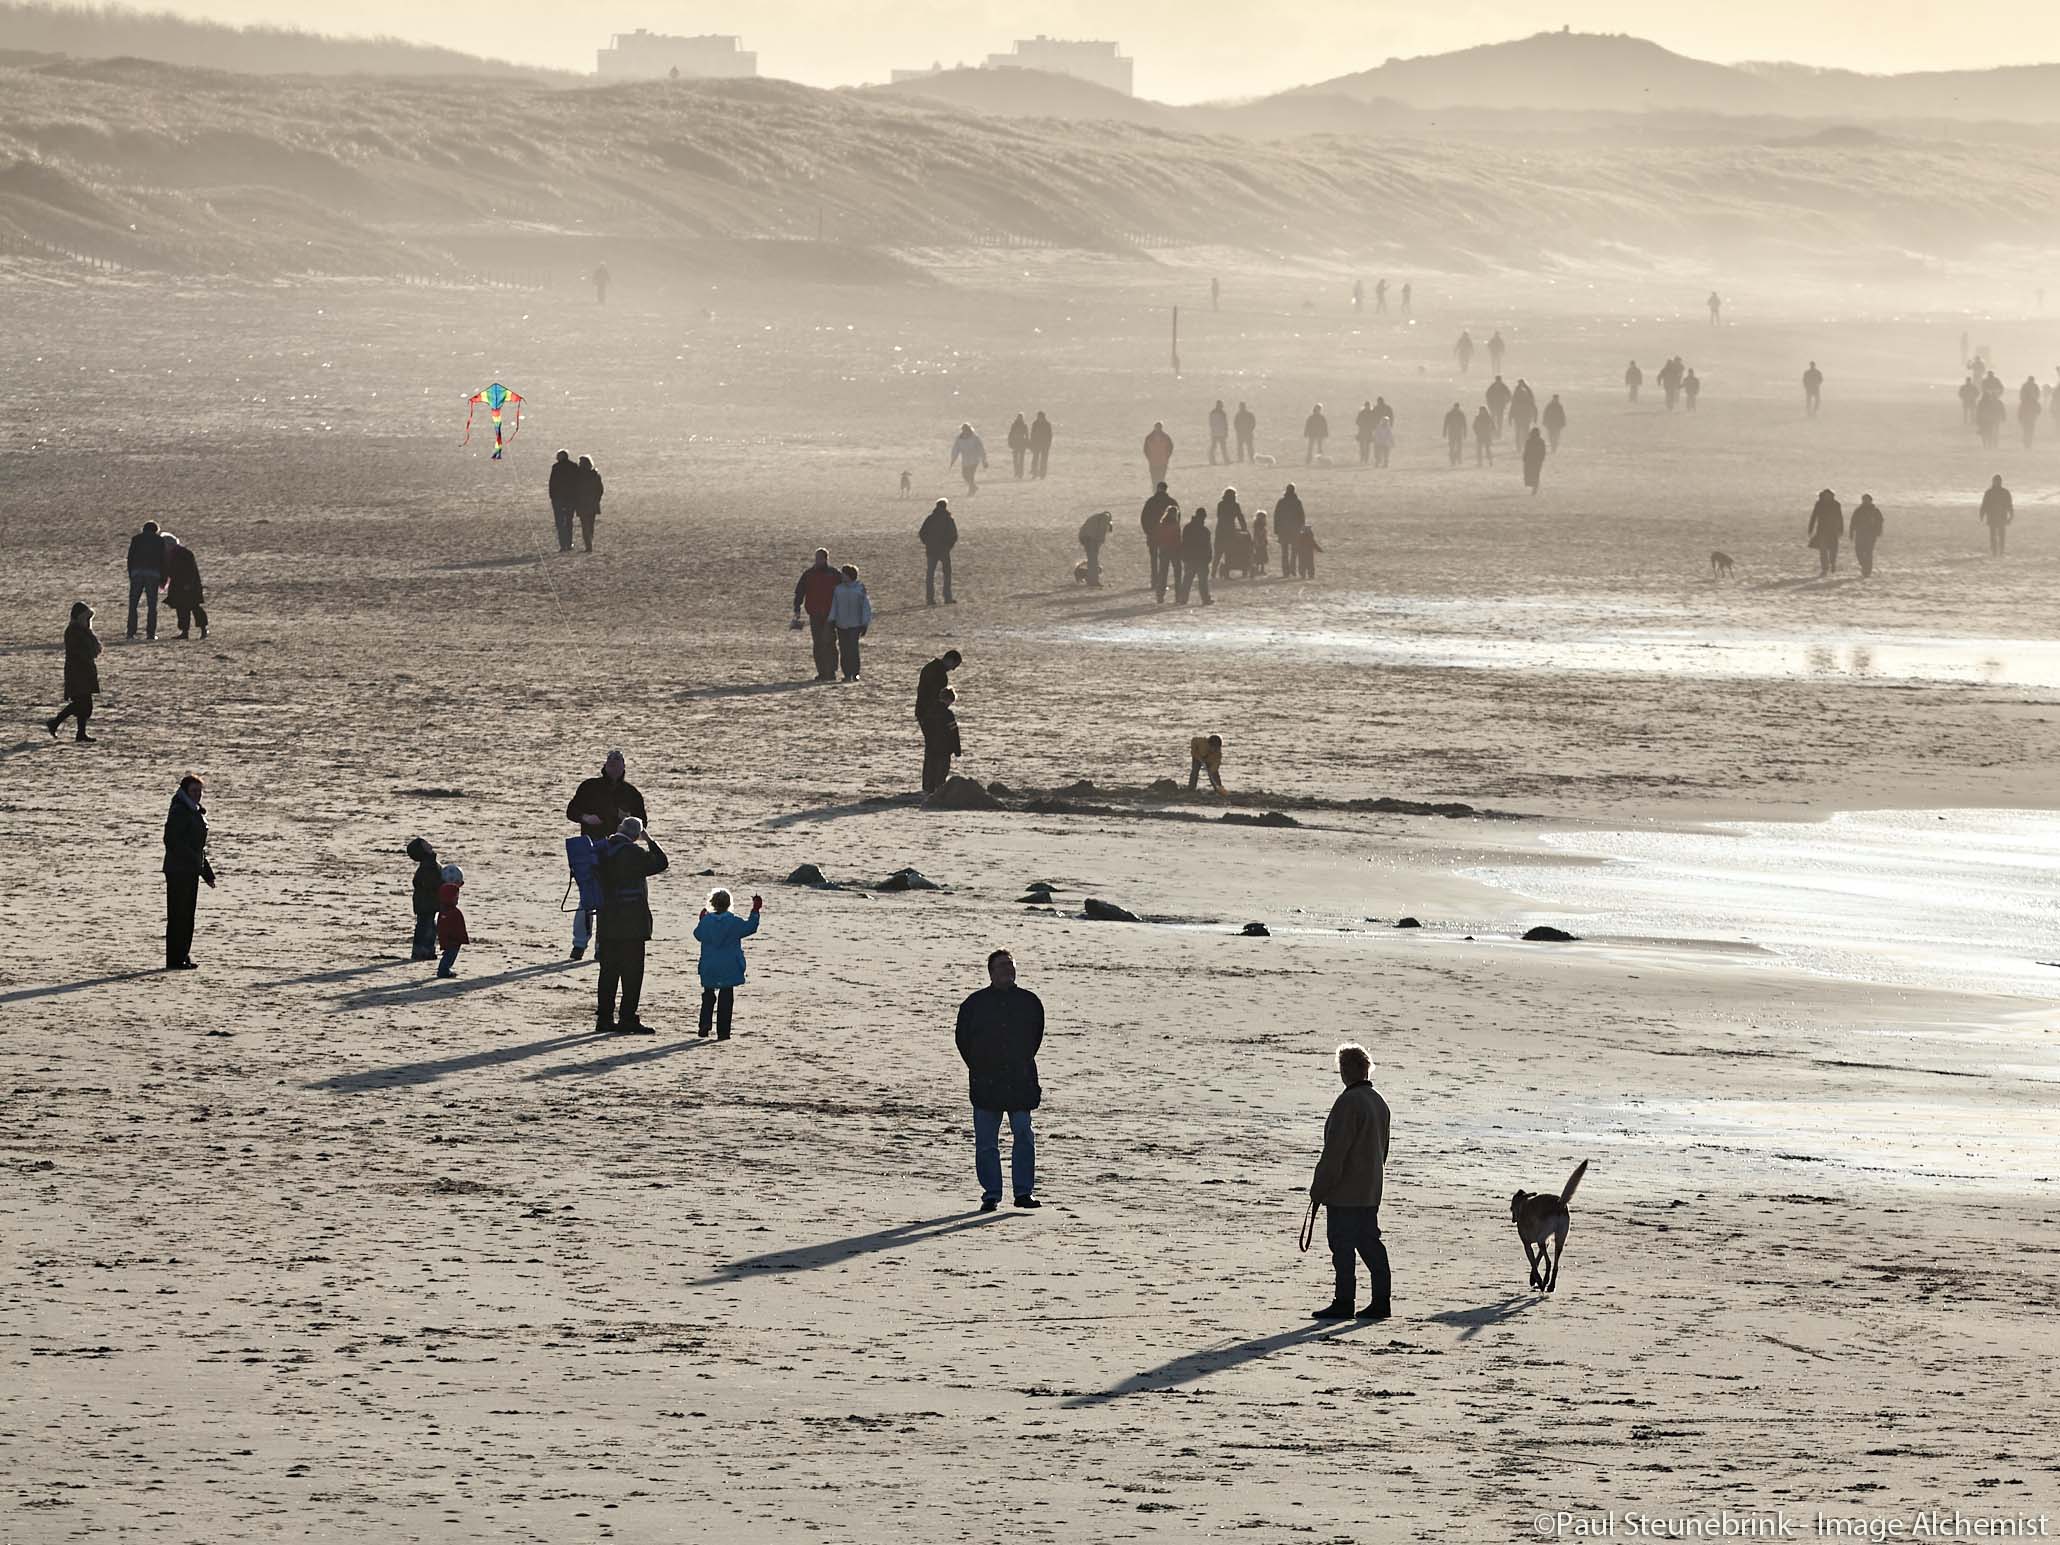
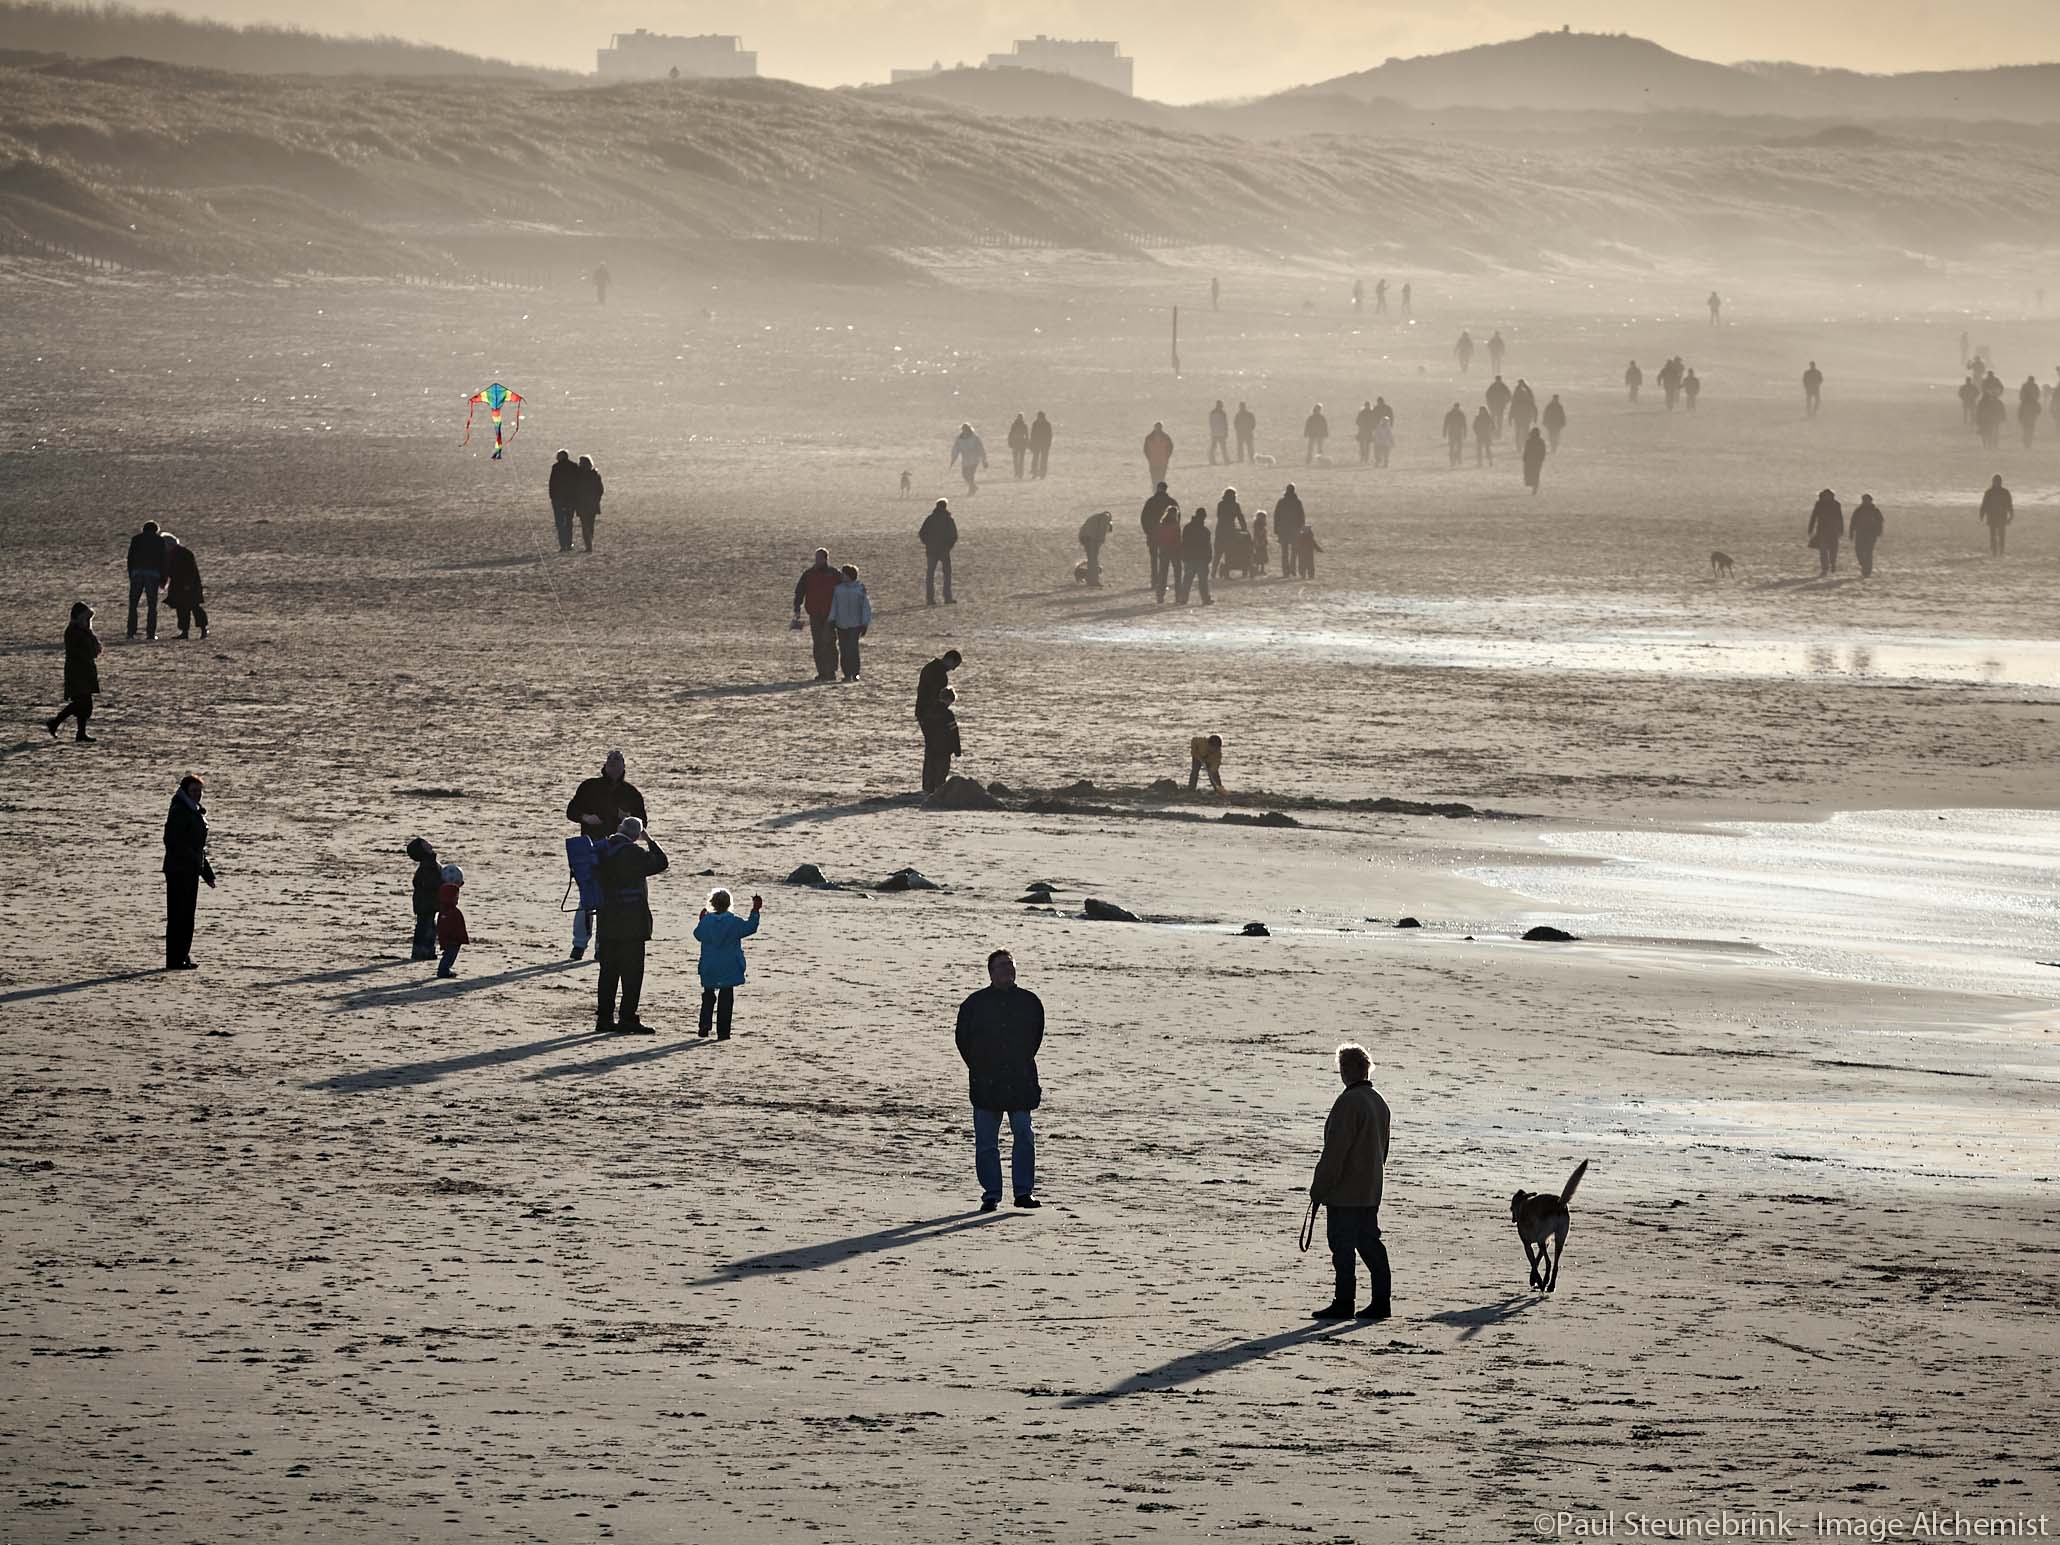
Below you see the main image again at the right (after) with the vignette. On the left, you see the same image without vignette.


While you move the vertical separator you might notice that in the center the difference in the center is small and that it increases towards the edges and corners.
Experience the different mood or atmosphere of the two images by dragging the vertical line towards the most left and right positions.
Adjustments Layers
I like to make two remarks regarding Vignetting and Adjustments Layers in Capture One. First, the Vignetting tool does not work on layers. This means that even when an adjustments layer is selected you can use the Vignetting tool and it will work on the Background layer.
Second, I suggest setting your vignette first (on the background layer) first before you start working on adjustments layers. I might save you a layer or it might have an impact on what you might mask and adjust in any layer.
Third, in case you like a vignette kind of adjustment in a way the Vignetting tool can not deliver, the Adjustments Layer tool is your best friend. In short, the workflow is like this:
- on a layer create a mask in the shape of a spot (circle, ellipse or any shape you need) and with the desired softness on that part of the image you do not want to be affected!
- next, invert the mask and set the Exposure adjustment for that layer; done!
Note that I plan to discuss Adjustments Layers later this year in a separate blog.
Vignetting Presets
Confession: the Vignetting Presets were the first I created. I always use the presets for this tool instead of the sliders and the drop-down list because I find it much more convenient. I used them for several years before I started making more presets for other tools which you can find in the webshop.
The Vignetting presets for Capture One contain three series of presets, one series for each method. Note that you can change the method any time after you applied a preset and vice versa.
What I find so convenient about these presets is that I can hover the mouse over the list while looking at the image to preview the effect. I only need to click when I see a result I like. Done. It is also very easy to switch to another method – from Elliptic to Circular – and walk through the entire range again.
By enabling stacking I can build an adjustment history. Each consecutive applied preset – say, you changed your mind – is overriding the previous but previous presets are stored in a stack, ready to retrieve when you have second thoughts.
Don’t forget to try the free trial first, which you can find on the same download page in the webshop as the full package.
Thank you
For reading. Please feel free to leave a comment. Like us on Facebook or subscribe to our newsletter to stay informed about new blogs.
Best Regards,
Image Alchemist


Hi. I’m new to CO and wondering if there is a simple way to locate the centre of the vignette?
Hi James, the centre of the image is also the centre of the vignette. In case of a cropped image I assume you use a vignette method that takes the crop into account.
Best, Paul