Capture One Curve (part 2)
We continue where we left in Capture One Curve part 1 and dive deeper into the world of the Curve tool. Curve points support manual control. Endpoints mimic the Levels tool. Color channels for removing or creating color cast. Presets for making easy, fast and precise adjustments.
Capture One Curve Tool
The basic function of the Capture One Curve tool is to darken or brighten selected tonal values, like shadows, mid-tones or highlights. You can do this manually or controlled with presets. I will discuss both methods.
Curve Points
For manual control, you need one or more Curve Points.
Before I start dragging the curve up or down I like to:
- link the brightness of a specific area in the image to a position on the curve
- create one or multiple control handles to drag the curve with mouse or arrow keys on the keyboard
This ensures me I am correcting the right values in the image.
Curve Point Pickers
The Curve Point picker is a cursor tool. It gives the mouse cursor a specific shape and function. It lets you create Curve Points on the Curve related to a selected area in the image.
You can find the cursor tools in the button bar at the top of your screen or at the Curve tool, bottom right. There are two different pickers for the RGB and the Luma channel respectively. Note that there is for both pickers a specific version for use with adjustments layers. I will discuss layers in a separate tutorial blog.
Both the RGB and the Luma channel come with their own Curve Point Picker and their respective cursor tool. Select the picker for the channel you like to use and hover over the image preview. Note that an orange vertical line on the curve tool represents the tonal value of the cursor’s position in the image.
The line changes position when you move your mouse over the image according to the brightness of the area in the image the mouse is hovering.
Curve Point
When you have selected the area to adjust click with the mouse to create a Curve Point. See the square symbol on the curve. You now have linked the tonal value of an area in your image to a point on the curve. You can create multiple curve points for finer adjustments.
Adjust the curve by changing the position of the curve point. When you select a curve point, it becomes solid. This means it will respond to the cursor keys for moving it up, down, left, or right for fine adjustments (-/+ 1). Optional, using the Shift+cursor keys moves the point in larger steps (-/+5).
Using the BackSpace key removes the selected curve point. Dragging a curve point to the end of the curve line also removes the point.
Tip: the screenshot above shows the built-in preset 5-point-AllChannels and is a great starting point for manual adjustments.
Endpoints
From Curve Points, it is a small step to Endpoints, an often overlooked feature of the Curve tool in Capture One. These are the curve points that by default exist at the end of the curve (bottom left, top right). You can move the Endpoints both in the horizontal and vertical directions.
Explaining what this does is easiest when I compare it to the Shadow and Highlight Levels of the Levels tool, and the Shadow and Highlight Target Levels of the same tool.
Horizontal Move
Moving the Shadow Endpoint of the Curve to the right is similar to setting your Shadow Level in the Levels tool. This determines which level will be the darkest in the image.
Moving the Curve tool’s Shadow Endpoint to the right will map the selected level, 10 for instance, to 0 (zero) on output.
The same is true for the Highlight Endpoint in the Curve tool and the Highlight Level in the Levels tool. Moving the Curve tool’s Highlight Endpoint to the left will map the selected level, 245 for instance, to 255 on output.
Important Note
The screenshots above and below of the Levels and Curve tool are to illustrate the similarity between these tool’s features. It is explicitly not meant to demonstrate that you should use both adjustments in the same image. Either use the Levels or the Curve tool for these endpoint adjustments.
Vertical Move
I can play the same tune for moving the Curve’s endpoint vertically. This is similar to the Target Levels in the Levels tool.
Like Target Levels a vertical shift of the curve’s endpoint determines how dark the darkest part is on output and how bright the brightest.
Wrap Up Endpoints
Is there any preference for whether you should use the Levels or Curve tool for moving endpoints? The Levels tool has an Auto Adjust setting, with adjustable thresholds, which makes it faster to work with. It also can auto-adjust respective color channels.
The Curve tool endpoints, on the other hand, are always adjusted manually. However, with Curve you can decide whether you like to work with the RGB or Luma curve.
Please note that with Curve endpoints you can freely move then around, combining horizontal and vertical adjustments.
Color Channels
Sometimes I get the question of what the purpose of the Color Channel curves is. Basically, it is simple. There are two applications:
- introducing the desired color cast
- remove an unwanted color cast
I will discuss both below.
Introducing Color Cast
Since the rework of the Color Balance tool in Capture One Pro 8.2, I think that this tool is the preferred method for creating a specific mood with a color cast. The reason for that is that with the Color Balance tool you can select the color you like to add and you have easy control over hue and saturation.
With the Curve tool, you have only three color channels and you have to now the complementary colors of red, green, and blue to be able to mix them successfully and make the proper adjustment.
I will discuss the Color Balance tool separately later, but in short with three color circles for Shadows, Midtones, and Highlights respectively, it is so much easier to control your effort. You should definitely check out the presets, either free or paid, that I made for this tool.
Removing Color Cast
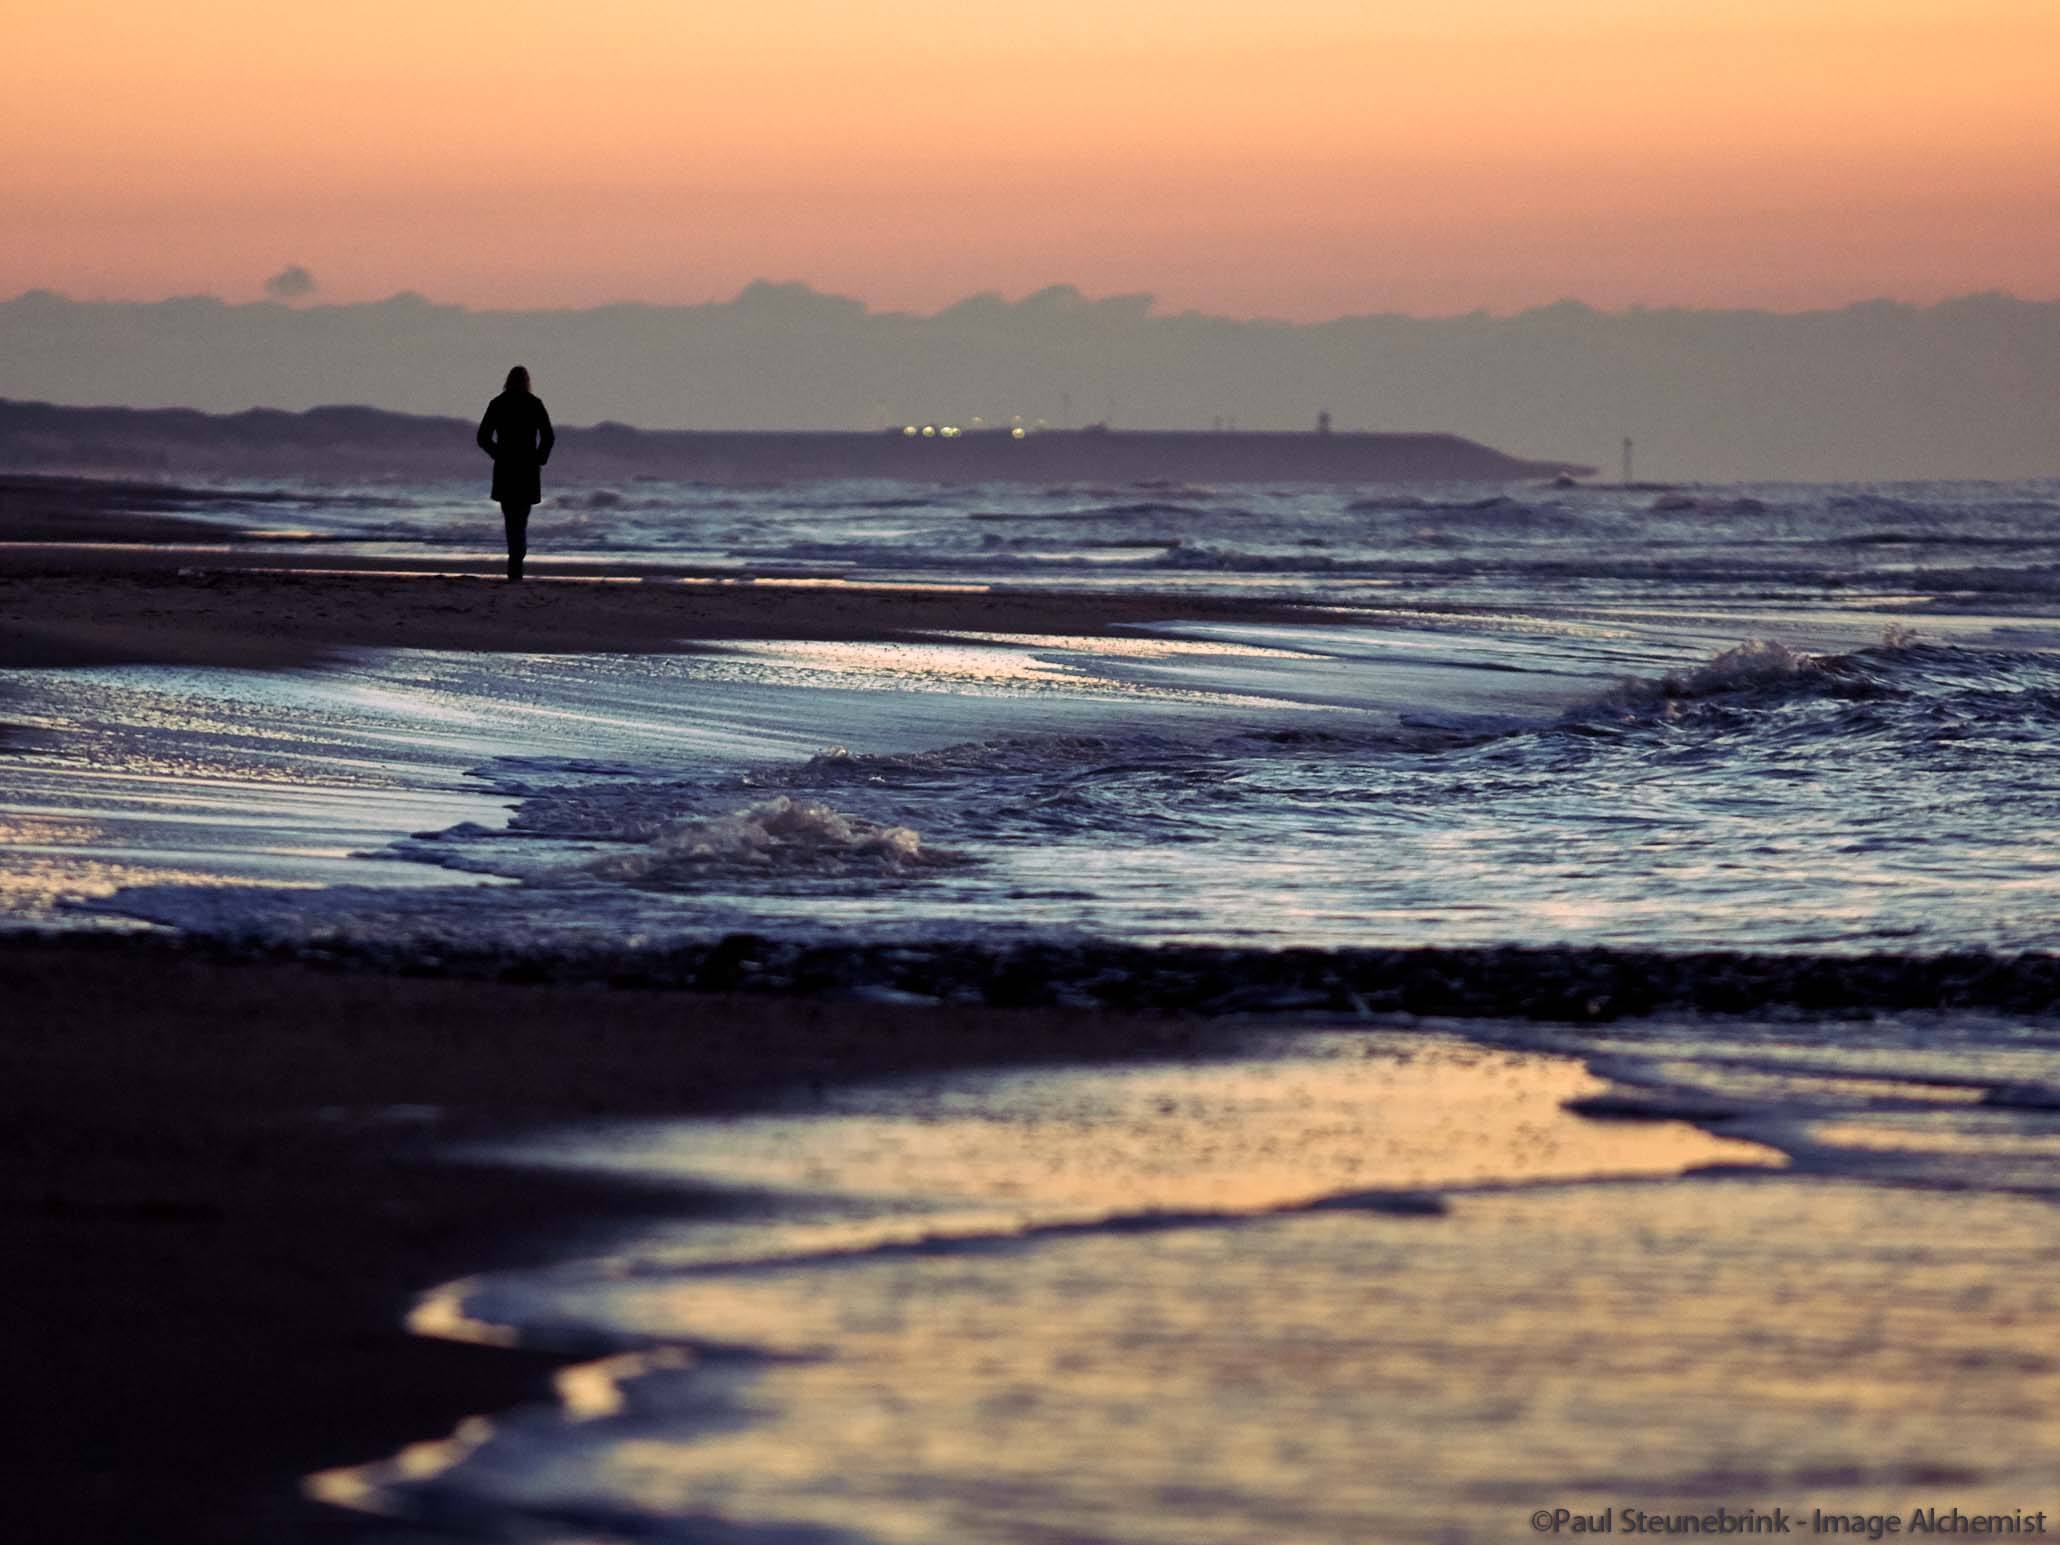
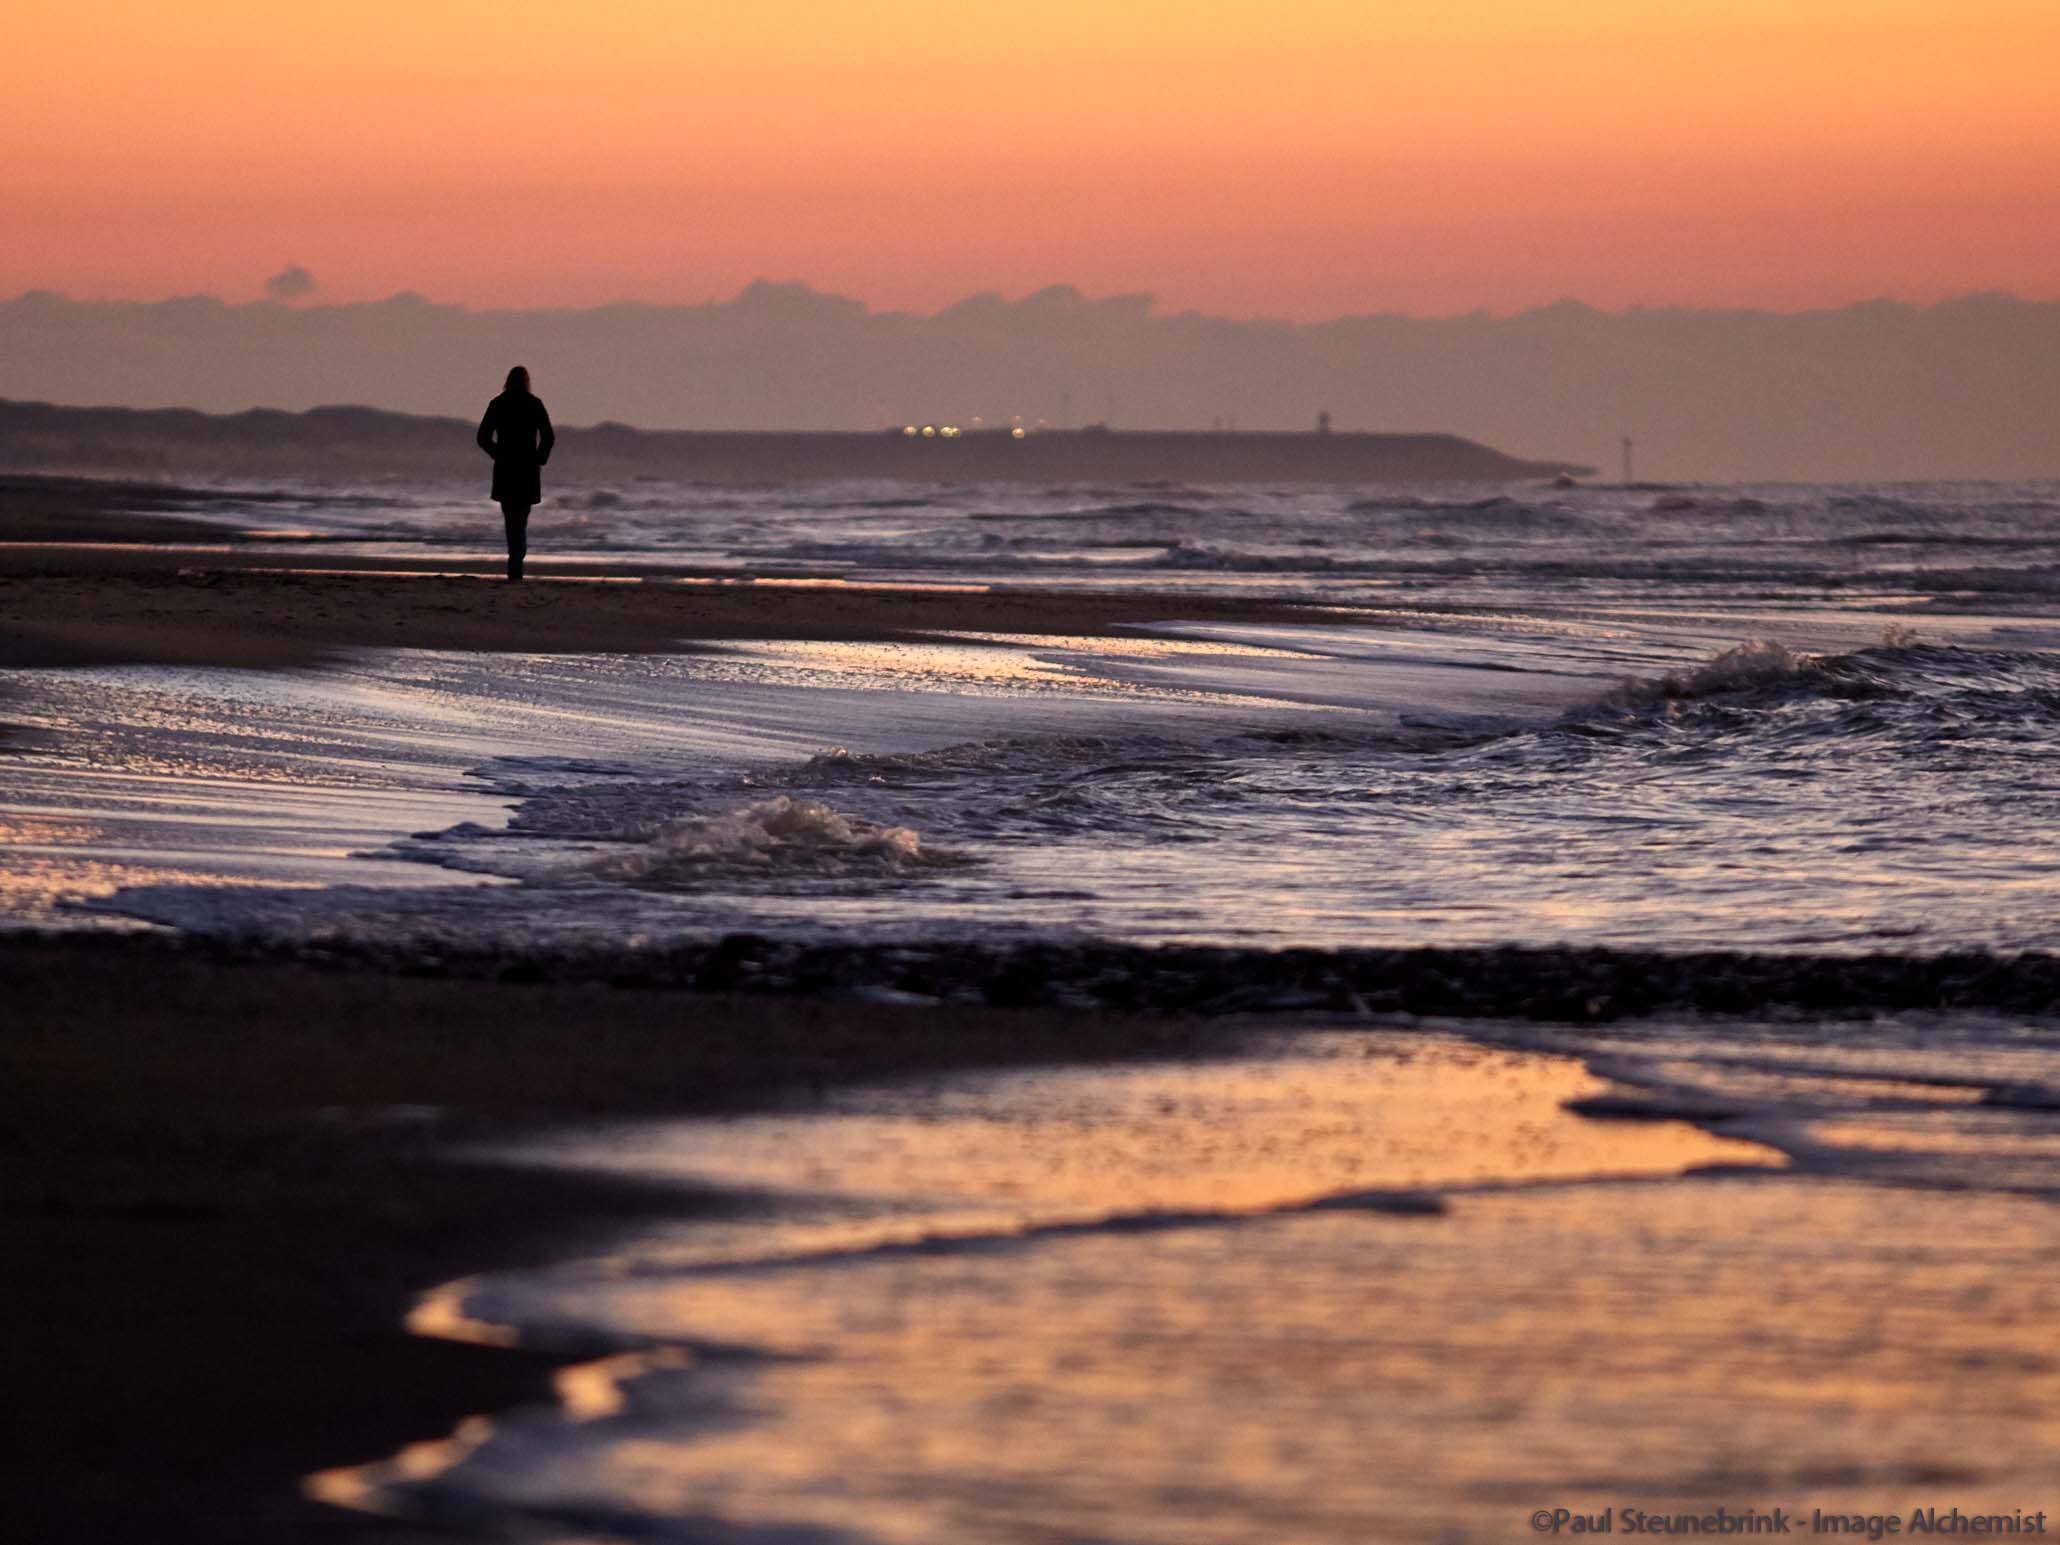
For removing a color cast however either the Curve or the Levels tool is the way to go, at least that is what I prefer. Below I show you an example with a Before-After comparison.

Examples of an unwanted color cast you would like to remove are:
- an overall green cast in a botanical garden,
- a bluish cast in a shadow area,
- a color cast from a colored wall, car or another reflecting object, or
- an image made with colored light, like on stage or a sunset.
I corrected the sunset image in this blog with four different Curve adjustments, for the Luma channel and the three color channels respectively.
For all the adjustments I used the presets that I discuss below. Please note that only with these presets you can individually adjust the curve channels. Regular presets save the curve positions of all channels which prevents you from controlling them individually.
This is how the preset menu looks like after I made the adjustments:
The bottom line is that with Curve’s color channels you can adjust any color cast in shadow, mid-tone or highlight area of the image.
Curve Presets
Now that you have a deeper understanding of the Curve tool in Capture One, you like to use start using it or use it more than ever before. The best way to get the max out of this tool is the use of presets. With presets, you can quickly apply a curve from a range of predefined settings.

The screenshot above gives you an impression of the Curve presets for the RGB and Luma curve. It is a set of 376 presets, 186 for each channel. For each channel you get presets for changing:
- contrast
- shadows
- mid-tone
- highlights
- source endpoints
- target endpoints
You can combine presets for different channels (currently Mac only).

A second set, Capture One Curve Channels, provides similar presets for the Red, Green, and Blue channels respectively with a total of 558 presets.
Last but not least the Preset Collection Exposure includes all tools from the Exposure tool tab and includes the tools Exposure, High Dynamic Range, Levels, Curve, Clarity, and Vignetting for a discounted price.
Thank you
For reading. Please feel free to leave a comment. Like us on Facebook or subscribe to our newsletter to stay informed about new blogs.
Best Regards,
Image Alchemist





Leave a Reply
Want to join the discussion?Feel free to contribute!