Capture One Clarity
With Capture One Clarity the magic comes into your image adjustments workflow. The tool has many ways to change the micro contrast of your image. In terms of contrast and detail it sits between the regular Contrast tool and the Sharpening tool, which affects much smaller details.
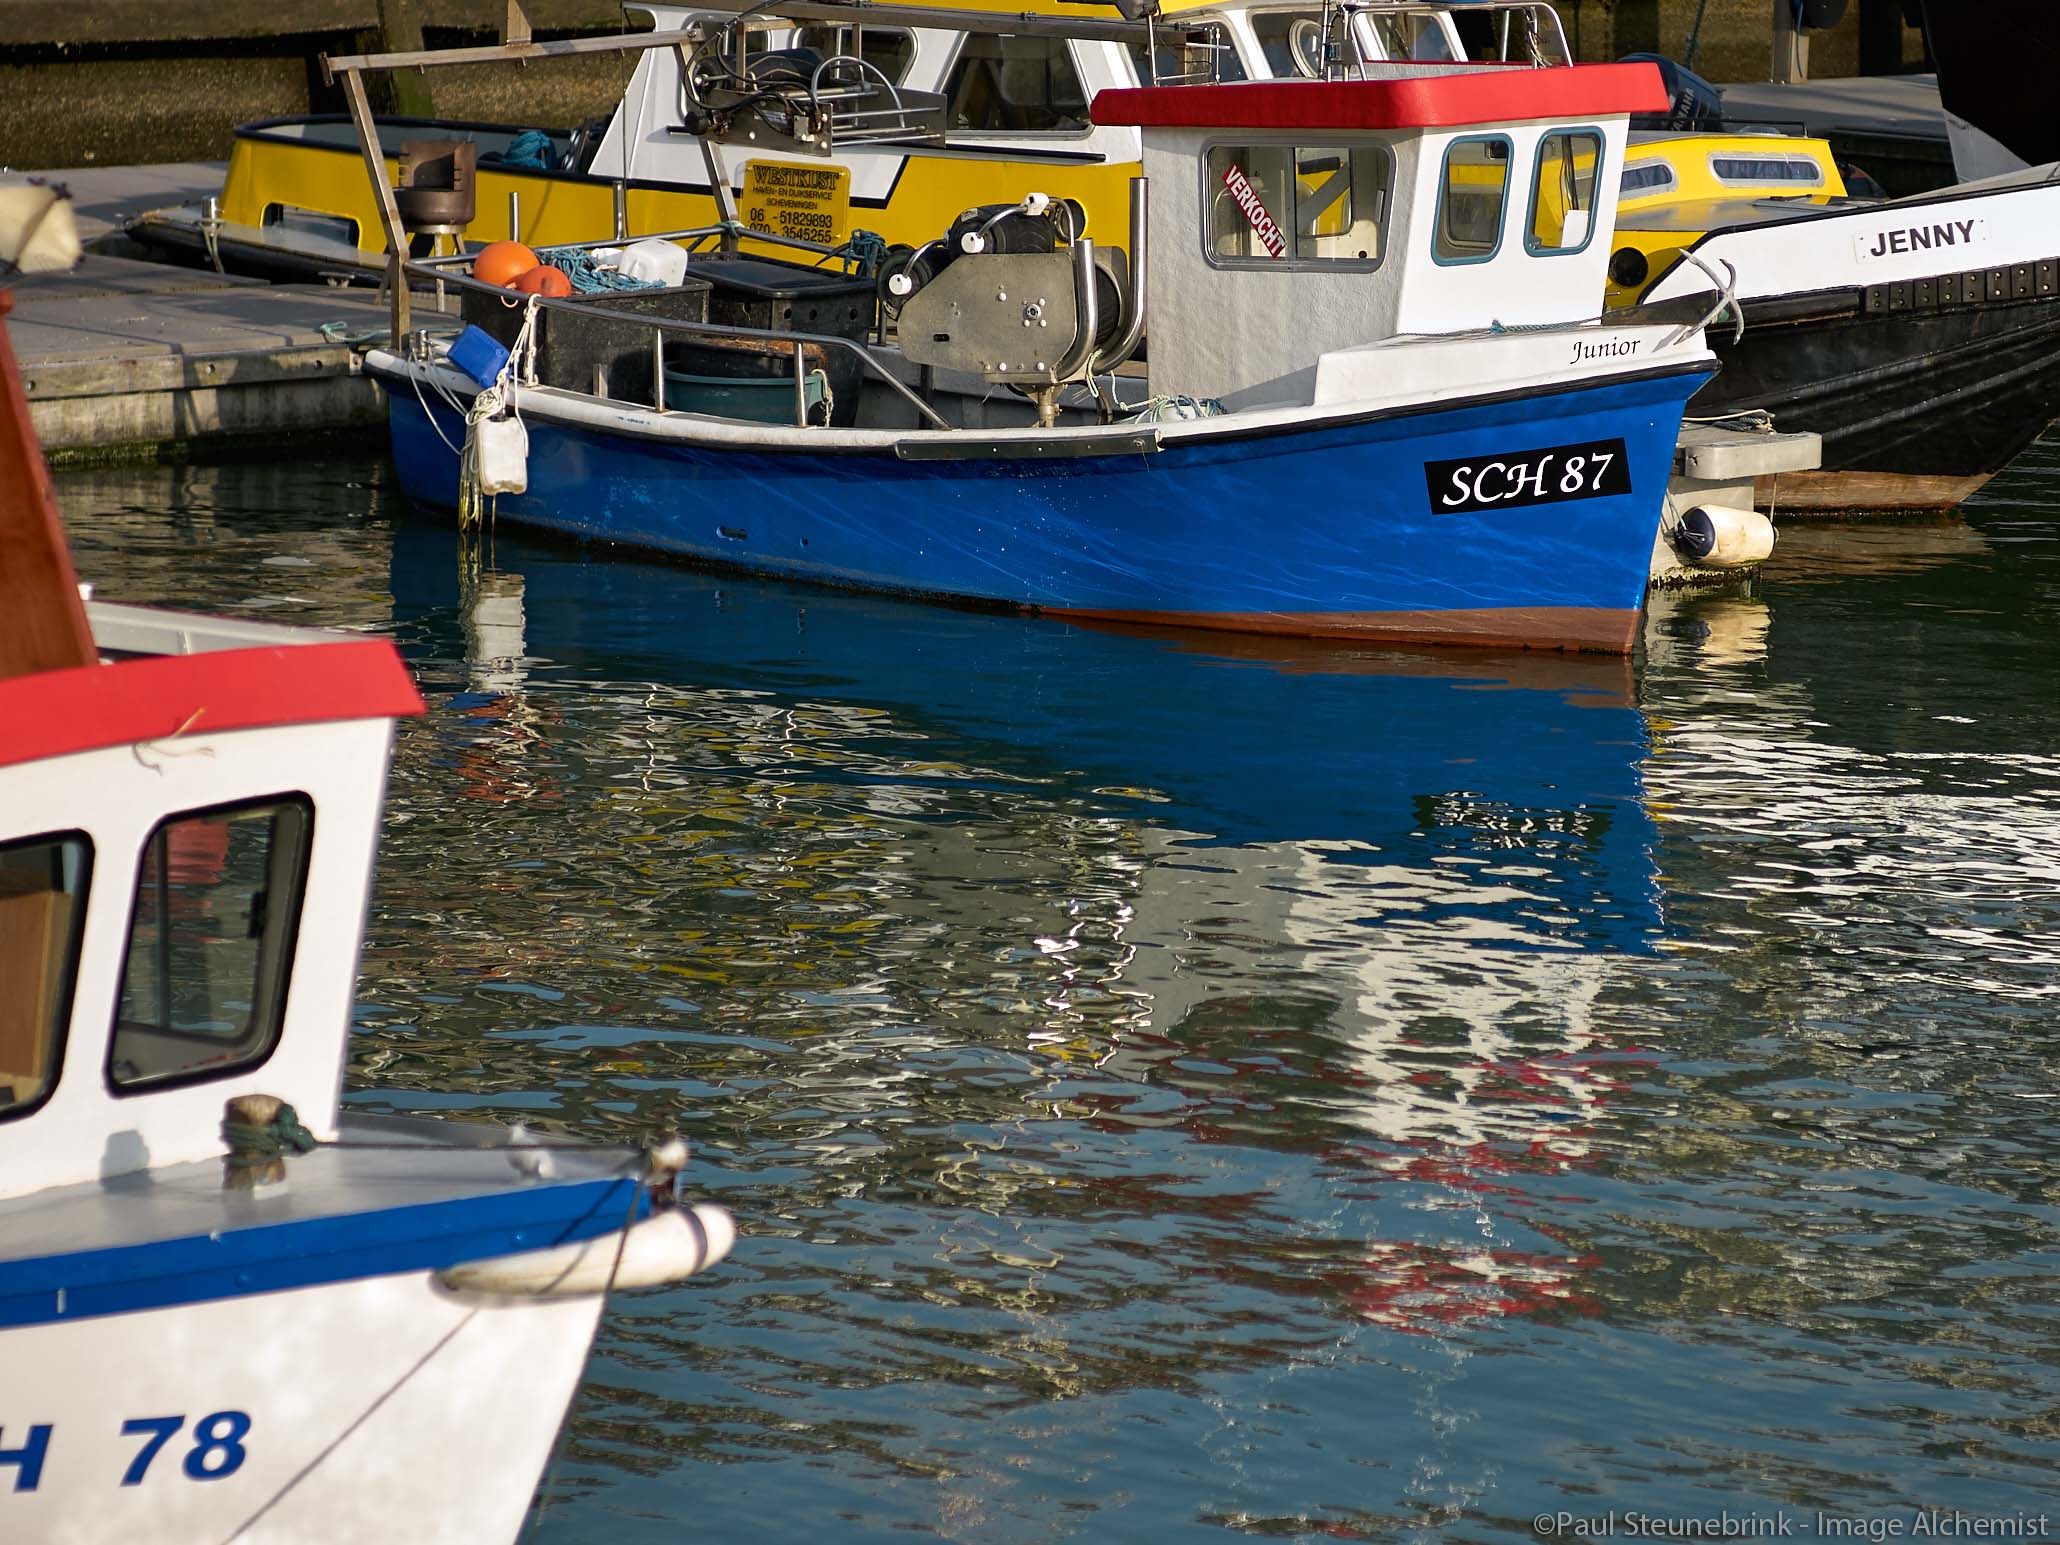
Capture One Clarity
The Clarity tool was introduced with Capture One Pro 5 and was an immediate hit. It had only a single slider and a range from -100 to +100 as today. In Capture One Pro 6 the tool remained unchanged but it introduced the local adjustments layers and Clarity was one tool to use it with. Capture One Pro 7 introduced different Clarity methods: Neutral, Punch, and Classic plus a separate slider for Structure. Capture One 8 added the Natural Clarity method, which is now the default.
Two Sliders And A Drop-Down List
There are actually two parts in this tool now that you can use individually or combined. One setting is Clarity, that includes a method selector and an amount slider. The other setting is Structure, which has a slider only.
Note that the Method selection does not affect the Structure adjustment. It only affects how the Clarity adjustment works.
What Does It Do?
To give you a quick visual introduction of what the Clarity tool can do, please see the before/after comparison below. It is a -30 (before) and +30 (after) adjustment for both Neutral Clarity and Structure.
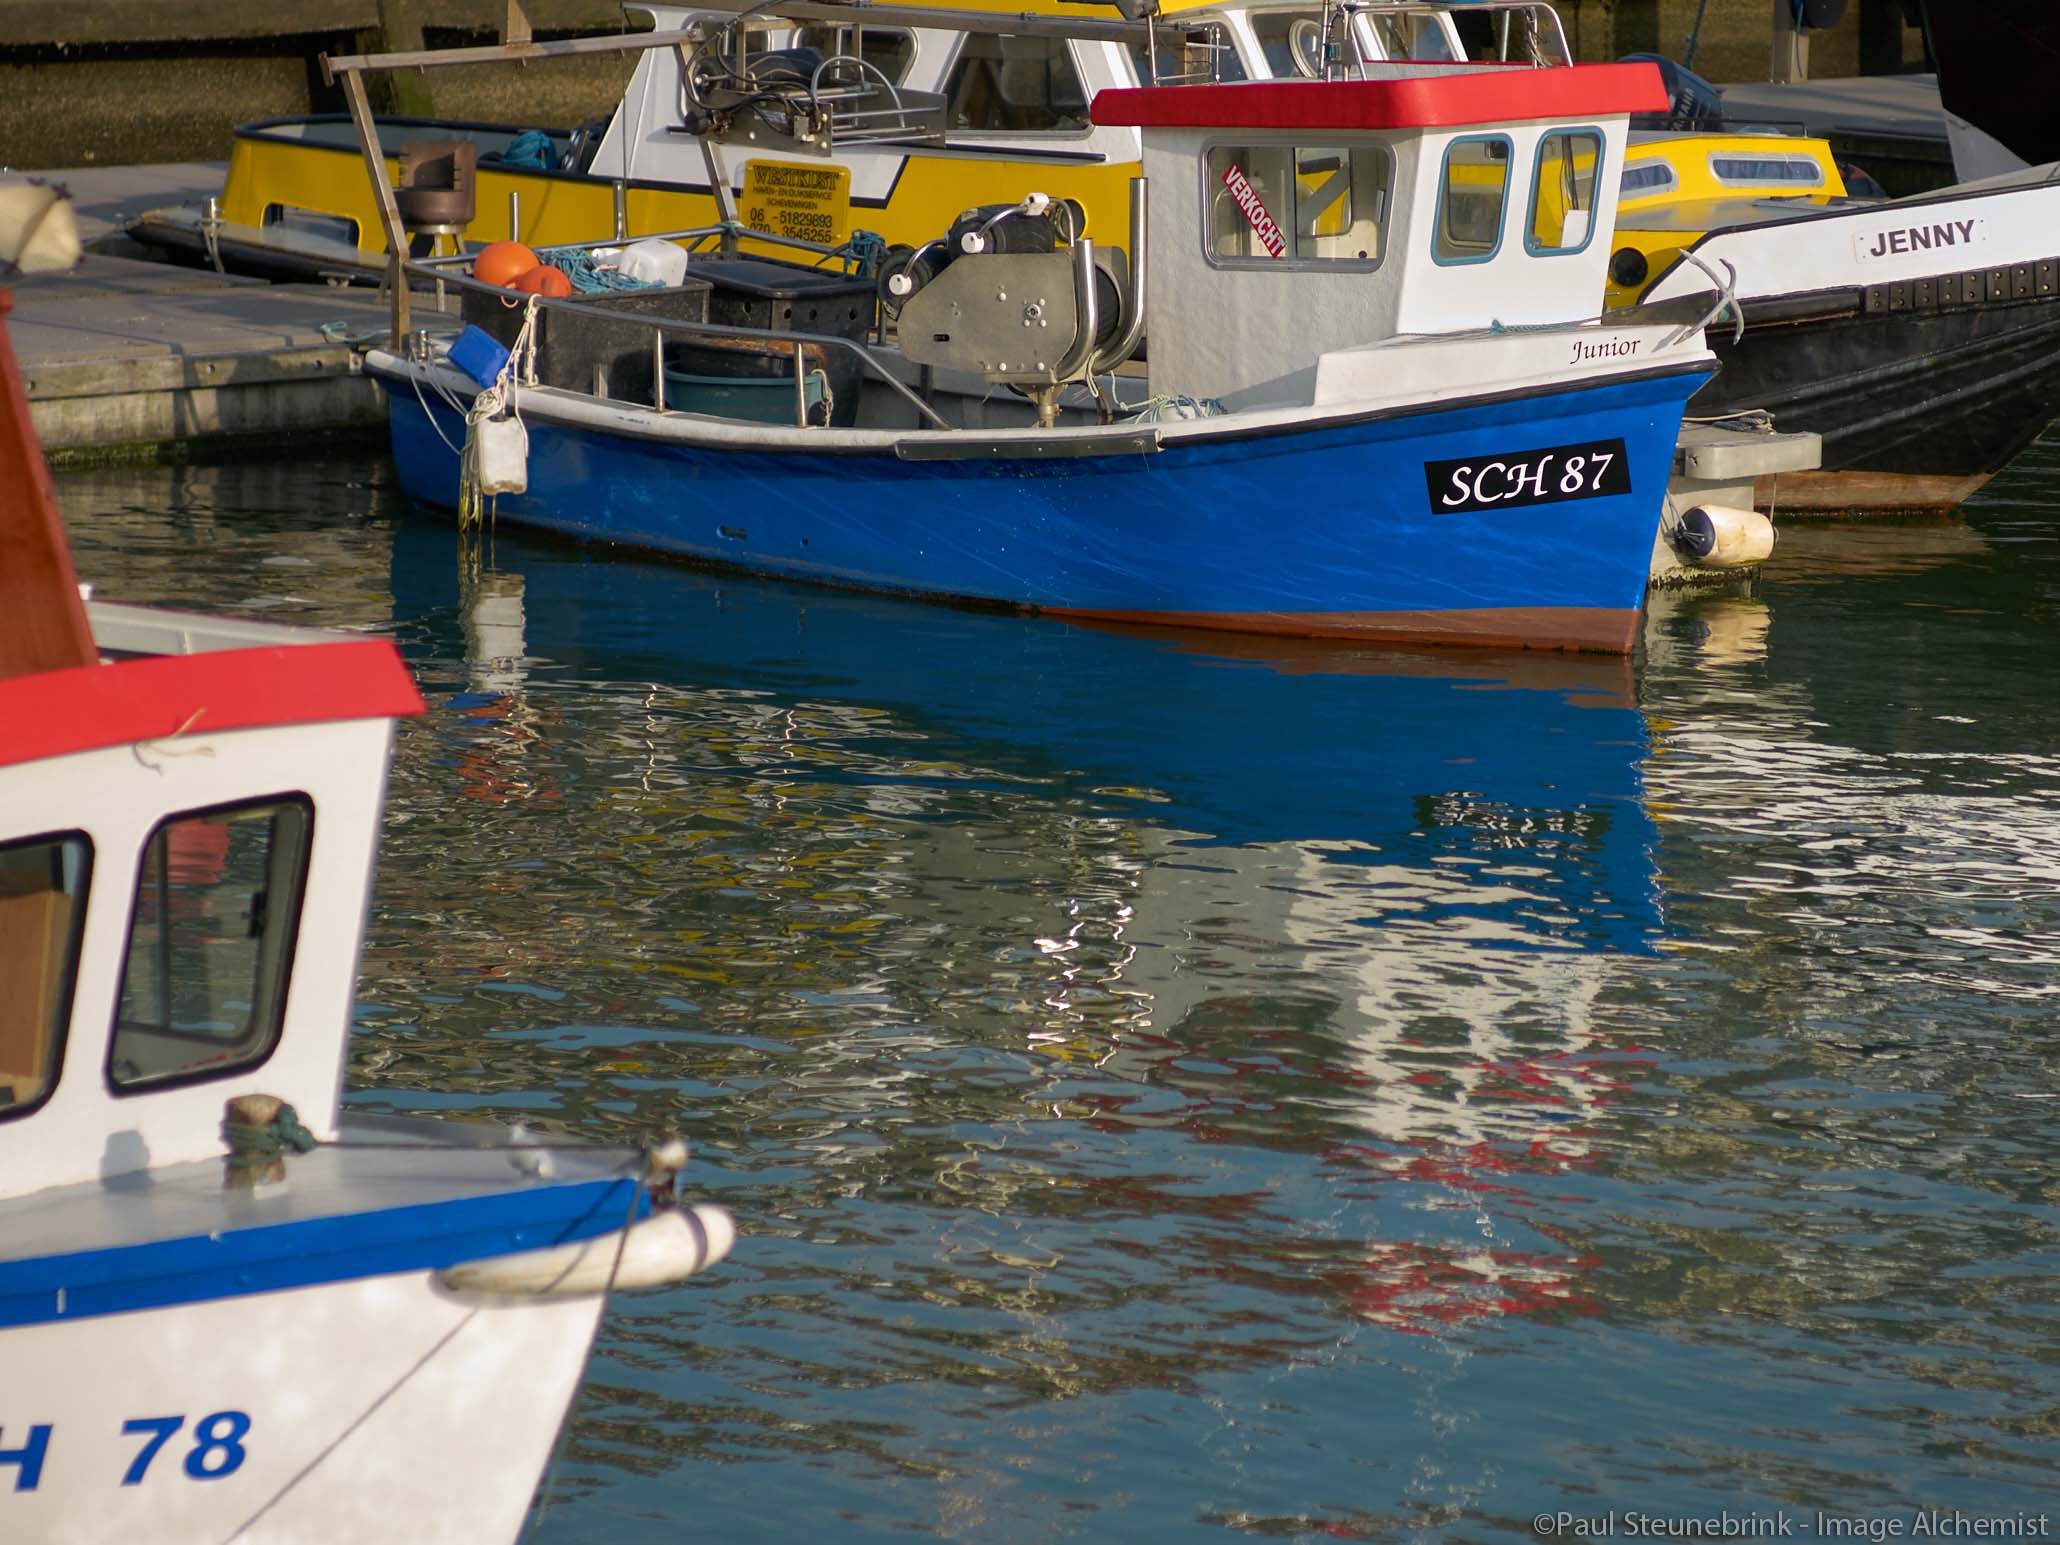

The Clarity setting strongly affects the surfaces, in particular the water. The Structure setting accentuates the lines and finer details, like on the boat.
Clarity Method And Amount
This is the main part of the tool. By selecting the kind (Method selector) and amount (Clarity slider) you determine the micro-contrast that is added to the image. By applying a negative value you remove clarity from the image.

The slider has a range of -100 to +100. There are four methods to choose from: Natural, Punch, Neutral, and Classic. I will discuss each below. All methods have this very distinct kind of 3-dimensional effect on the image so many photographers felt in love with from day one.
Classic Clarity
The Classic Clarity method comes from the original Clarity tool in Capture One 5 and 6. In particular for skin tones and texture like clothing the Classic Clarity method is still many photographer’s favorite. I think it is less suitable for architecture and landscape as it still looks dull for larger surfaces.
In the example below, you see a -50 and +50 Classic Clarity adjustment. You might want to combine both for different parts of the image (skin versus eyes). See for more details the Adjustments Layers section below.
Using a negative Classic Clarity value really softens the image and is often used for skin surfaces. A positive value of Classic Clarity has the advantage of keeping the highlights under control while making details like eyebrows more clear. It actually darkens the darker tones a bit.

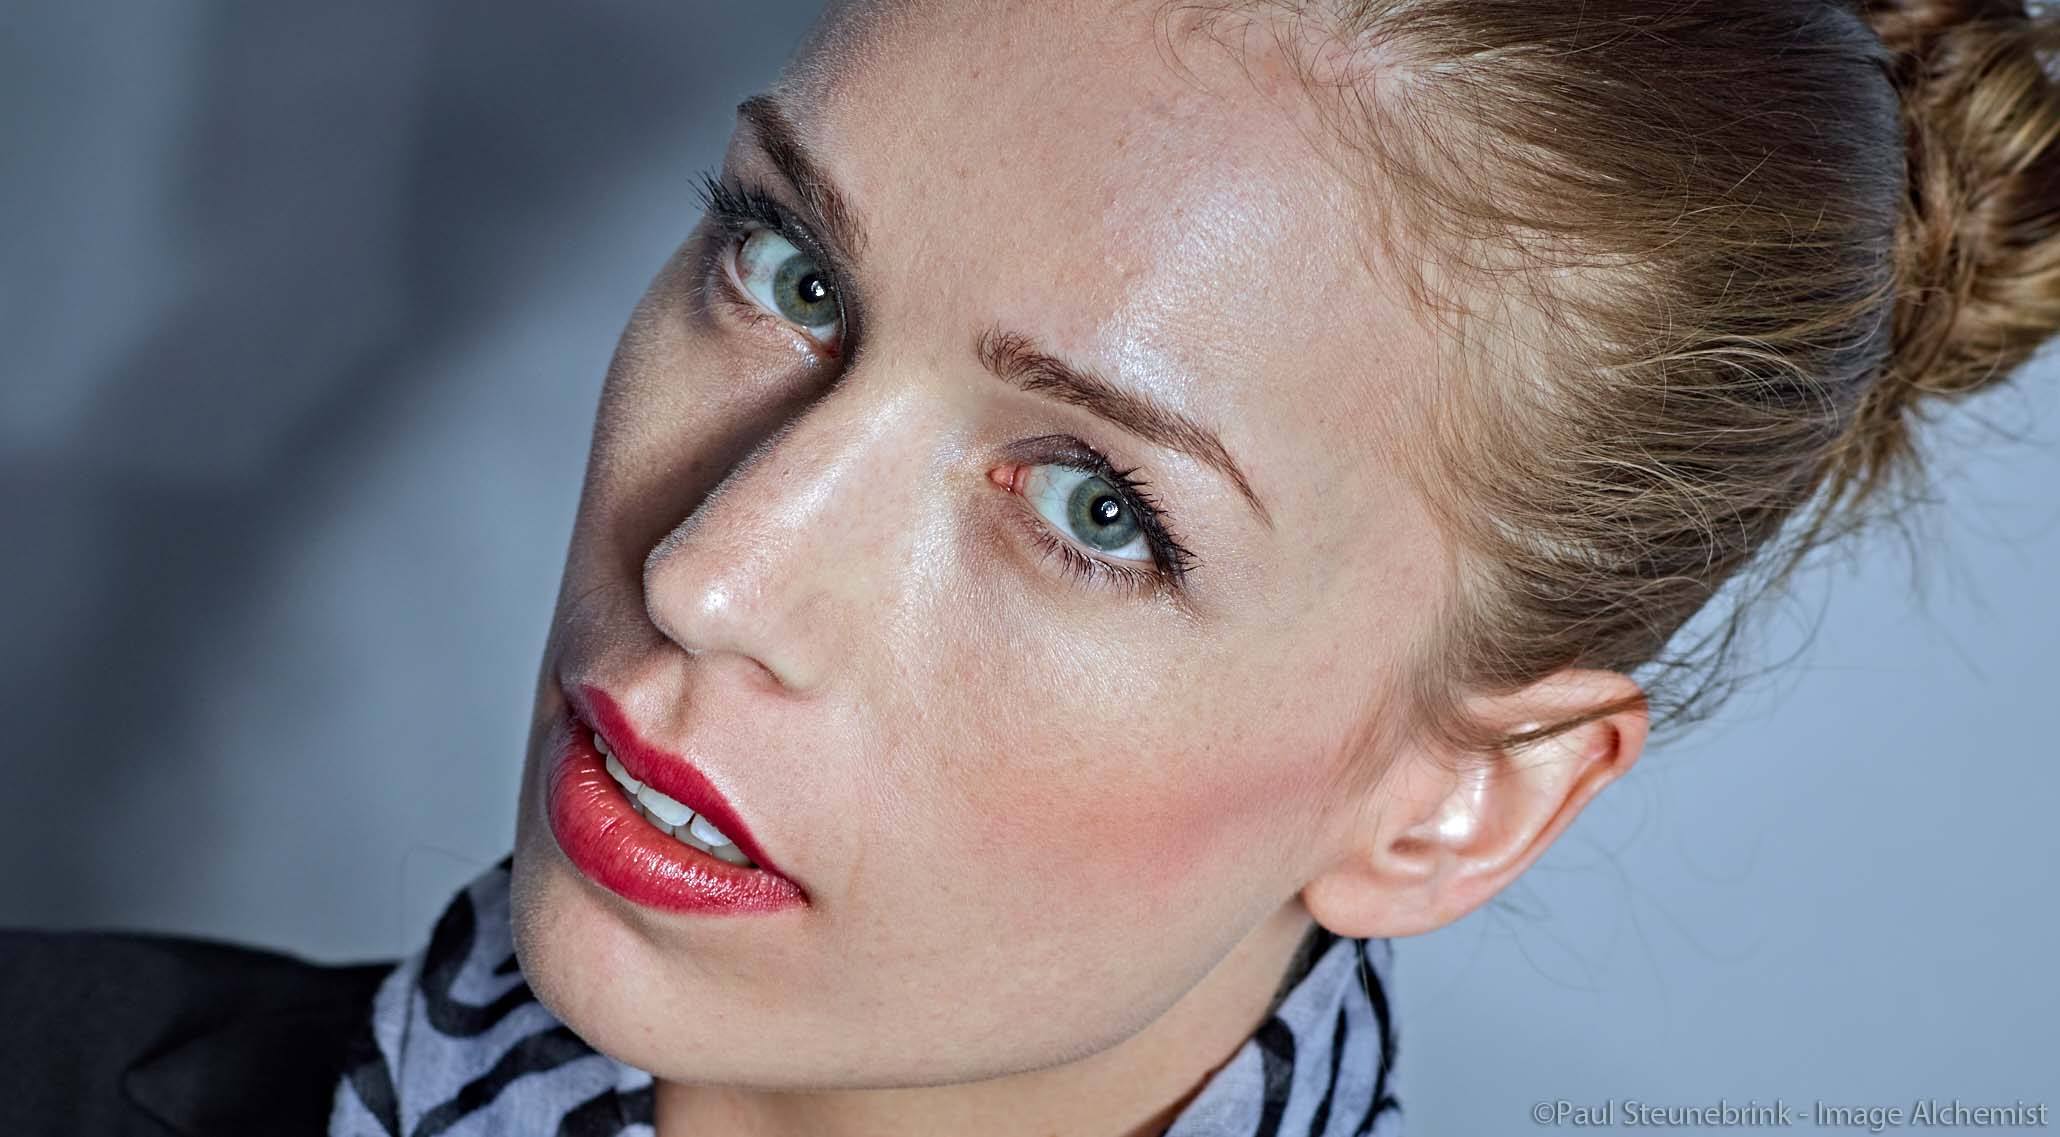
The reason the Classic method was replaced (see below) is the potential of halo artifacts which can become more pronounced in high-value adjustments in combination with adjacent dark and bright image parts.
Natural Clarity
The next step and a bit stronger type come with the Natural Clarity method. This is the latest addition to the tool – came with Capture One 8 – and I believe that it is Phase One’s Classic Clarity replacement. I find it very appealing to a wide range of subjects, including landscape and architecture. For portraits, you still might like the Classic Clarity, but I am not sure, hence I suggest you make a set to compare.
It does not darken the darker tones as much as the Classic Clarity but lightens the lighter tones more to increase contrast.
Rule of thumb: if you are not sure which method to use, or are not familiar with the Clarity tool at all, I suggest you start with the Natural method. It is also the default in Capture One 9.
Neutral Clarity
The Neutral Clarity method is again the next step in that it both darkens the darker tones and brightens the brighter tones. This looks like a regular contrast adjustment but don’t be fooled. The look is entirely different and color contrast is still untouched. It was introduced with Capture One Pro 7 together with Punch Clarity.
Applications for Neutral Clarity are architectural and industrial topics. I find it less suitable for portraiture and animals. Use for landscape is equal with Natural Clarity, preference depending on taste.
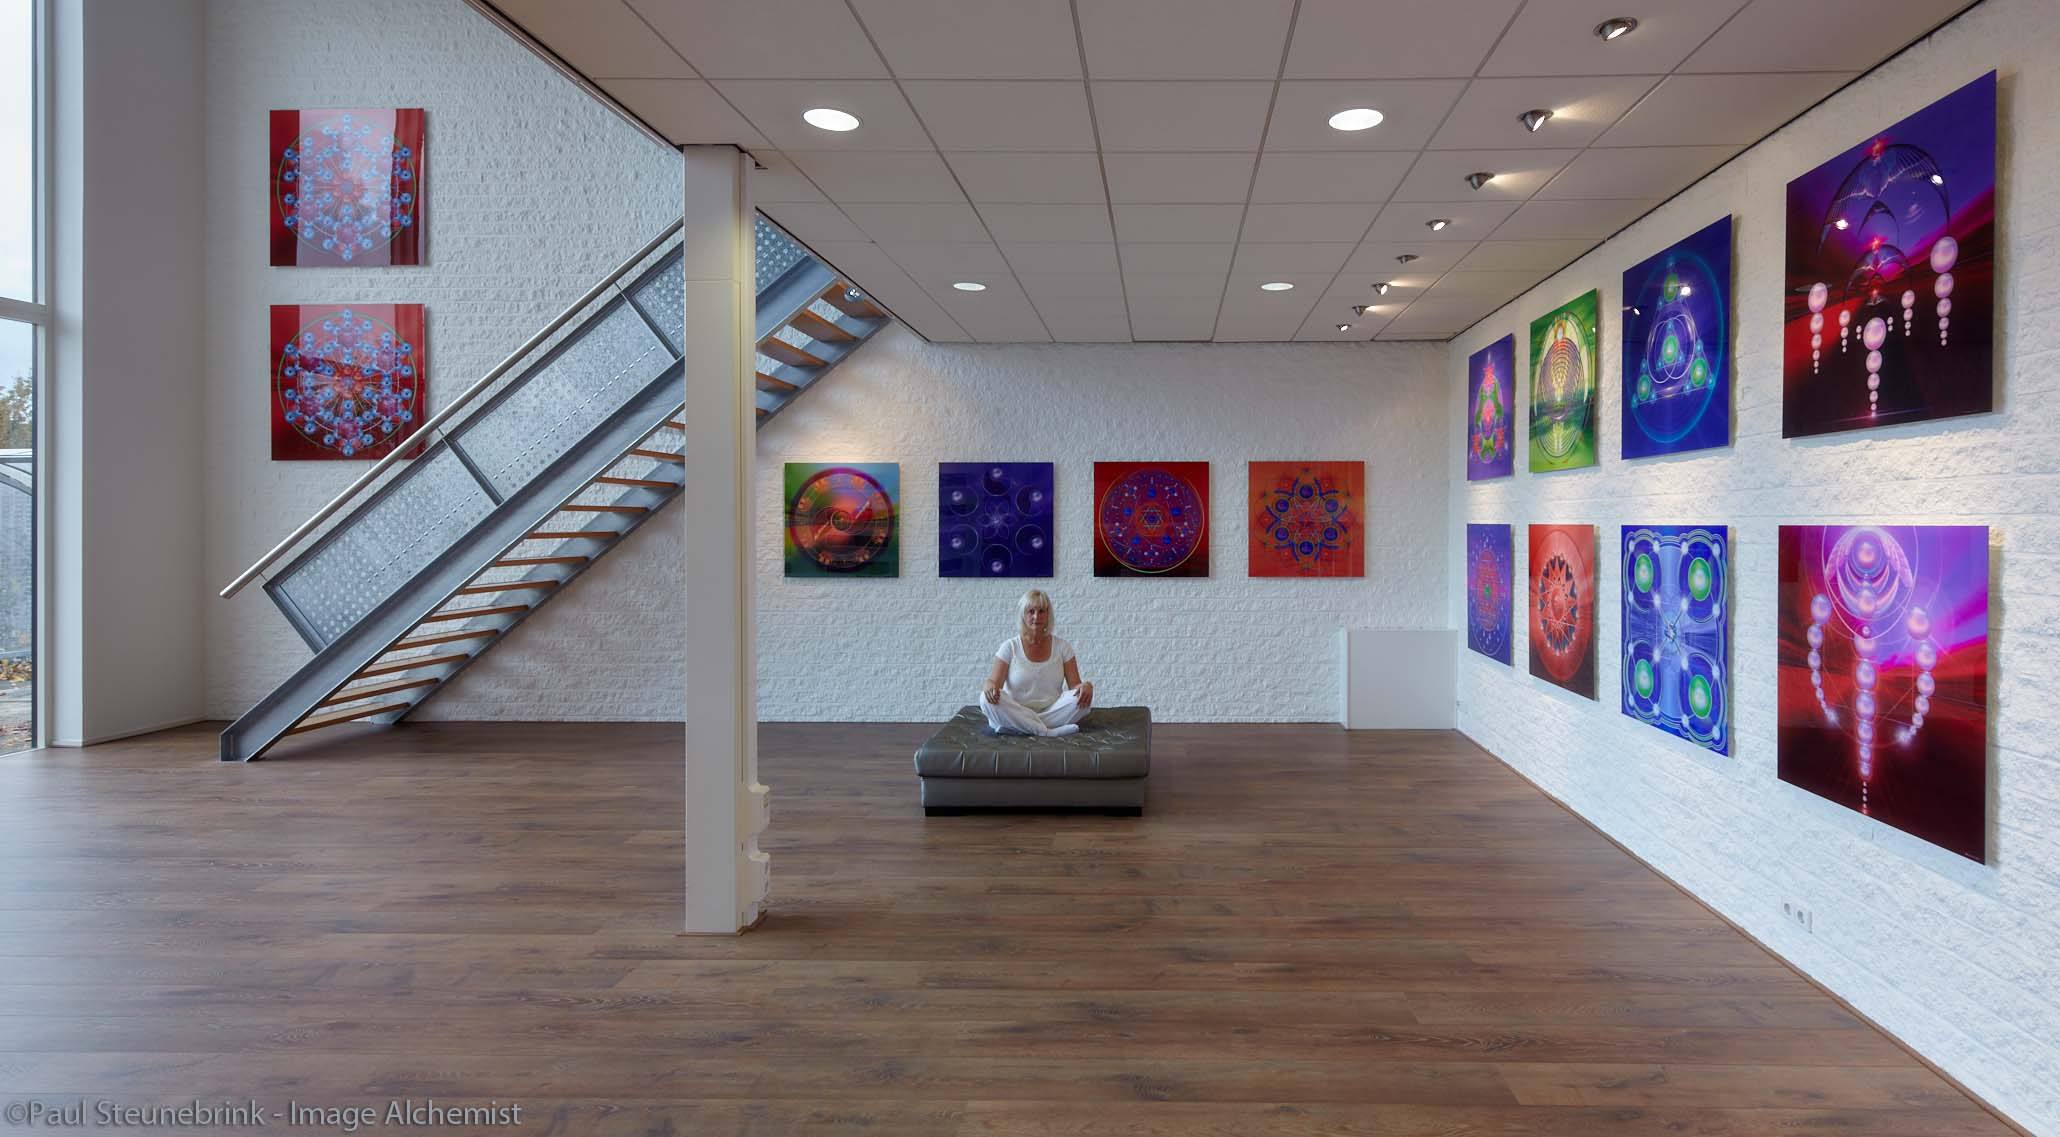
The Neutral Clarity method is suitable if you find that the Natural method just does not cut it. You need more power without the need for high adjustments.
Rule of thumb: if you are in need for Natural Clarity with a +50 or -50 adjustment or beyond, try the Neutral Clarity instead.
Punch Clarity
The Punch Clarity method has, in general, the same effect as Neutral Clarity plus a bit of color contrast. That amount of color contrast has diminished over the years, in my experience. As a result, I found it hardly different from Neutral Clarity.
Structure Slider
This is the second part of the tool. The Structure slider can add or remove micro-contrast to stretched lines like in buildings or fine structures like in flowers. It affects structures so to speak. You can use it in combination with the Clarity adjustment or use it independently. It is less effective on surfaces like the Clarity slider is.
The example of the Corn Poppy flower has no Clarity slider adjustment, only set the Structure slider to -100 and +100 respectively (before/after).
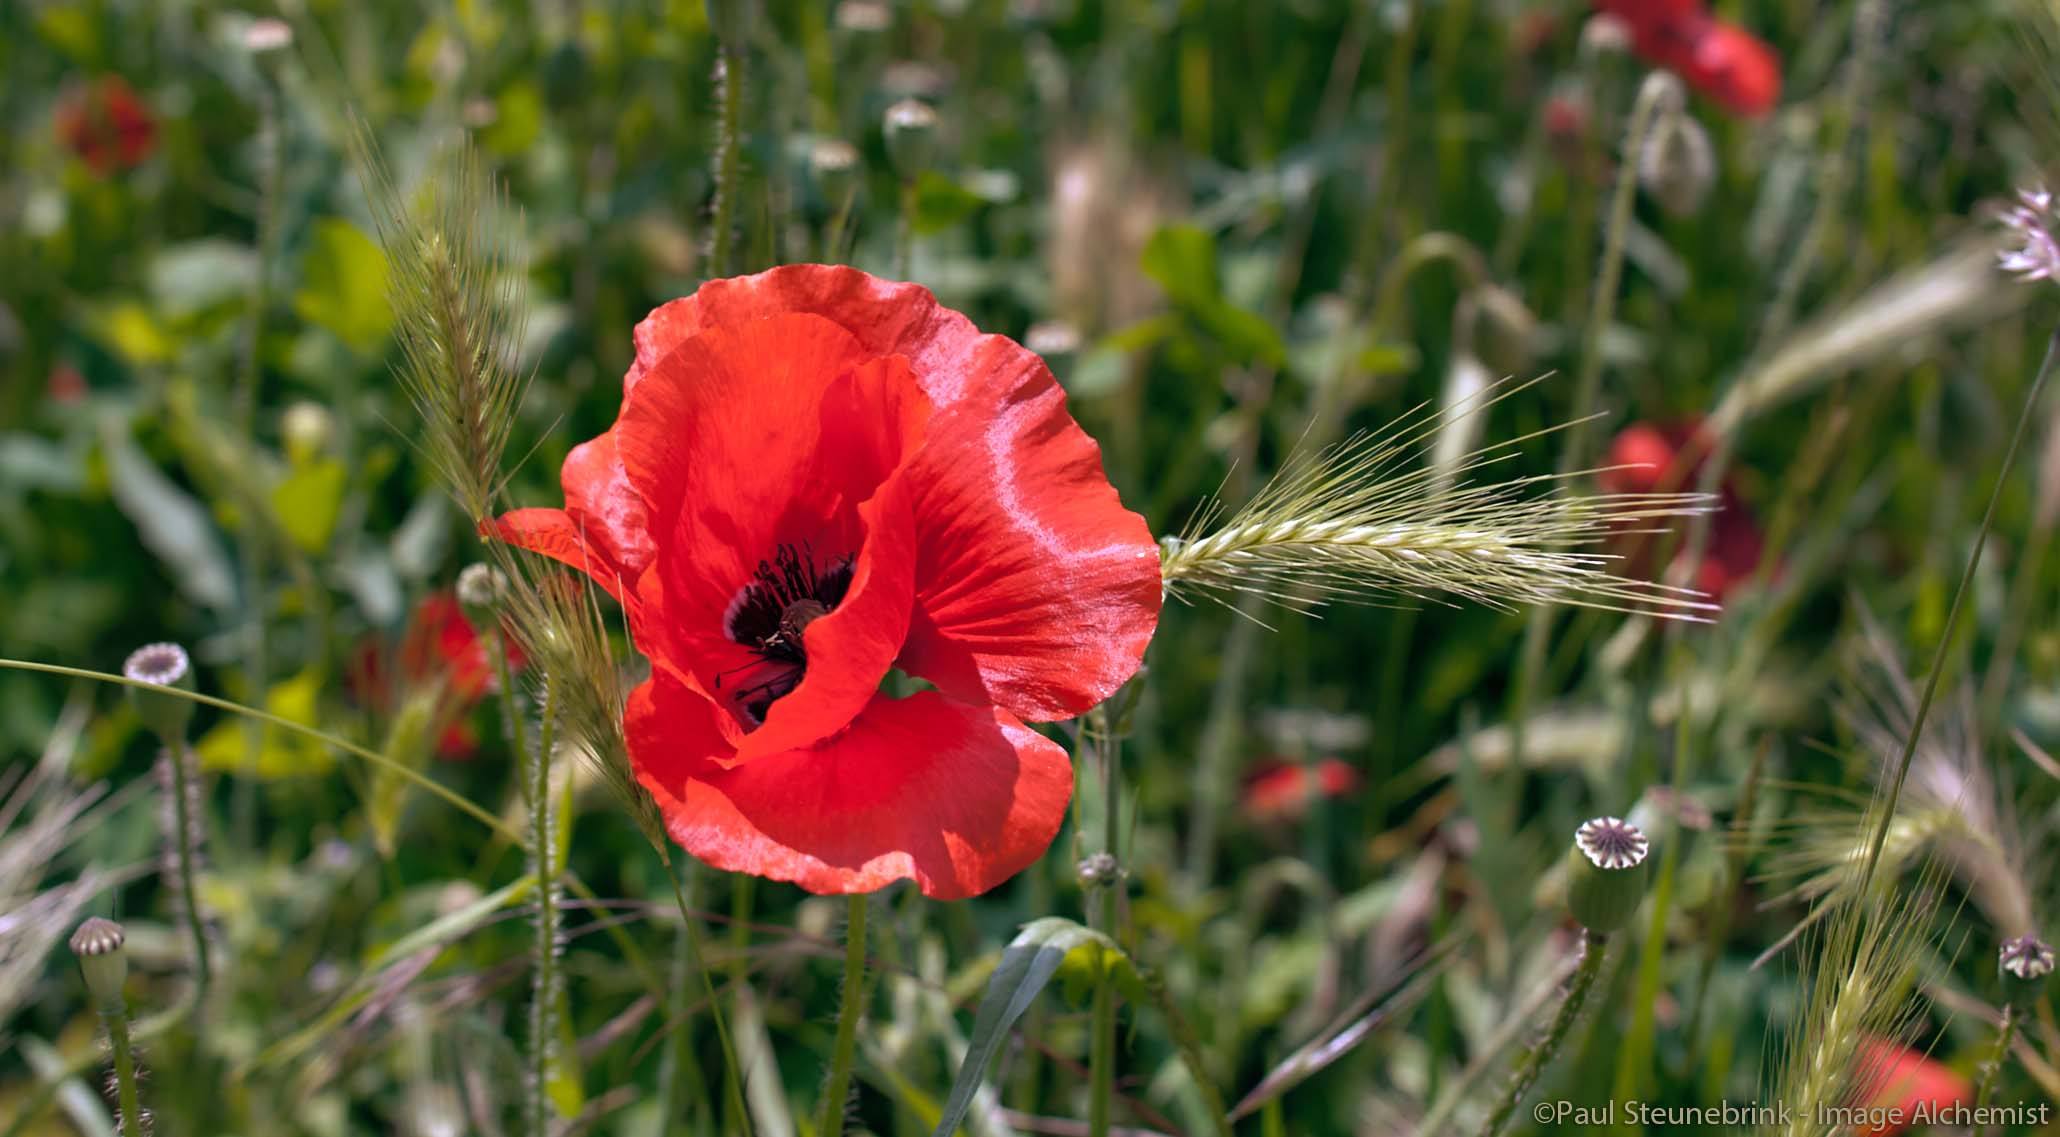
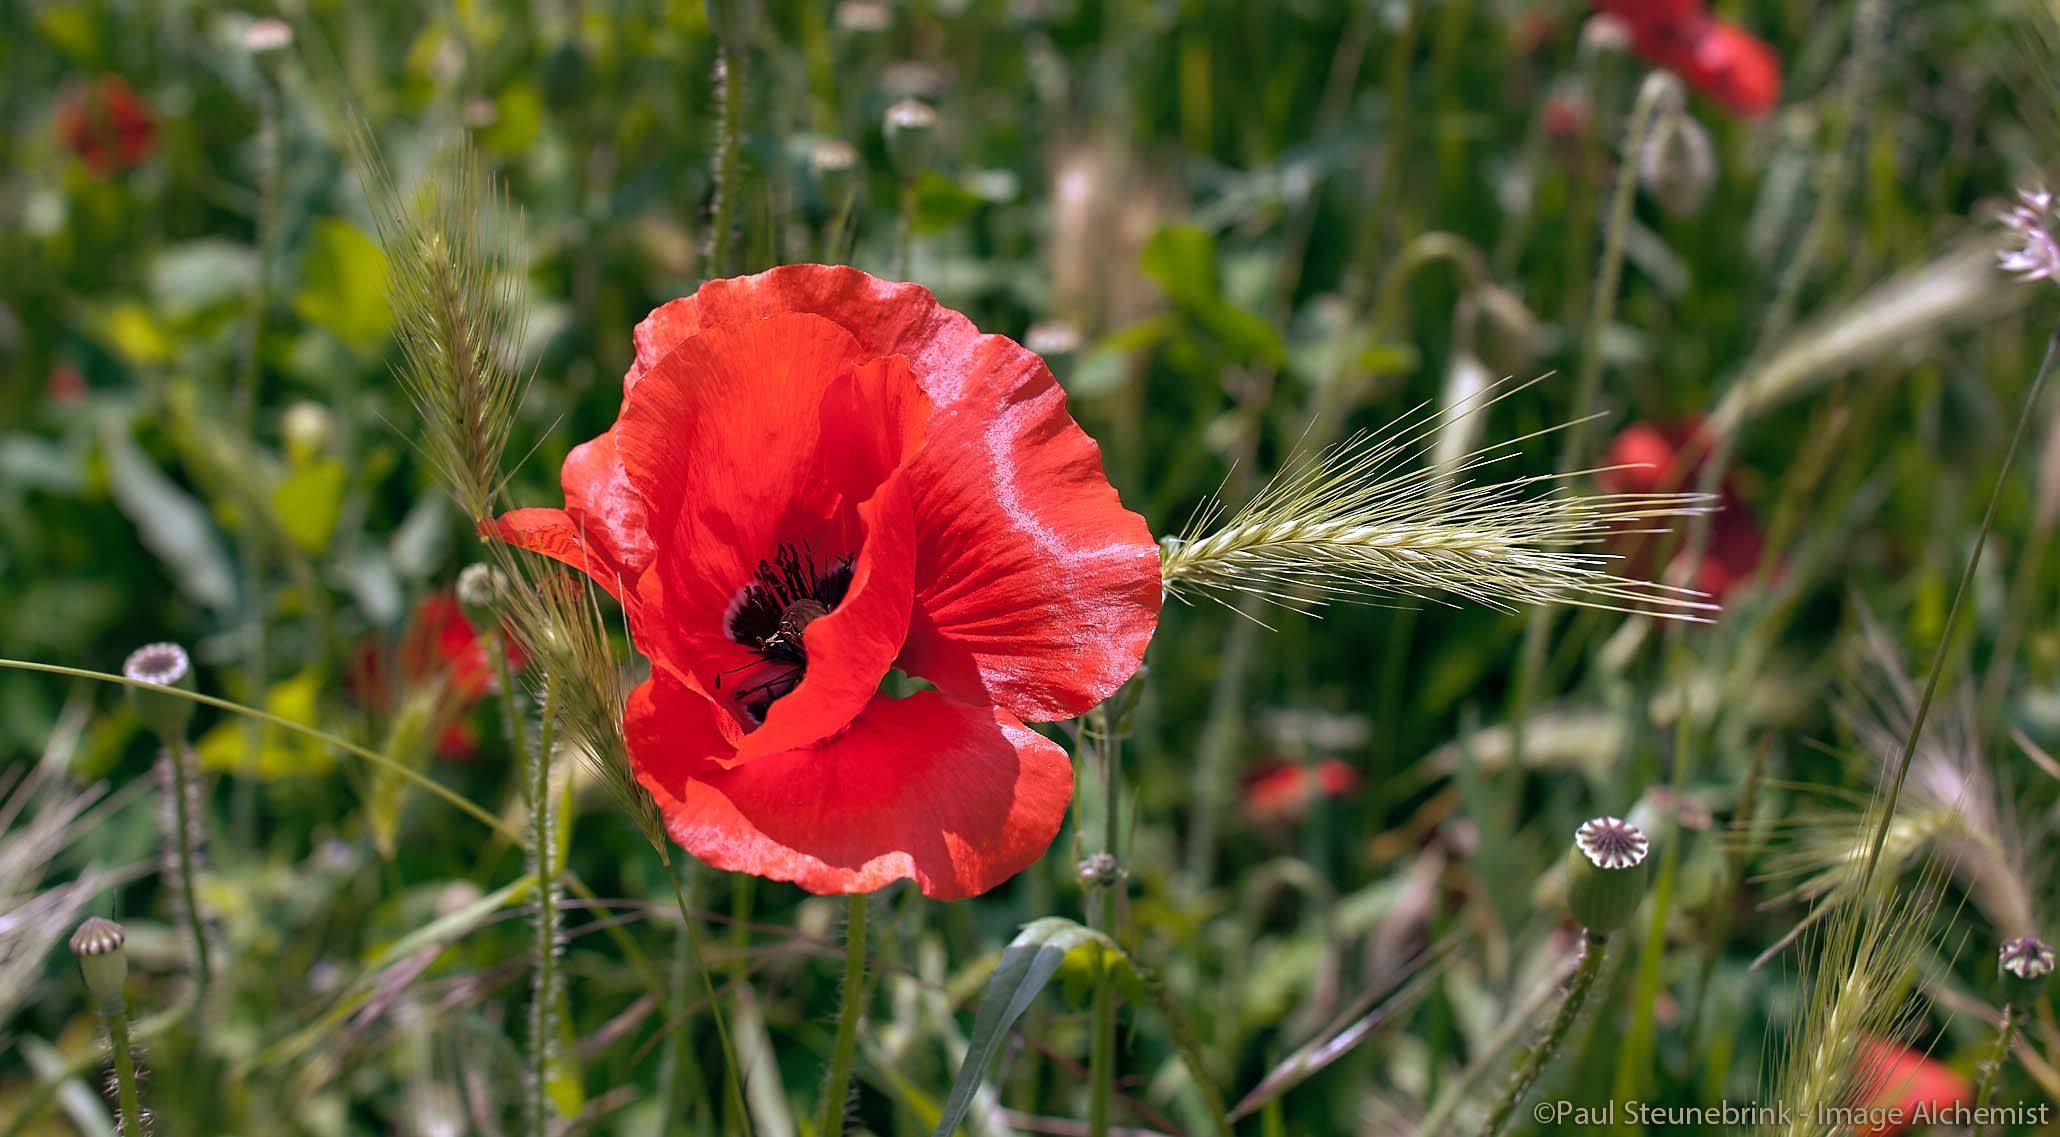
As mentioned before, the Structure adjustment is not affected by the Clarity method from the drop-down list. With the Structure adjustment, you can achieve results that you can not achieve with the Clarity adjustment and vice versa.
Clarity Tool Best Practices
If you are somewhat confused by the seemingly endless possibilities of the Clarity tool in total, I have a few best practices to get you started.
- start with the Natural Clarity method as it is the most universal, experiment with other methods later
- start with low values, in the 0-25 range, to prevent over exaggerating
- next, combine Clarity amount with Structure to get the hang and feel of how each affects the image; look for the presets below to easily combine both with one click
- next, make yourself familiar the Clarity tool in your workflow
- experiment with Clarity in Local Adjustments layers to apply different amounts of Clarity for different parts of your image
Tip: for applying each or both adjustments, consider the power of presets discussed below.
Adjustments Layers
You can use the Clarity tool with a mask on an adjustment layer. You can use it on multiple layers and use completely different adjustments on each layer. There is one limitation though. To be able to do the math of all settings of all layers combined for each pixel, they must use the same method.
That is the reason you can only change the sliders on layers, not the Clarity method. The Clarity method is set at the background layer. You can change the method at any time, even when you have made layers with Clarity adjustments.
One interesting capability of the Clarity tool on layers is that you can combine moderate with strong adjustments and even negative Clarity values in a single image. Imagine a portrait where skin, clothes, and eyes can be given different adjustments.
Another interesting capability of the Clarity tool on layers is that you can apply different values for both the sliders, Clarity and Structure. For example, you can increase the Clarity in a layer, but decrease the Structure adjustment to achieve the desired result.
Clarity Presets
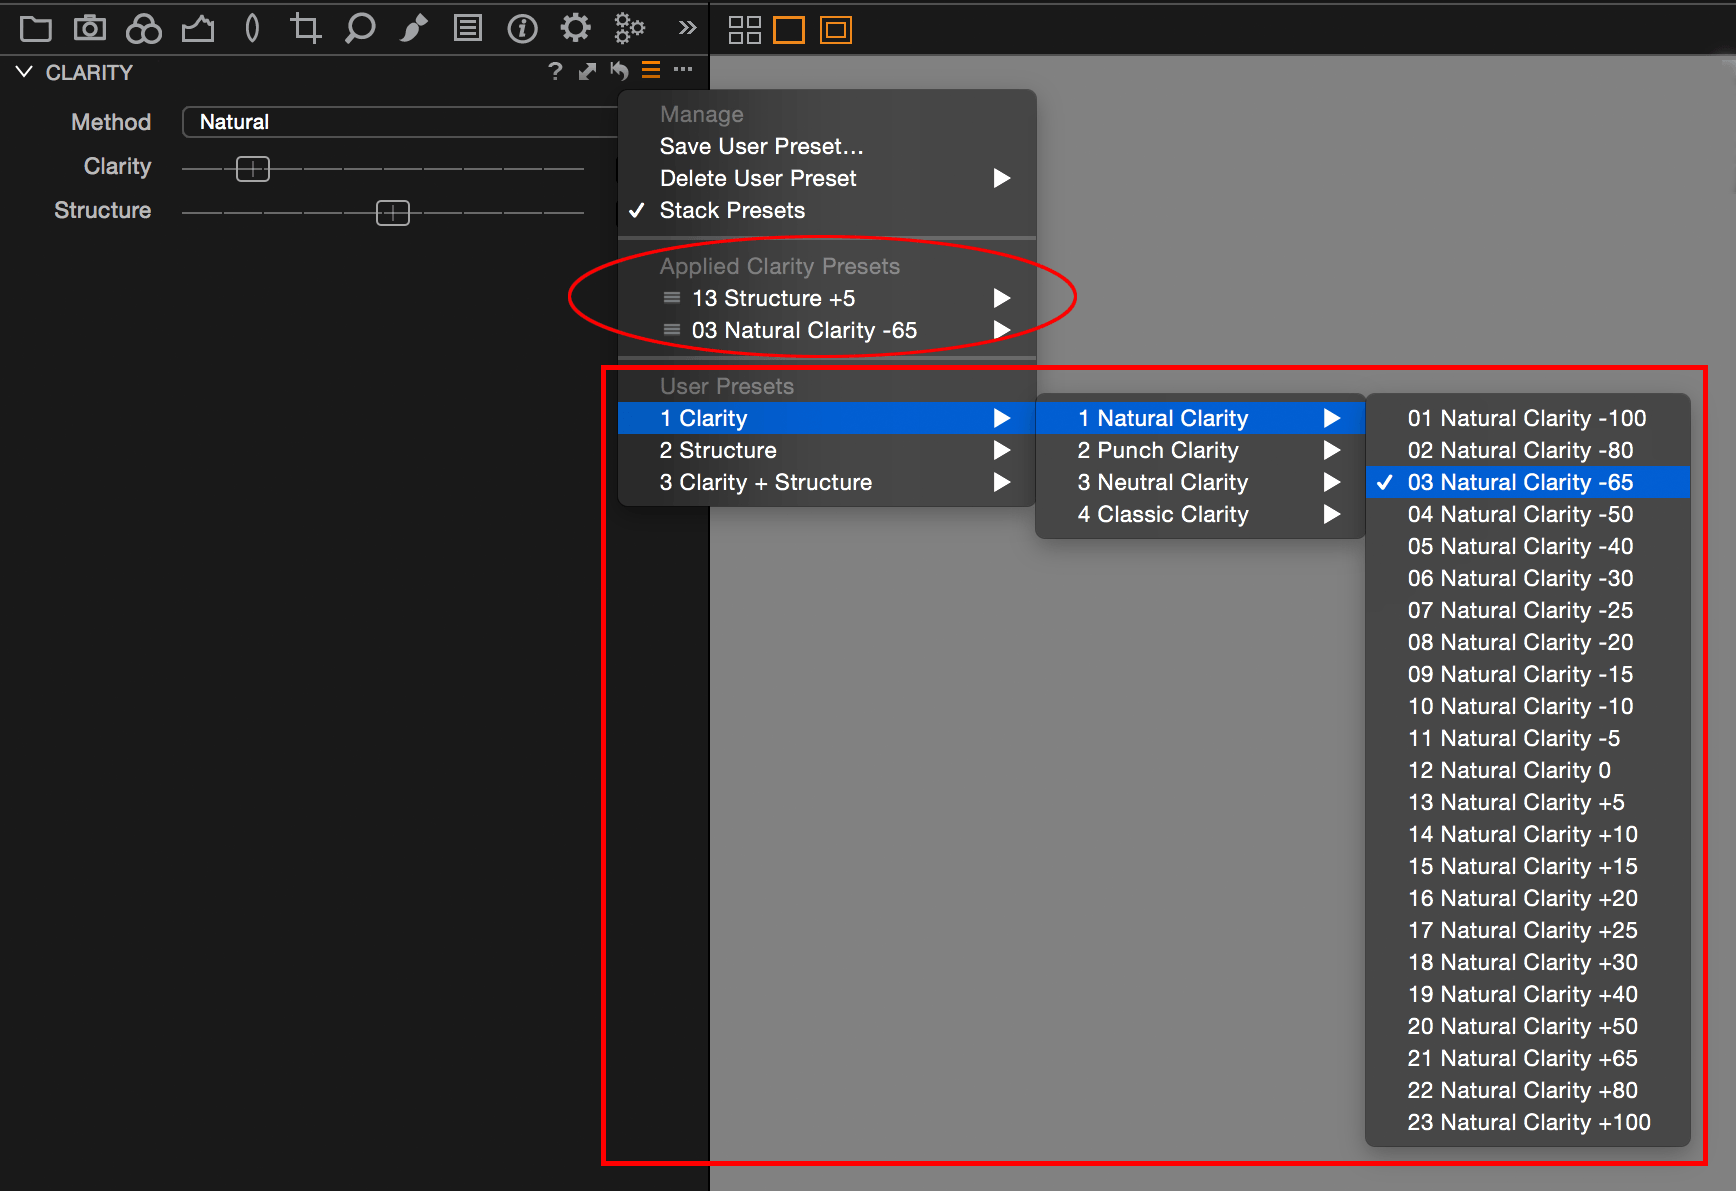
No built-in presets are offered out of the box for the Clarity tool. Fortunately, Image Alchemist has a large set for this tool available. Using presets as a means of adjusting your images has several benefits over the use of sliders, as discussed in a separate blog on Capture One Presets.
In short, you can preview your adjustments before applying, you gain an adjustment history and you can combine presets through stacking. The latter comes in very handy because this tool has two sliders that can be controlled both independently and combined. The set Clarity Presets is build to take full advantage of these capabilities of Capture One Pro.
You can choose whether you like to apply a Clarity adjustment, a Structure adjustment, or both. In the case of both you can choose to apply them combined (Clarity + Structure), or individually and stacked. Stacking allows you to set both the Clarity and Structure preset independently and with different values, and combine them in a single image for the best result.
Because of the four different methods and all possible combinations, the Clarity presets set is one of the largest from the Image Alchemist: 207 presets. All 207 presets are available in 4 languages (English, German, French, and Dutch) and for both Capture One 8 and 9. There is a smaller but nevertheless very useful trial set available free of charge with 54 presets.
Thank you
For reading. Please feel free to leave a comment. Like us on Facebook or subscribe to our newsletter to stay informed about new blogs.
Best Regards,
Image Alchemist








Excellent thank you