Capture One Preferences (part 1)
Unlock the secrets behind the Capture One Preferences and learn how to master the program. Make it behave to your liking for best performance, speed and flexibility. This is Part 1 in a serie of 3.

Capture One Preferences
The Capture One Preferences allow you to control the program’s behavior and fully tailor it to your needs. Understanding Preferences can be hard sometimes. You can easily feel overwhelmed by the many features you are not yet familiar with.
On the bright side, however, you learn a lot about Capture One by giving the Preferences a thorough look. That is exactly what we are going to do. And I am sure you will find some settings you want to customize but had not considered before.
The Capture One Preferences are organized in a series of tabs. In this blog, I will discuss each tab, one by one, as well as the different sections on each tab.
Cut Long Story Short
Because there is so much to cover on Preferences, I decided to cut the whole story into three parts.
Preferences Part 1
Topics in Capture One Preferences – Part 1 are:
- how to open Preferences
- General tab
- Appearance tab
Preferences Part 2
Topics in Capture One Preferences – Part 2 are:
- Image tab
- Capture tab
- Color tab
- Exposure tab
Preferences Part 3
Topics in Capture One Preferences – Part 3 are:
- Crop tab
- Focus tab
- Warnings tab
- Update tab
- how to manage Preferences
Open The Preferences
Let us first learn how to get into the Preferences. The command has a different location and shortcut for macOS or Windows.
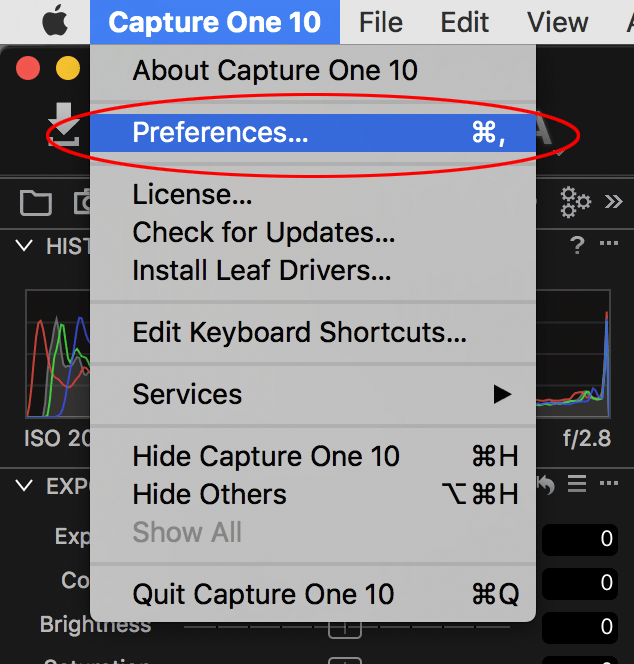
On macOS, you find the Capture One Preferences in the Capture One menu on the left side, next to the Apple menu. The keyboard shortcut is Cmd+, (press Command + Comma).
On Windows, however, open the Edit menu to find the Preferences at the bottom. There is no default shortcut.
Defaults
Please notice the Defaults button in the bottom right corner of each tab, except for the Update tab.
Hitting the button will set the preferences back to the default – factory – setting. Note that the button affects the setting of the current tab only. It does not reset any Preferences you have set on other tabs.
General Tab
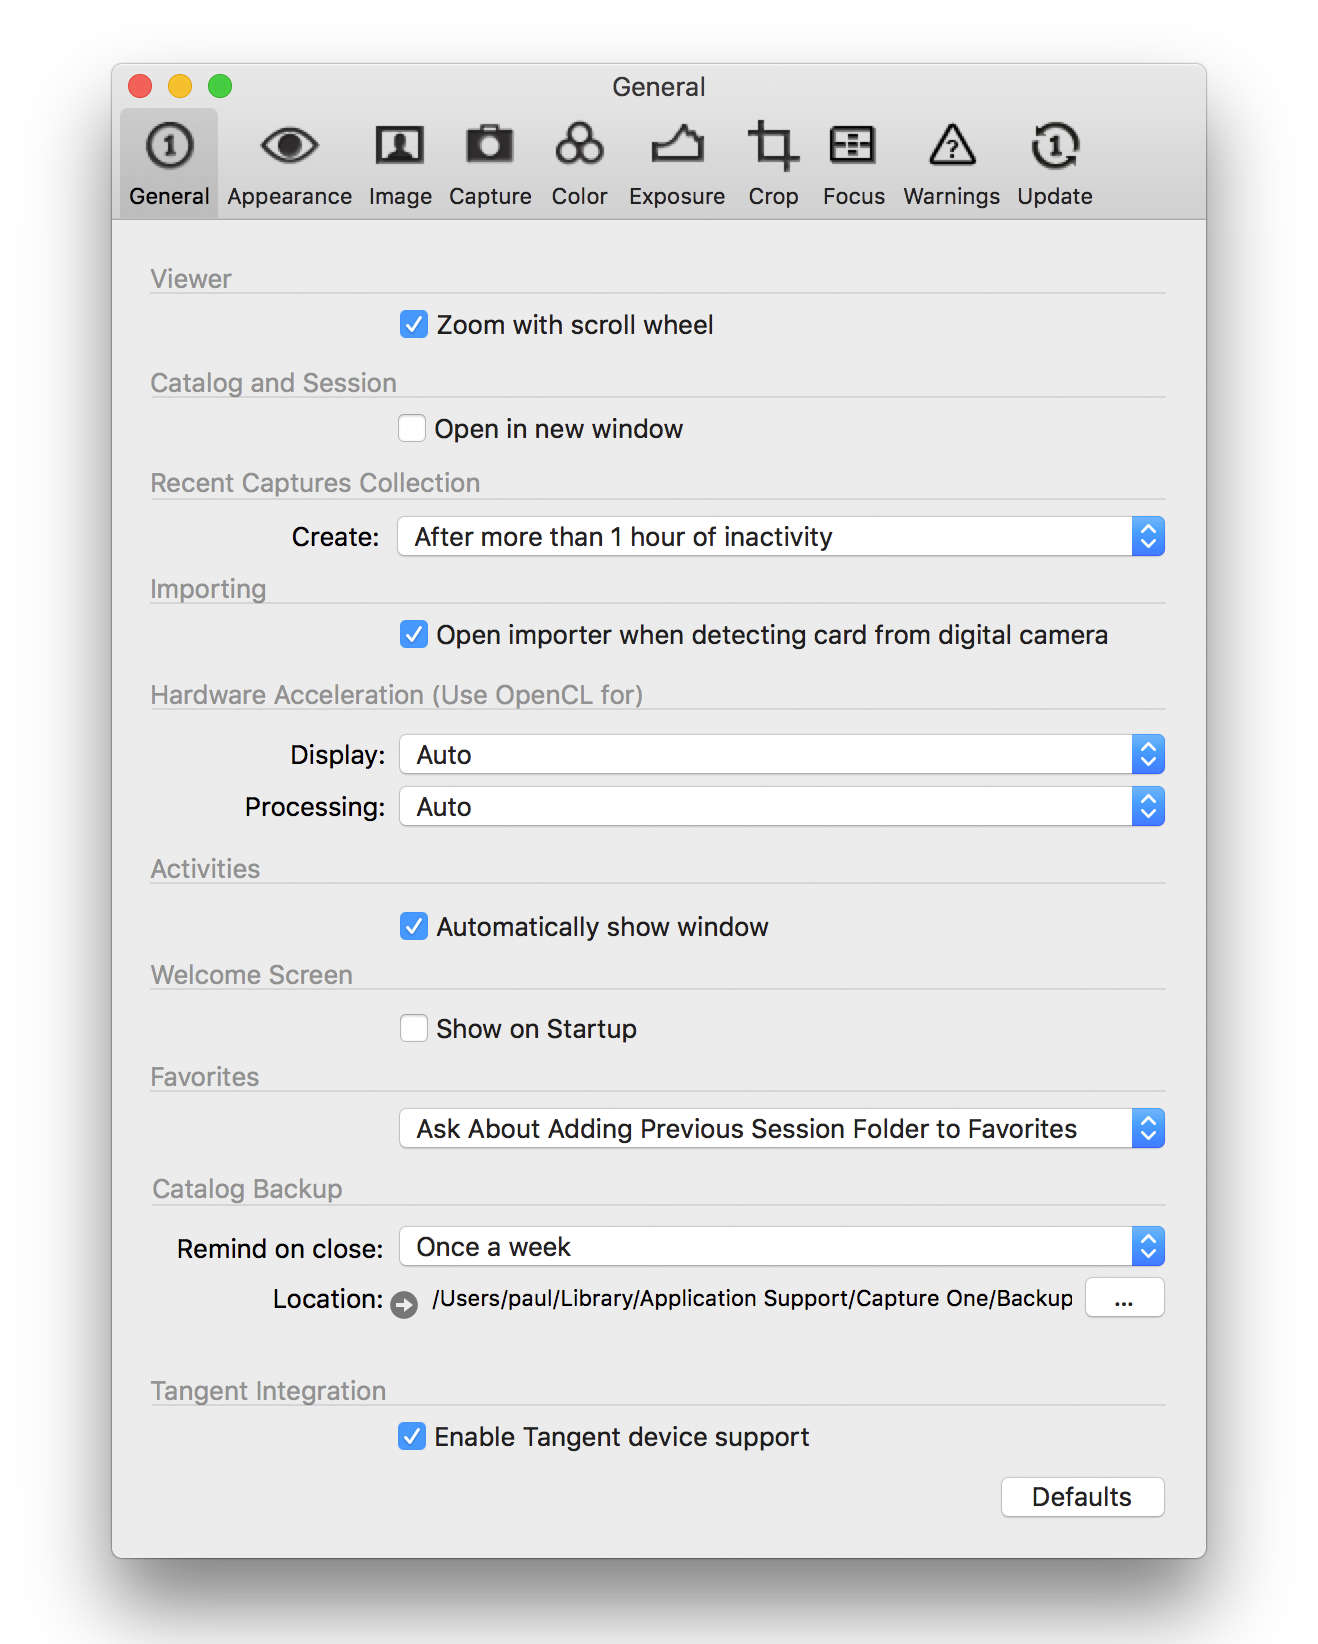
On the General tab, you find a mix of different options related to how Capture One behaves on starting, opening and closing documents. A document is a Session or Catalog.
Language
We start with a Windows-only option at the top of the General tab: the Language section.
During installation, you can select your Capture One language, but you can easily change it afterwards from the Preferences. The list currently contains 14 languages to choose from.
Note that on macOS applications select their language after the macOS language you use. There are ways to overrule that but these are beyond the scope of this blog.
Viewer
The Zoom with scroll wheel checkbox in the Viewer section lets you choose between Zoom or Move with your mouse’ scroll wheel or fingers on your trackpad.
The default with the box checked activates the zoom function. Some users expect the image to move when they move their fingers over their trackpad or scroll wheel. Those should uncheck the box.
Catalog and Session
The Open in new window checkbox in the Catalog and Session section is a very easy one but often misunderstood. The key issue is that Capture One can have multiple documents opened, like multiple catalogs, sessions or a combination of both.
By default, the box is unchecked and Capture One will close a document when you open another. To be able to open multiple documents, check the box next to the Open in new window option.
Recent Captures Collection
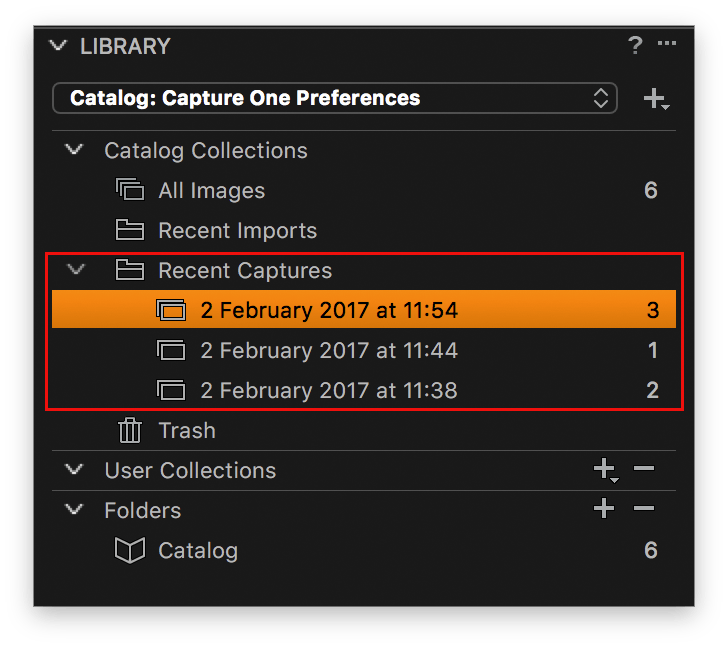
When you shoot tethered into a Catalog, the captures are collected and counted in a collection under Recent Captures with a date/time stamp of the first capture. This works similar to the Recent Import collection for image import.
But how often should Capture One Pro create a new collection under Recent Captures? What time interval is considered the next shoot? Note that its purpose is only easy retrieval of recently shot images.
In the screenshot above I made a few captures with approximately a 5 minutes interval. I had set the Preference to a 5 minutes interval of inactivity to create a new collection. You can easily see the images are grouped together unless I waited just over the predefined interval of 5 minutes.
The default is After more than 1 hour of inactivity. You can select other intervals ranging between 5 minutes up to 4 hours and once a day.
Be aware this setting is for Catalogs only and all Capture One modes that support tethering. It does not apply to sessions.
Importing
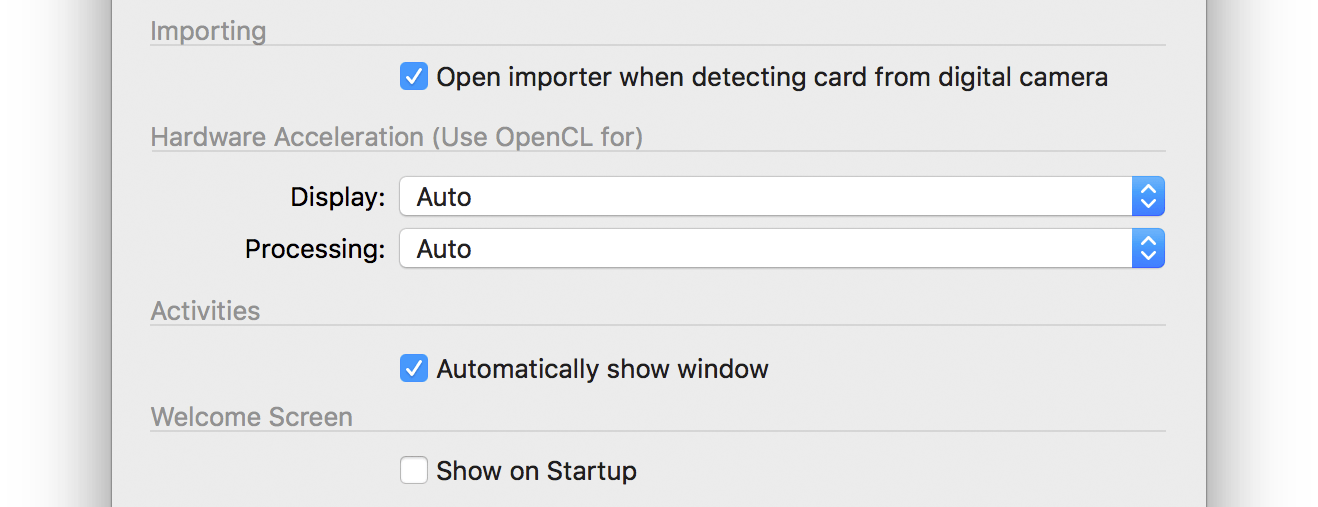
With the Open importer when detecting card from digital camera checkbox you can control whether the Image Importer in starts automatically. When you connect a memory card from a digital camera to your system Capture One is notified and opens the importer by default.
If you prefer to start the importer manually, please uncheck the box.
Note for macOS users: this setting is not related to whether Capture One starts when connecting a camera memory card. This Preference setting is affective when Capture One is already running. To disable auto-start of Capture One you need to configure the Image Capture program that is part of macOS.
Hardware Acceleration
In the Hardware Acceleration section, you can control how Capture One uses the graphics processing unit or GPU to offload the CPU and give the user a better and speedier experience. Capture One uses OpenCL for this purpose.
Capture One Pro 10 is the first release that has acceleration enabled by default for both Display and Processing. Since Capture One Pro 10.1 extra information is added that tells you whether OpenCL is initializing, in use, or not used.
Your options here are Auto or Never for each acceleration. Selecting Auto means that Capture One decides whether to use Hardware Acceleration or not.
You can manage both settings here independently if you find that your system responds erratically to this enhancement for either Display, Processing or both.
Activities
Capture One has an Activities window that shows tasks that are performed in the background, like generating previews or something like deleting or moving images.
Note that you also can manually open the Activities windows from the Windows menu. If you find popping up this window distracting, please uncheck the box.
Windows Explorer Integration
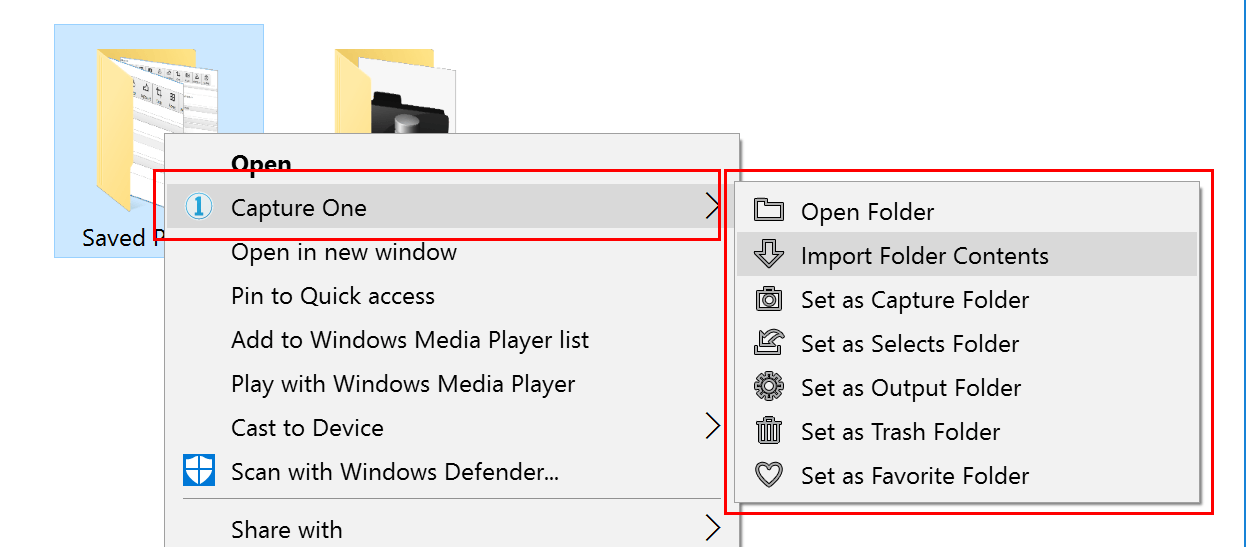
The Windows Explorer Integration section lets you do a number of activities from the Windows Explorer context menu. You open that context menu when you right-click on a folder.
This feature is enabled by default with the Show item in folder context menu.
In Windows Explorer the actions in the context menu look like in the screenshot below.
You can for example directly import a folder into your Session or set a folder as Capture Folder. I suggest you open your Session before select an action.
Obviously this is a Windows-only option.
Welcome Screen
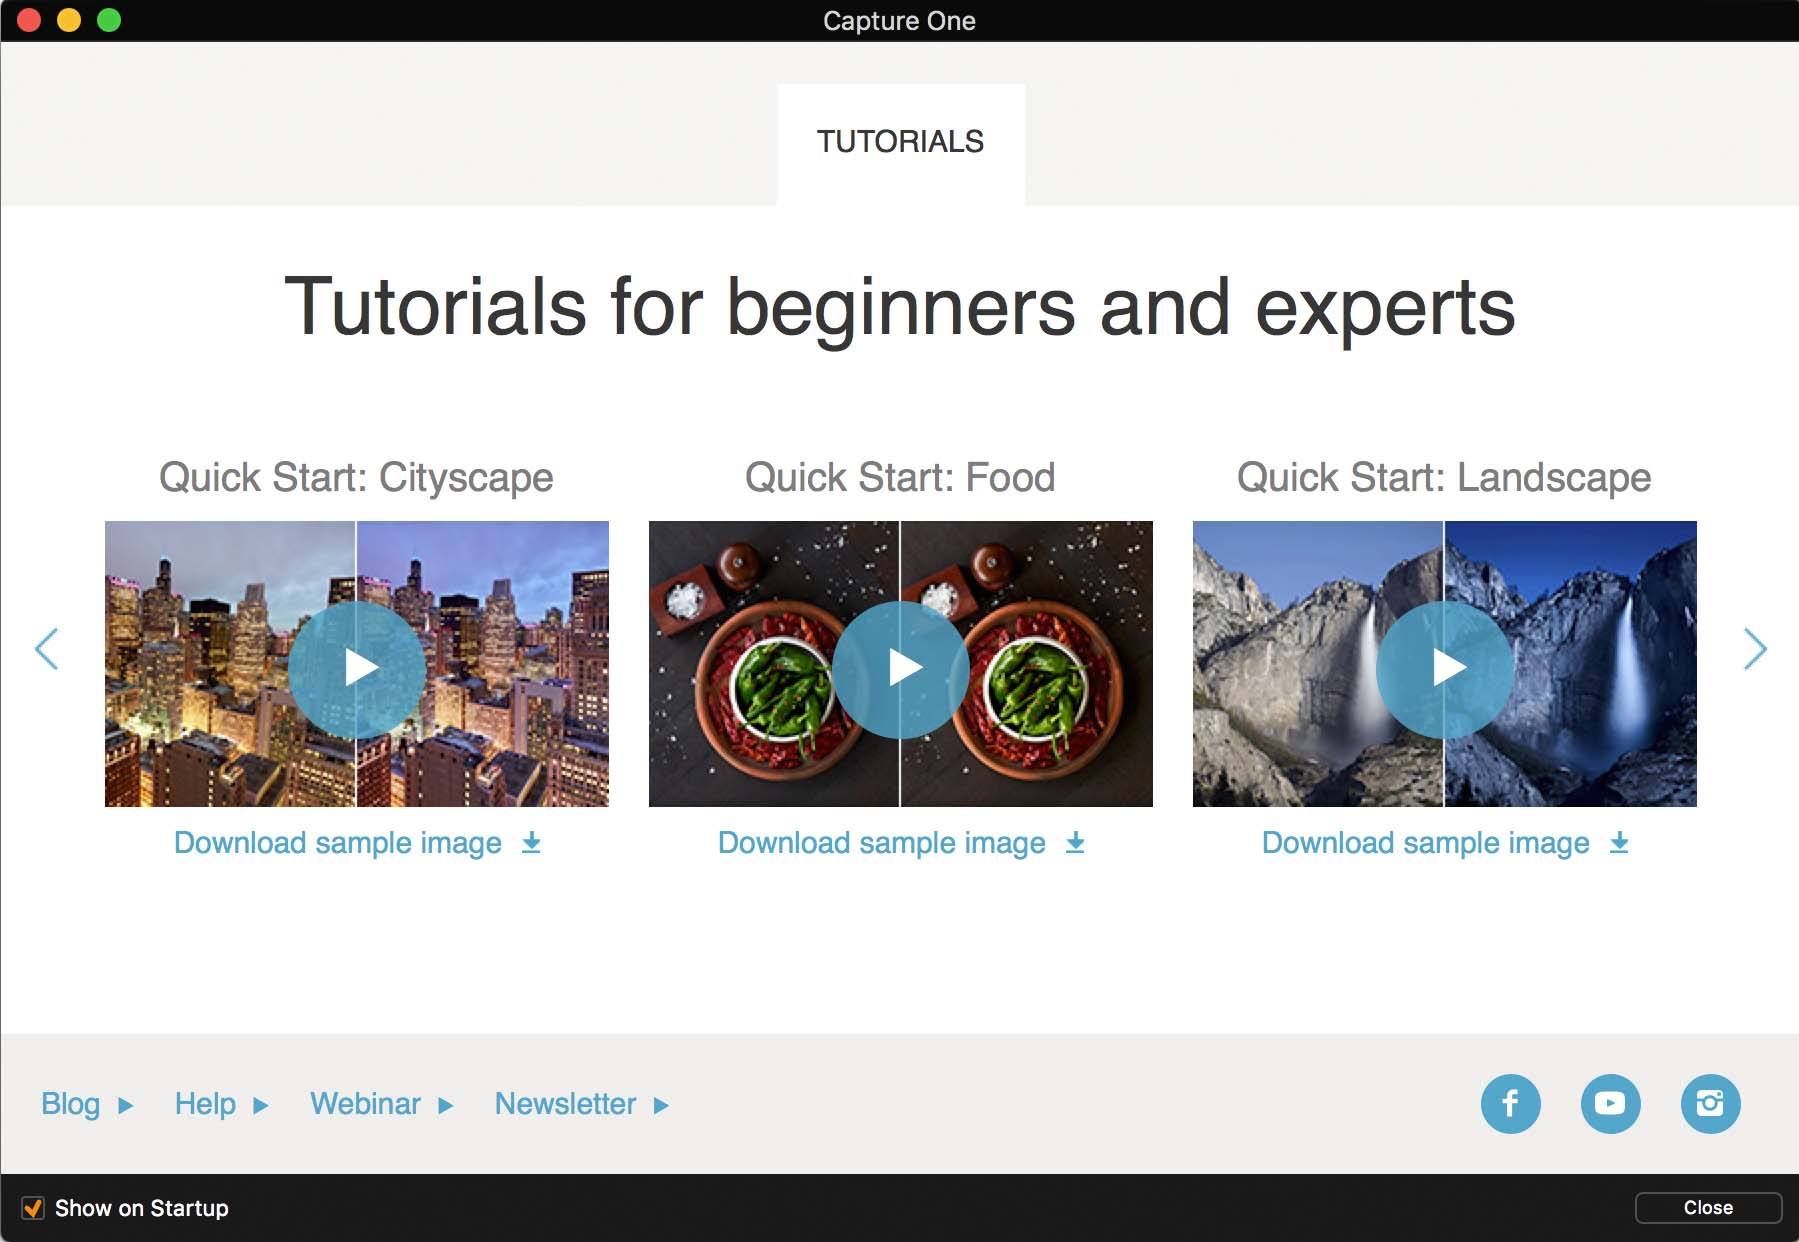
This is an easy one. You might remember that splash screen with tutorials on top of the program after startup? That is the Welcome Screen.
You can disable it here in the Welcome Screen section or from the Welcome Screen itself (bottom left corner) and you can enable it here again in case you regret disabling it.
Note that when you run Capture One Pro or Pro (for Sony) in trial mode you can not disable the Welcome Screen and this option is removed from the Preferences during the trial.
Favorites
Here you control what Capture One does when you change a Session Folder. As you might know, each Session Folder is linked to a physical folder on your disk. You can link each to another physical folder.
This typically applies to select a different Capture Folder during a shoot. Capture One normally let you keep track of the original folder by adding it to the Session Favorites.
For more on Session Folders and Session Favorites, I advise to read the blogs Sessions Explained and Sessions Continued.
Since this setting is for Sessions only, it does not apply to Catalogs.
Catalog Backup
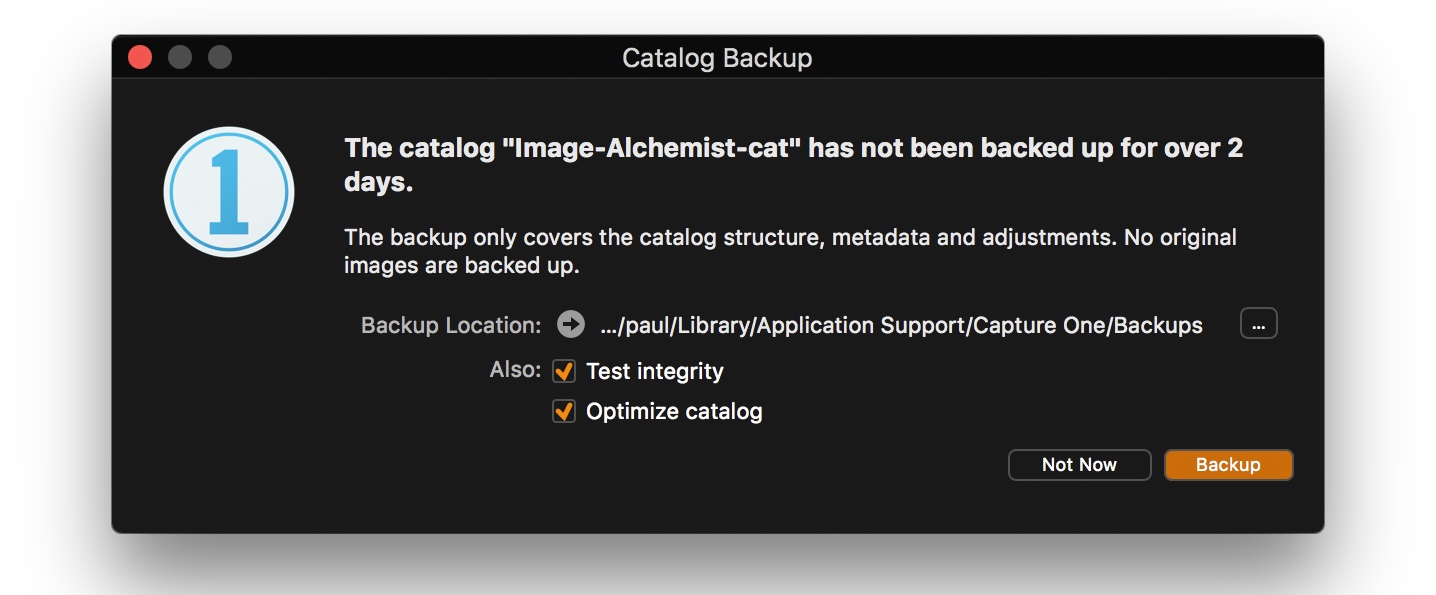
In the Catalog Backup section, you can schedule the backup reminder when closing a Catalog. In addition, you can also set the location for the Catalog Backup. Please note that this Catalog Backup only backs up your catalog database, not your image files.
I discussed the catalog backup recently in a separate blog, Backup Your Catalog.
This setting is for catalogs only, not for sessions.
Tangent Integration
Tangent devices are advanced user interface hardware tools going far beyond the capabilities of mouse and keyboard. It even exceeds the flexibility of tools like Wacom digitizer tablets. Capture One supports the Tangent devices since Capture One Pro 10.
Please note that a review Using Tangent with Capture One is scheduled for publication in March 2017 here on Image Alchemist.
If you do not have any of these nifty tools, you can neglect the setting. The setting’s main purpose is for users who do have Tangent hardware for film editing but like to prevent Capture One from detecting them.
Note that this section is not available on Capture One Express 10 (for Sony).
Appearance Tab
On the Appearance tab, you find settings that relate to how the program looks like. They are easy to set up and very important for your workflow.
 There are three sections: Viewer, Viewer and Browser, and Local Adjustments.
Viewer
Alert: this is one of the most important settings of all Preferences. Well, that is my opinion at least.
In the Viewer section, you can set the background color of the viewer to a different value than the default Very Dark. My personal favorite is Medium.
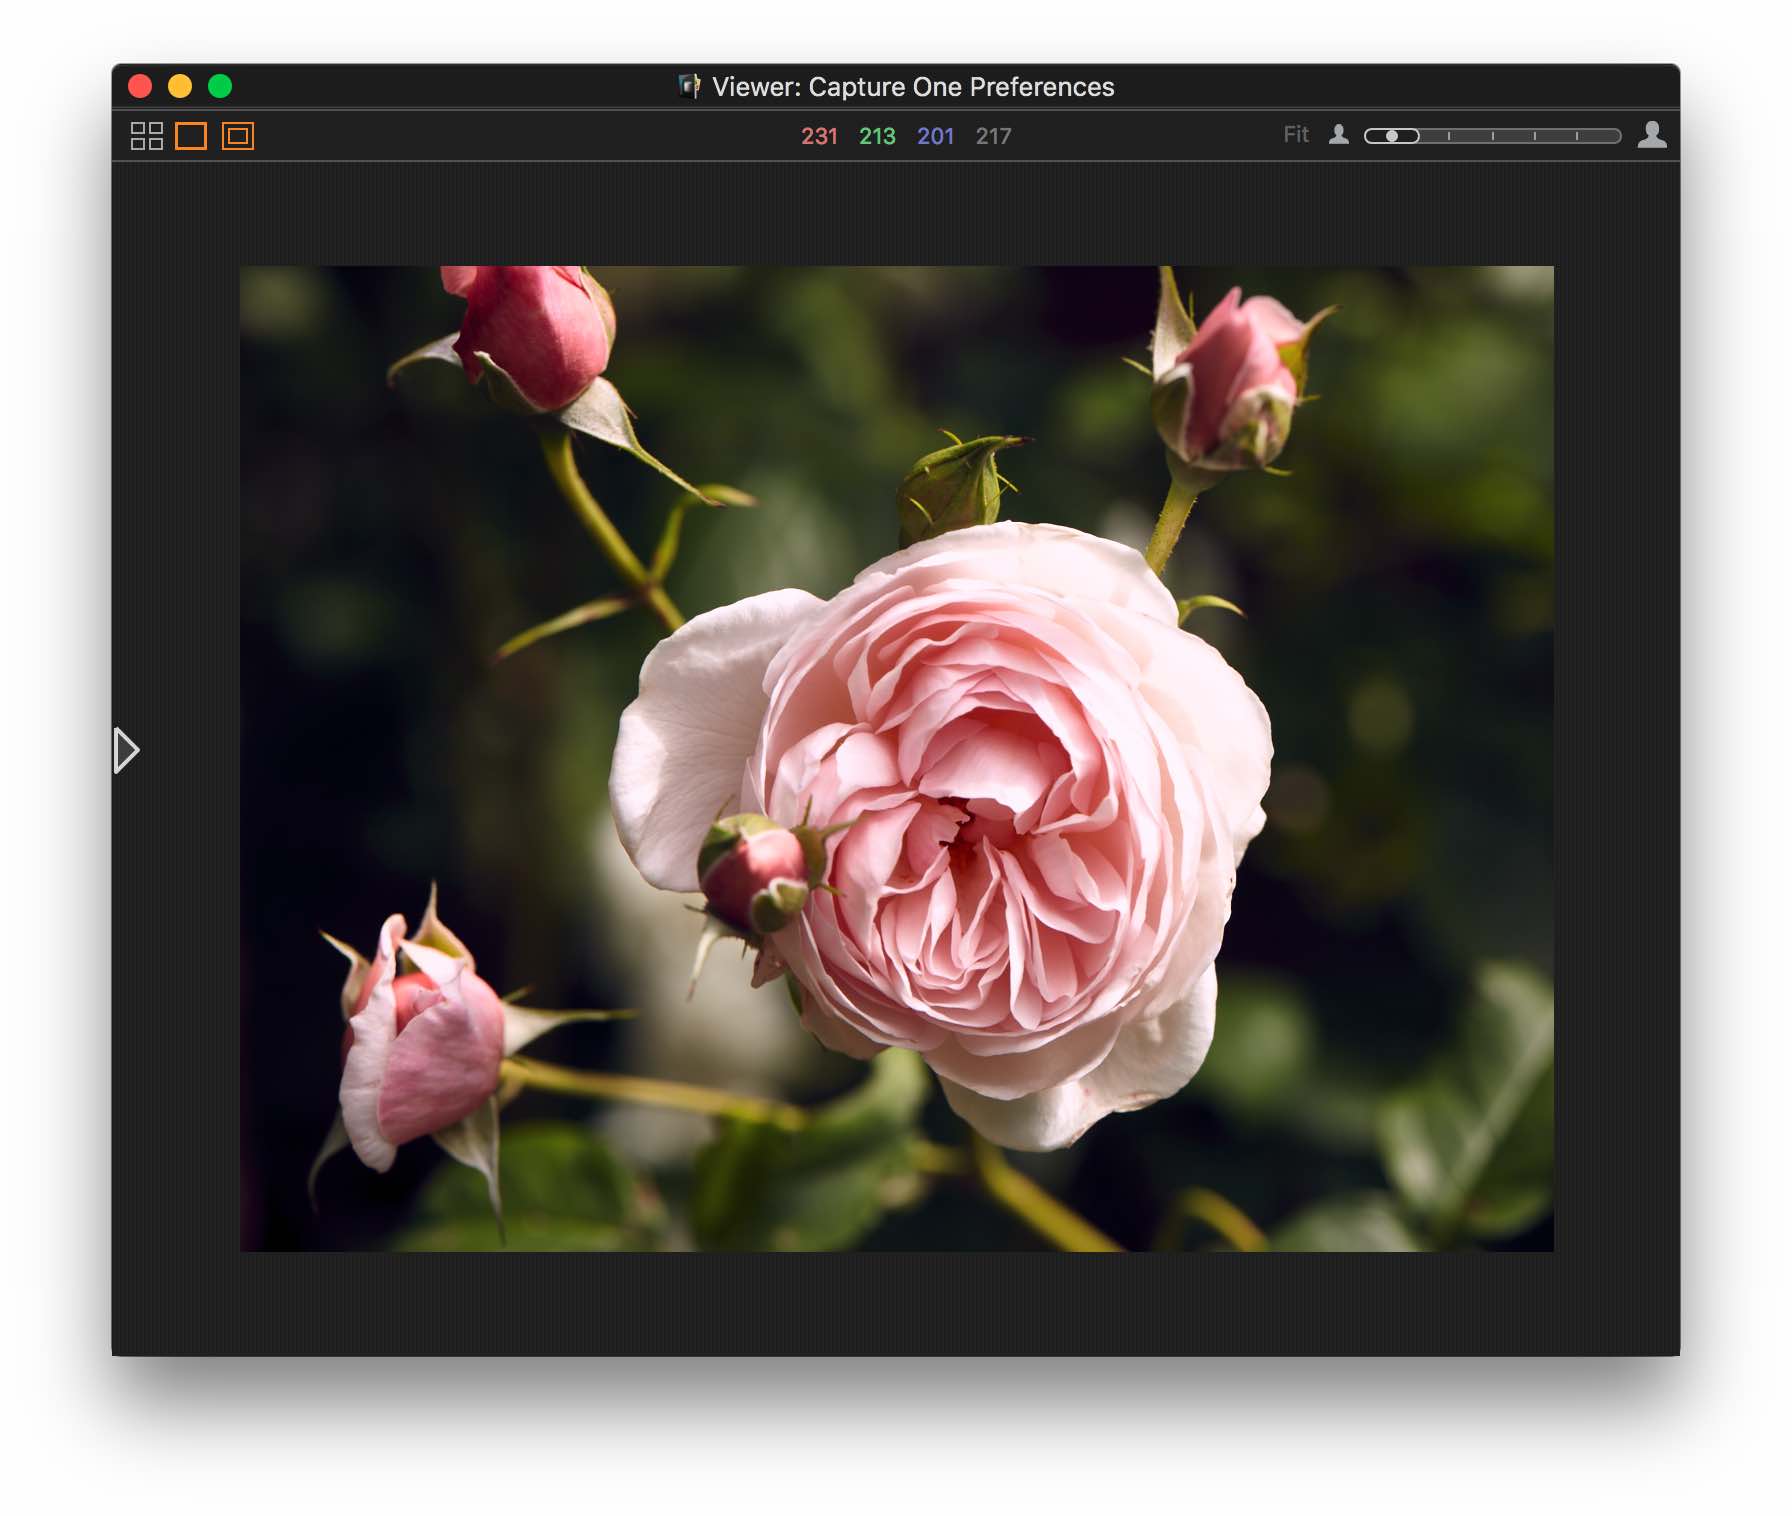
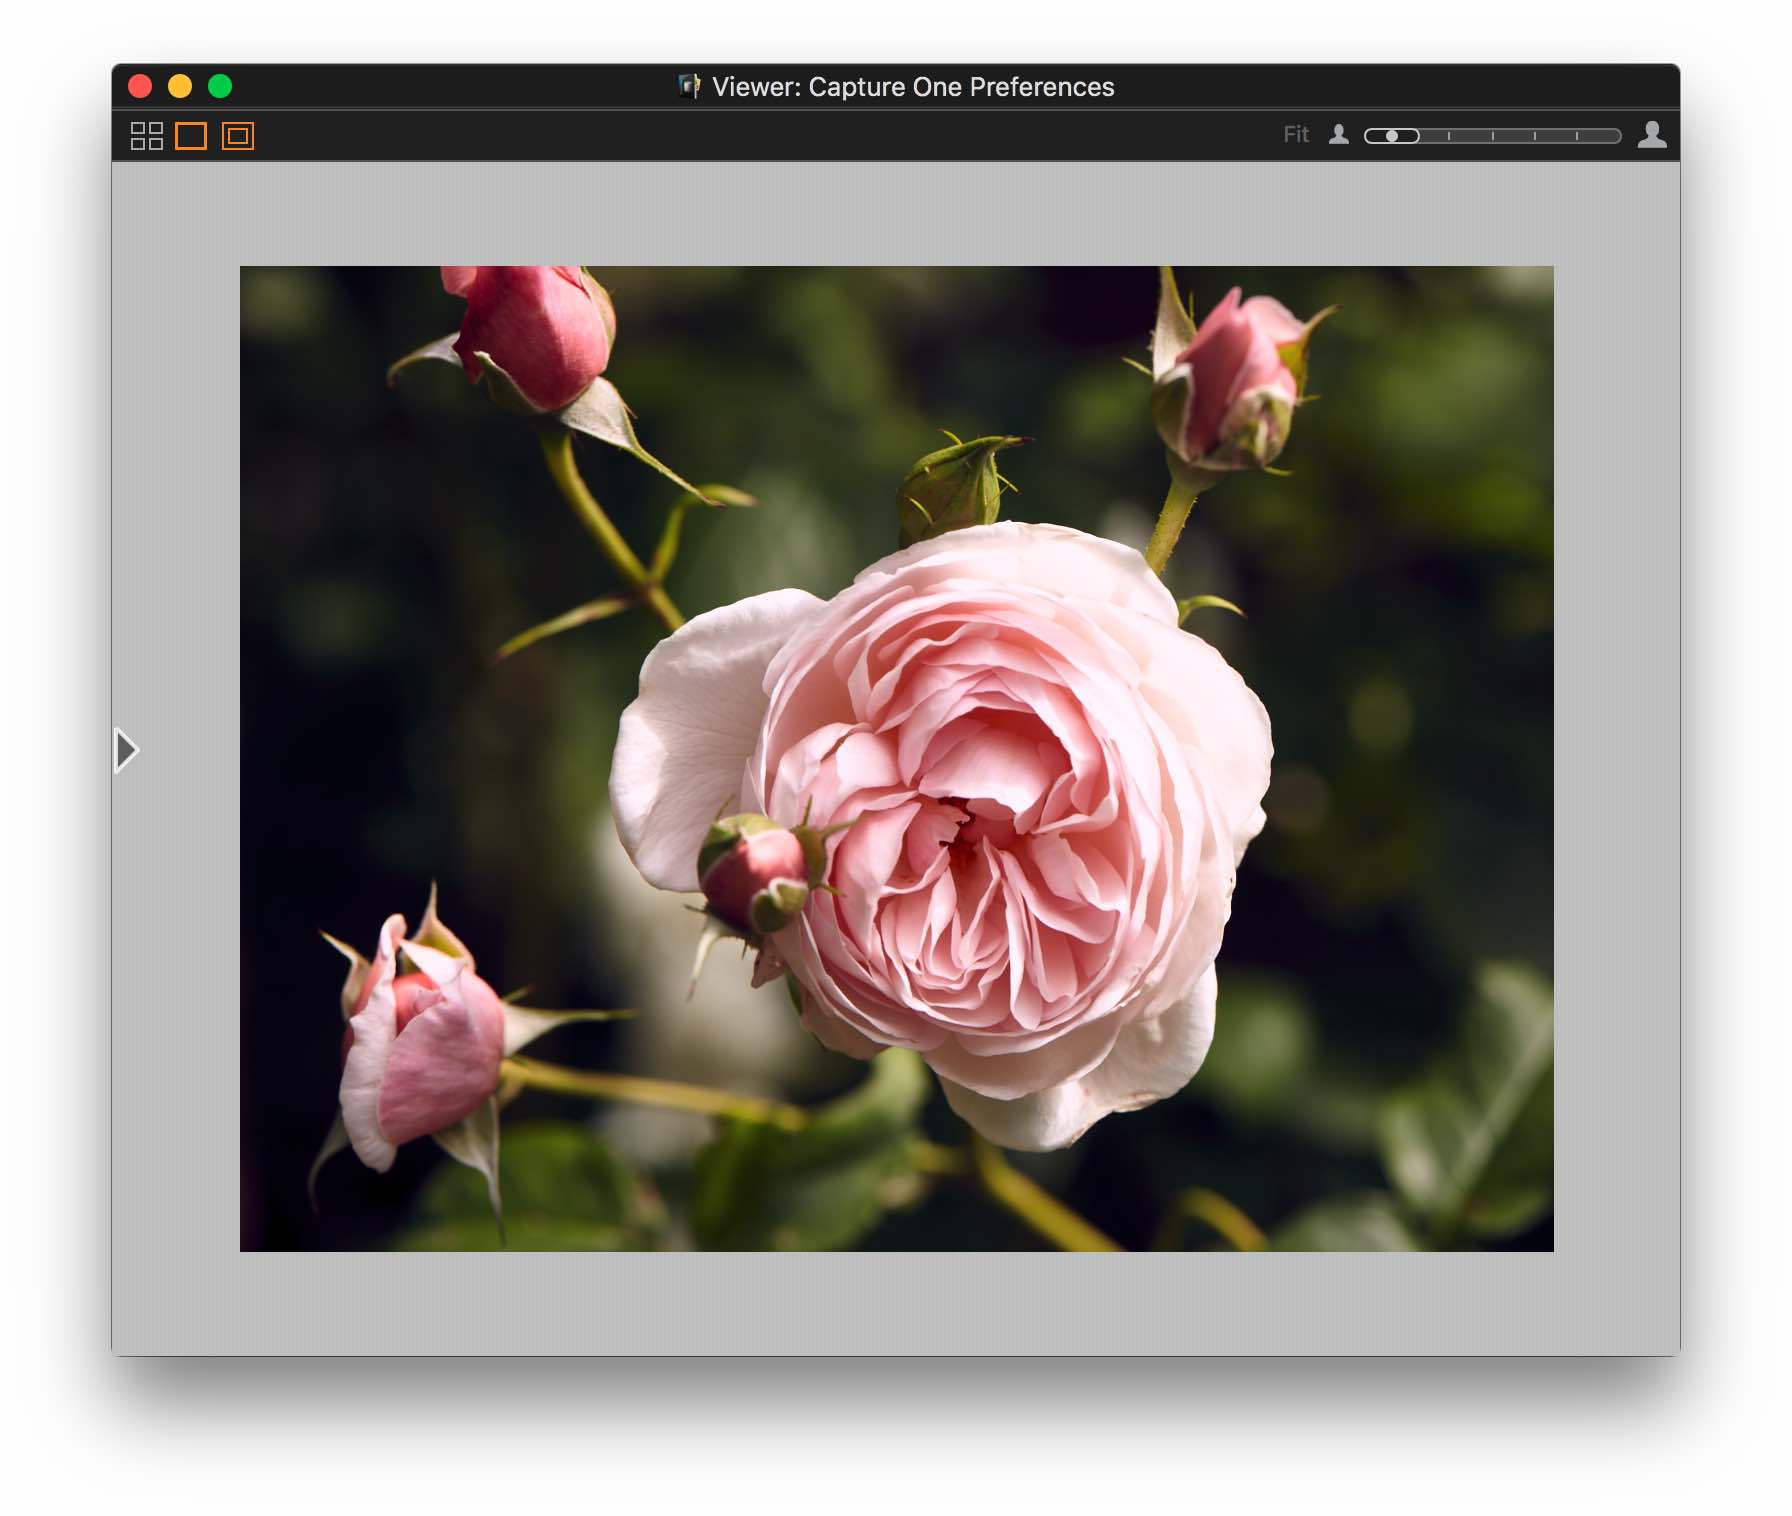
Why is this important? The background color strongly affects how we see colors, contrast, and saturation of the image on screen. I highly recommend aligning the Capture One background color with the background color of other tools like Photoshop and your desktop. I use an even color of mid-gray for my desktop.
Margin And Proof Margin
Next, you can set the Margin or space around the preview in the viewer. The default is only 3 pixels wide. I prefer a higher value in the 10-15 range.
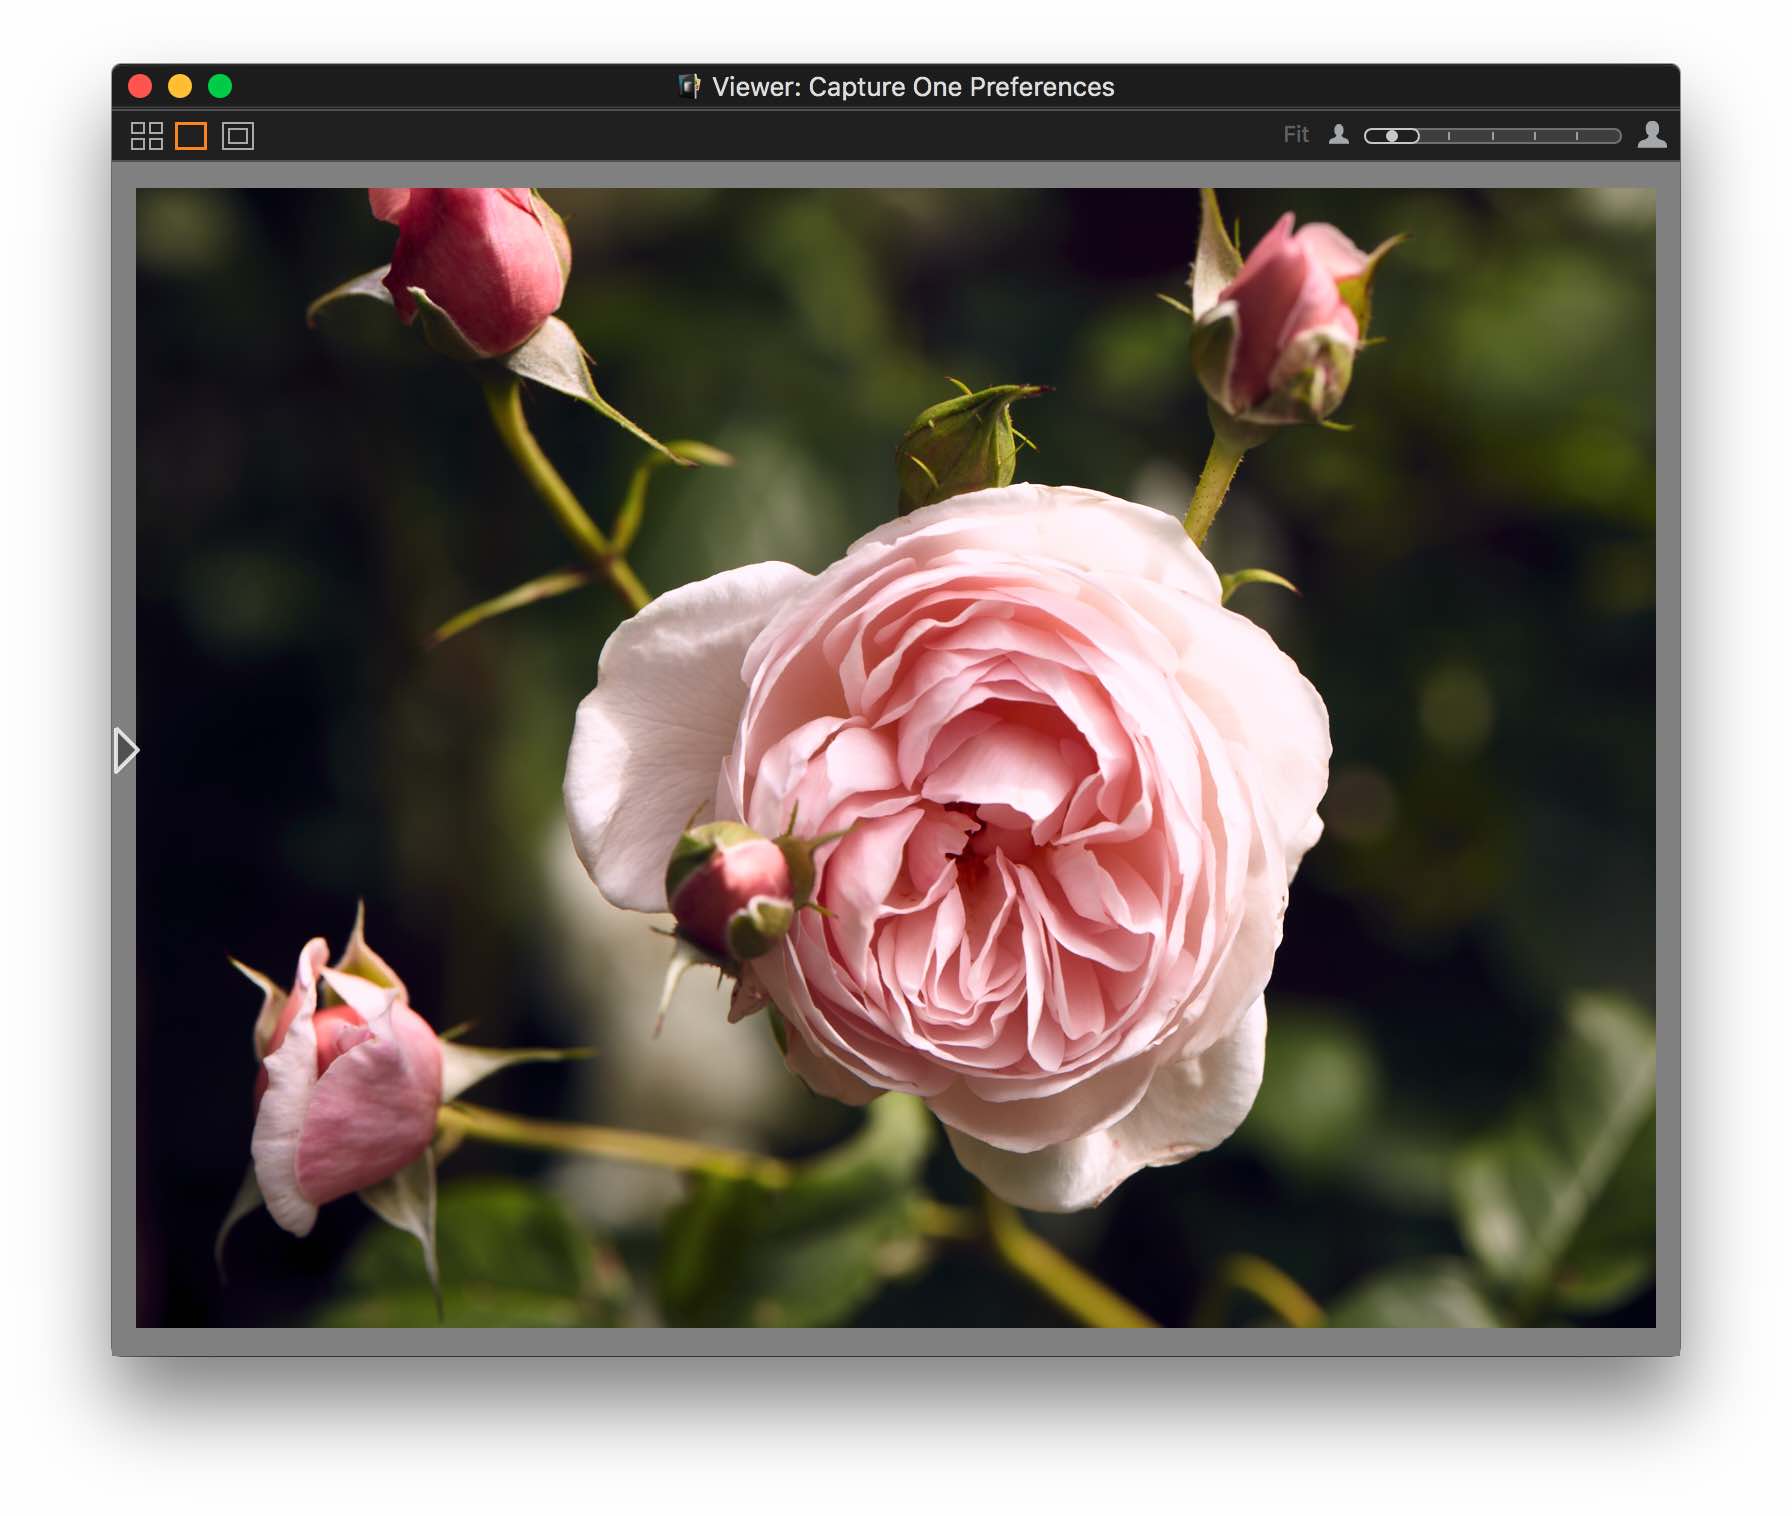
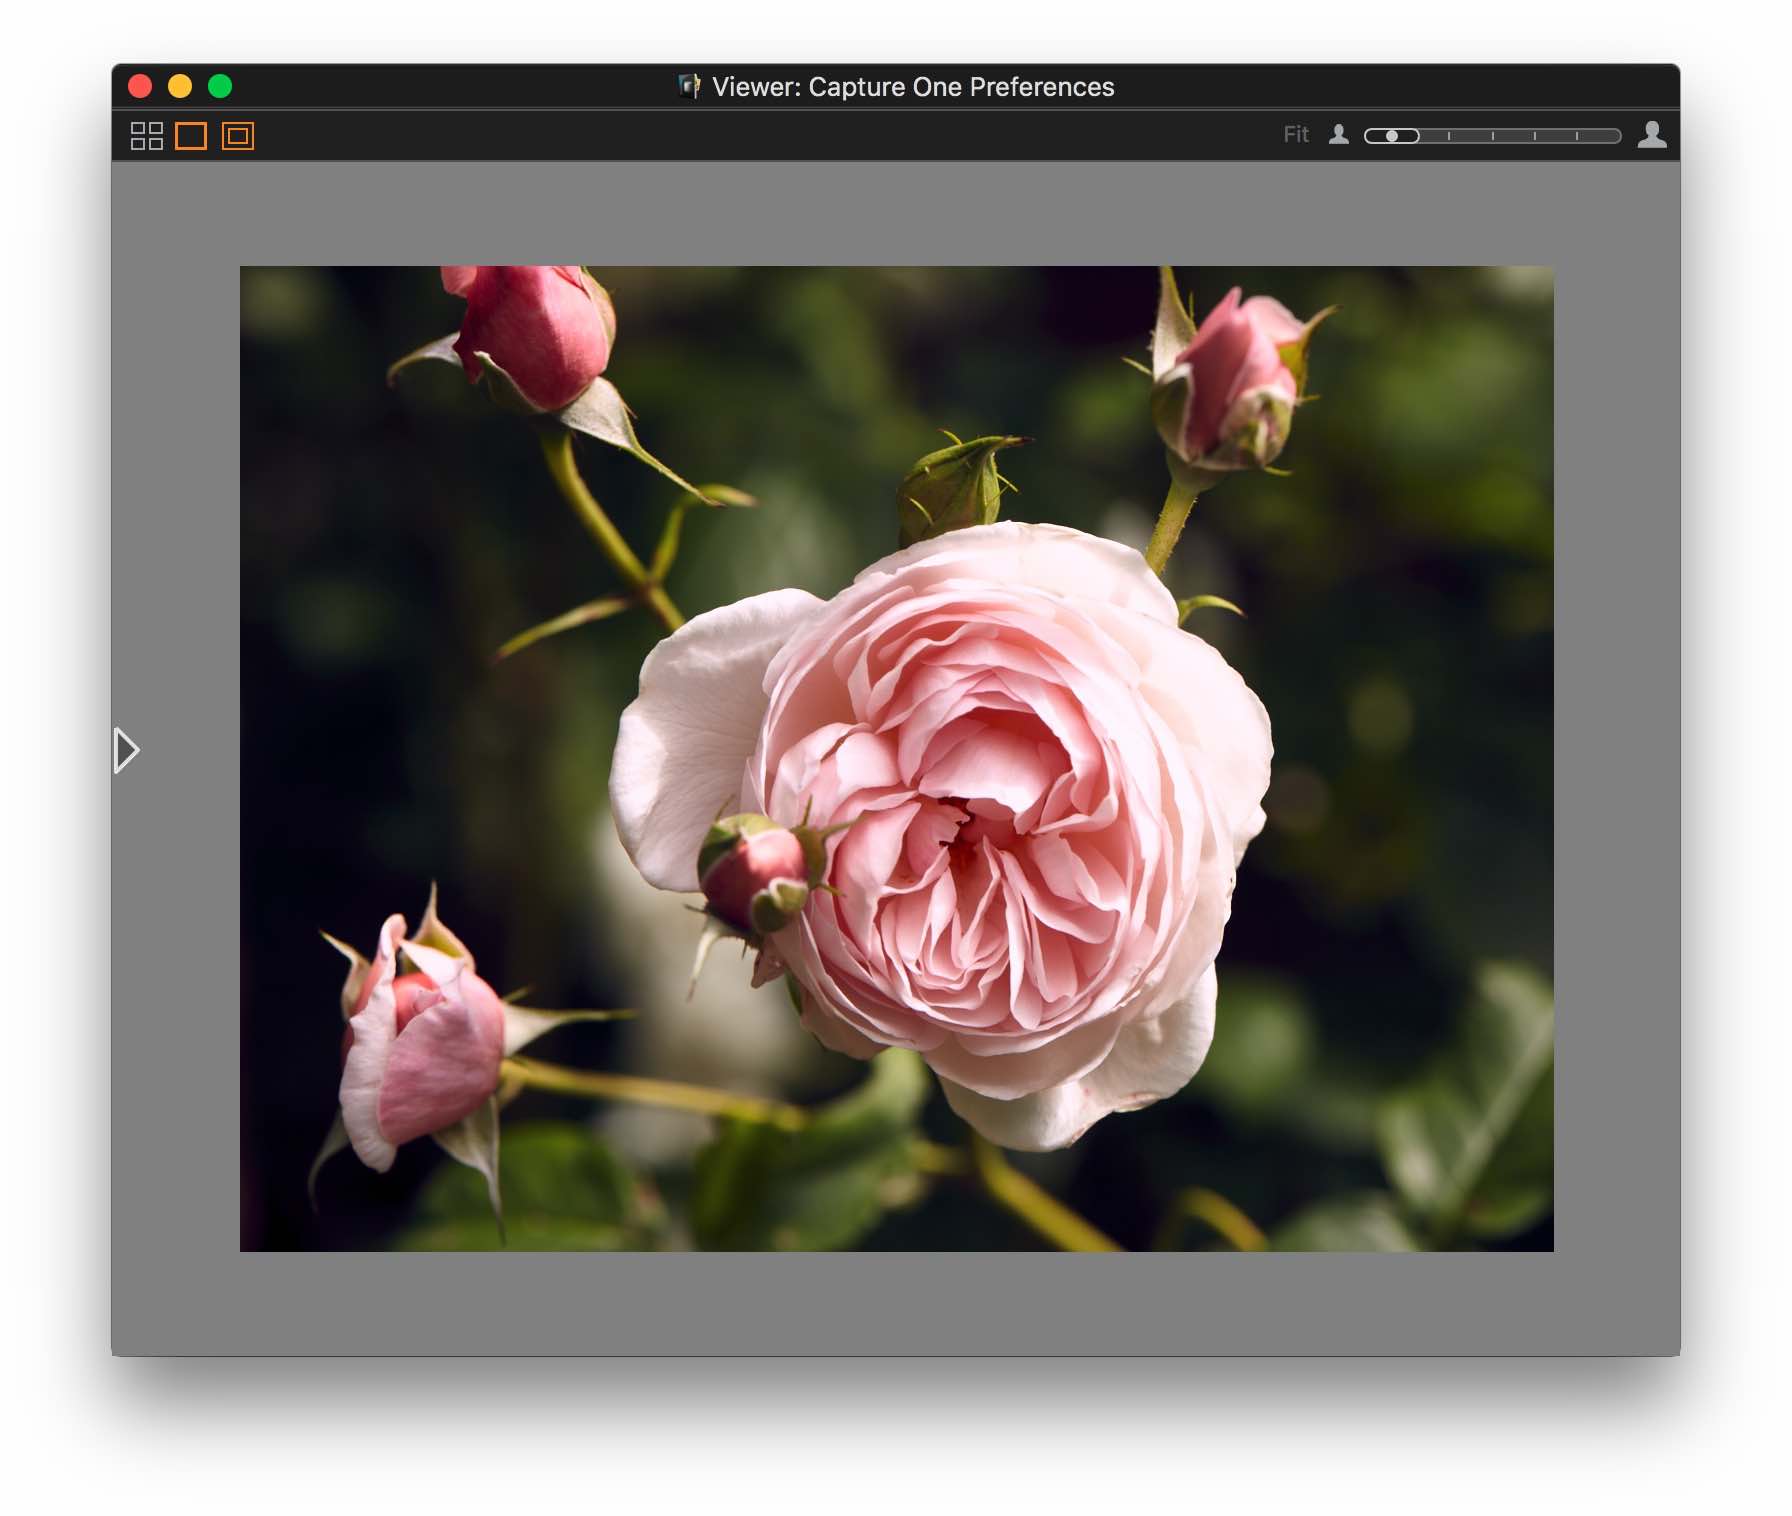
The Proof Margin is a feature similar to the Margin but larger. You can enable/disable it at the Viewer for temporarily viewing the image with a bigger margin. Again, I prefer a higher value than the default 25 pixels width, like 50 pixels for example.
Viewer and Browser
To start with the Pattern selection, the choice between Solid and Pinstripe applies to the Viewer only. Note that with a very bright or dark background the stripes are hardly visible. I prefer the default Solid pattern.
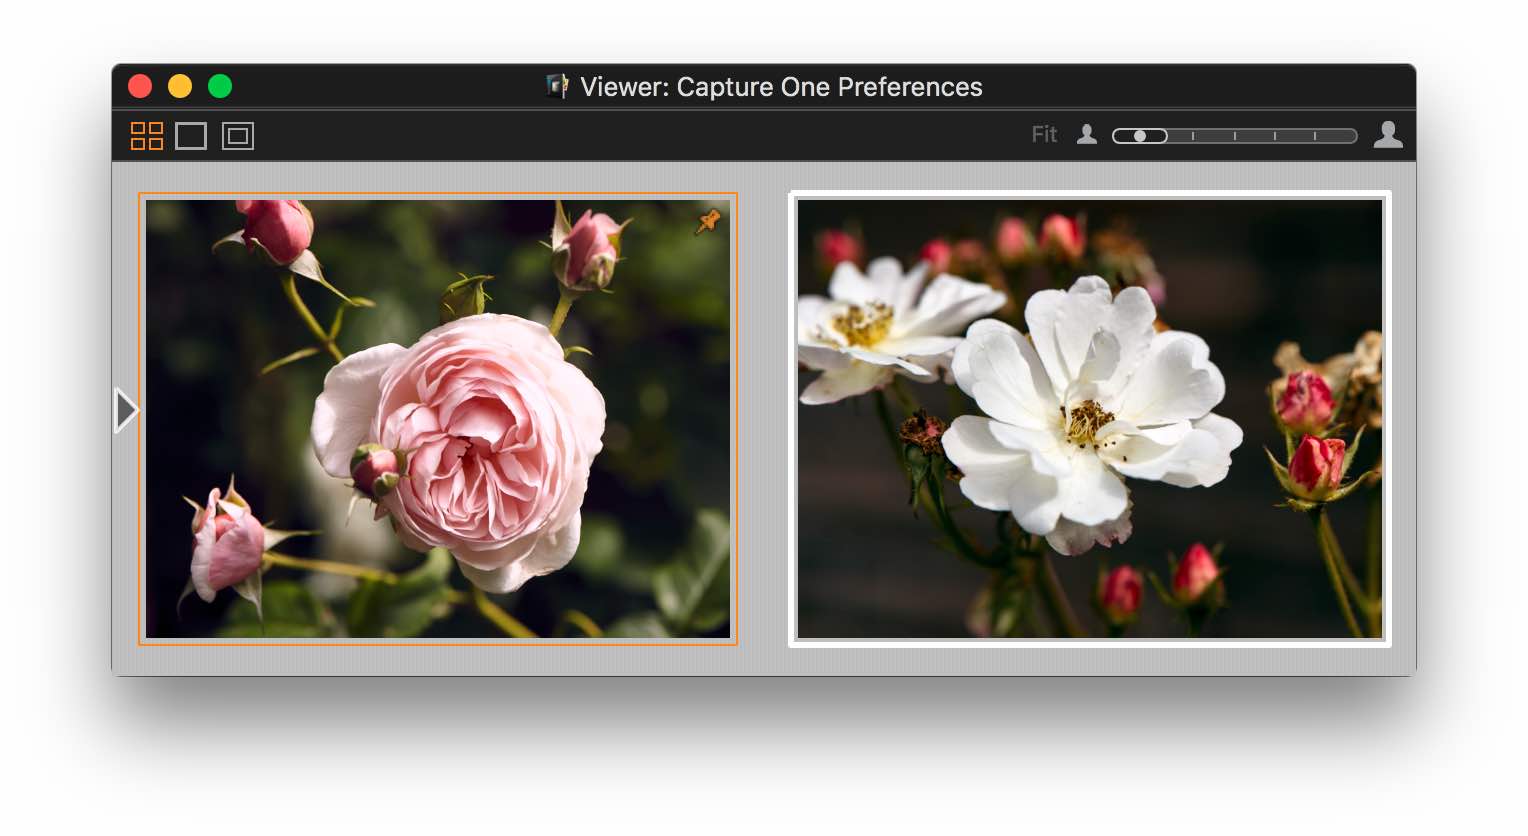
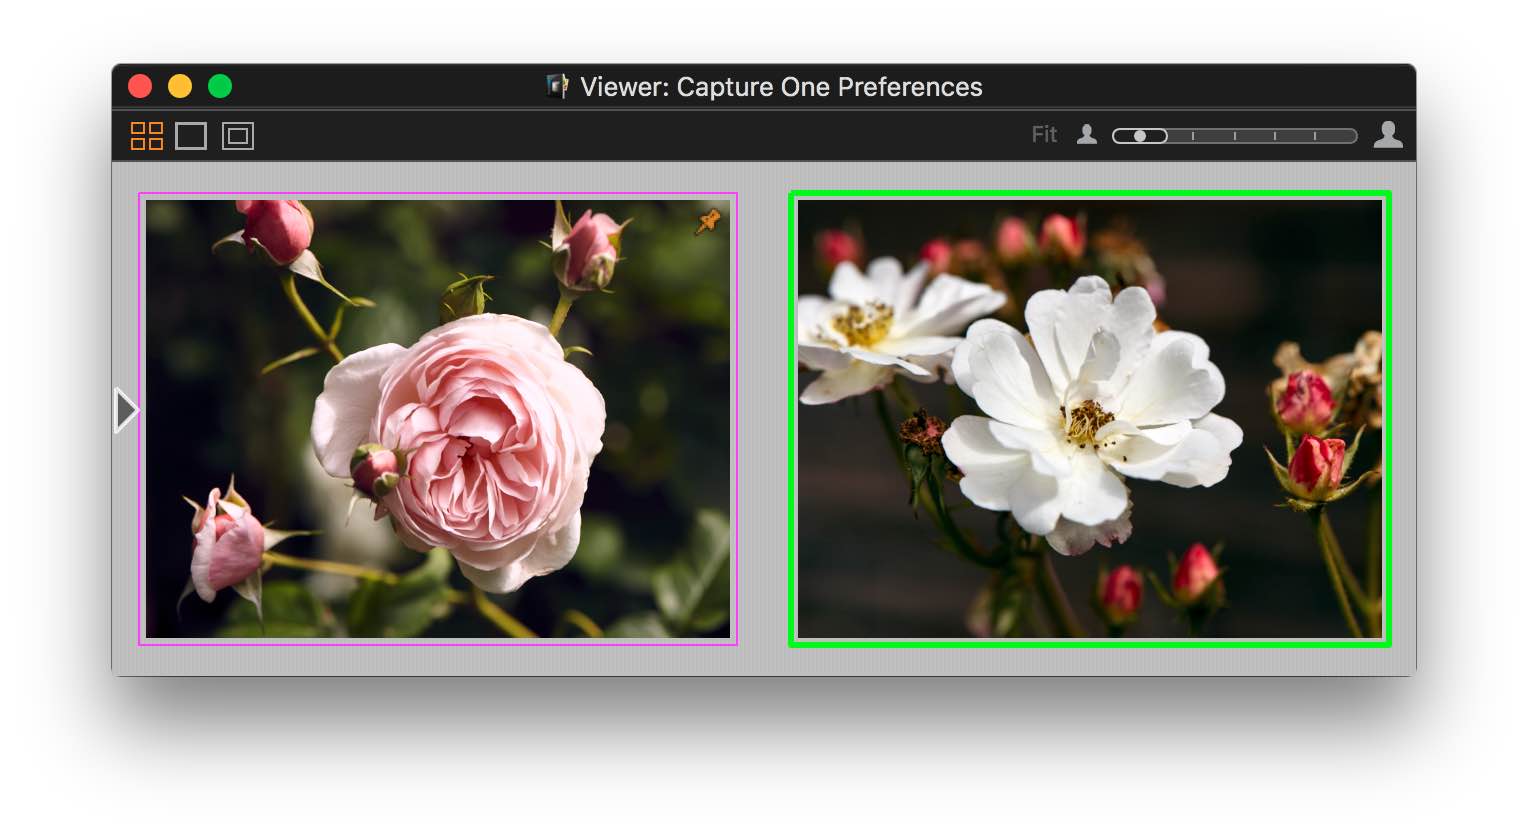
The color selections for the Selected Variant and Compare Variant apply to both the Viewer and Browser. These variants are identifiable from their surrounding color.
The reason why you would like to change the border color is when your subject has the same color as the border or just as a personal preference.
Local Adjustments
Here you can set the Mask Color. The rationale is the same as for the Variant colors. When you have a lot of red in your subject, a red mask is hard to see. No problem, just change the mask color.
Note that this section is not available on Capture One Express 10 (for Sony).
To Be Continued
Here ends part 1 of the Capture One Preferences. Please continue with Preferences Part 2 or Part 3.
Thank you
For reading. Please feel free to leave a comment. Like us on Facebook or subscribe to our newsletter to stay informed about new blogs.
Best Regards,
Image Alchemist














Thanks for your review!
Thanks Alex, good to hear. Hope you enjoy the upcoming parts too!
Best,
Paul Steunebrink / Image Alchemist
Muchas gracias. Muy bien explicada (por fin)la Configuración. Seguiré leyendo las siguientes partes.
Saludos edupiola.
Thank you edupiola, hope you’ll enjoy other posts as well.
Best regard, Paul Steunebrink / Image Alchemist
Hi and thanks, very informative! Can you tell e if I can change the theme of capture one to a lighter grey or other?
Hi Richard,
You can not change themes in Capture One, only the background of the Viewer.
Best, Paul Steunebrink / Image Alchemist