Capture One Base Characteristics
Capture One Base Characteristics affect every image you open. What does the ICC Profile, the Curve and Engine mean and how can you benefit from making the right choices?
Capture One Base Characteristics
This is the first post of a series about tools on the Color tool tab in Capture One. Apart from the Histogram, the first tool you find here is the Base Characteristics tool.
It looks like a simple tool that you may need occasionally or maybe not at all, according to common belief.
Well, that depends, says the Image Alchemist!
Today I show you what you can achieve with it. It is actually a very significant tool in Capture One’s comprehensive tool set! The reason for this is that what you choose here, affects all your adjustments along the line.
What The Tool Controls
The Capture One Base Characteristics tool controls the three most important aspects of how your final image will look like, hence its name! The three controls have the following names:
- ICC Profile
- Curve
- Engine
I will now discuss each one in order of appearance.
ICC Profile
The ICC Profile field lists the profile that Capture One uses as an input profile. It is a profile that reflects the color characteristics of your camera under normal light conditions. Each camera for which Capture One supports the raw file format has its own unique color profile(s) made.
Be aware that all color corrections you make along the way might need revision if you change this input profile later on. Therefore, it is so important you set it right from the start.
For Phase One and Leaf digital backs, as well as some DSLRs, Capture One offers more than one profile right out of the box. For example, there are distinct profiles for the type of light (daylight, flash, tungsten) or for the type of photography (product, portrait).
Sometimes there is a second and improved version of the generic profile, typically called the Generic V2.
Selecting Profiles
When you click on the ICC Profile, the drop-down list opens and you can select a different profile. This list is either short or long. See the screenshot above for the shorter list or Show Recommended mode. The shorter Show Recommended list is easier to work with and shows only the profiles made for the camera.
Notice the Show All option near the bottom of the list to switch to the other and longer list mode. You see an example of the longer Show All list below. Again, notice the Show Recommended option near the end of this list to go back to the shorter list.
You use the Show All mode if you need a profile that is not related to your camera or for a special purpose profile. All camera brands are listed plus the items Effects and Other.
You find special-purpose profiles that are built-in Capture One under Effects. You typically find some B&W profiles here.
But maybe you have some profiles elsewhere on your system. Select Other from the list to get access to that profile.
Import Profile
If you use a custom ICC profile for your image in the Base Characteristics tool, that profile is saved in the <image folder>/CaptureOne/Settings100 subfolder together with the adjustments. This applies to Sessions and when you export the original from a Catalog or Session.

When you move the image with adjustments, including the custom profile to another computer, Capture One might not apply that profile. Although it is copied with the Settings100 folder, it is not known to the system.
When you select Import Capture One copies the profile from the Settings100 folder to the profile folder for your system. Now Capture One is able to read and apply the profile to your images.
Custom Profiles
I will discuss the Color Editor tool later in this series on tools on the Color tool tab. With the Color Editor, you can make custom ICC Profiles by altering the original profile. Capture One stores these custom profiles in your user profile folders and not in Capture One’s application folder. Capture One lists them side-by-side with the built-in profiles thanks to how there naming.
In the example above I made a custom ICC Profile with the Color Editor tool for my camera that slightly reduces the saturation of orange, hence named LessOrange. After I saved it with the Color Editor tool, it appears here next to the built-in profile for that same camera.
Curve
The Curve field – also known as Film Curve – in the Base Characteristics tool in Capture One, applies a curve correction to the brightness levels of the image. The reason for this is that a digital sensor perceives the tonal range of an image in a different way than our eyes and brain (according to a linear versus logarithmic scale).
Therefore Capture One always applies a curve to make it easy to correct the image and pleasant to look at. The default Curve is Film Standard. However, that is not necessarily always the right setting.
More Curves
For most cameras and digital backs, you see about four to six Film Curves. When you click on the Curve field and the drop-down list opens.
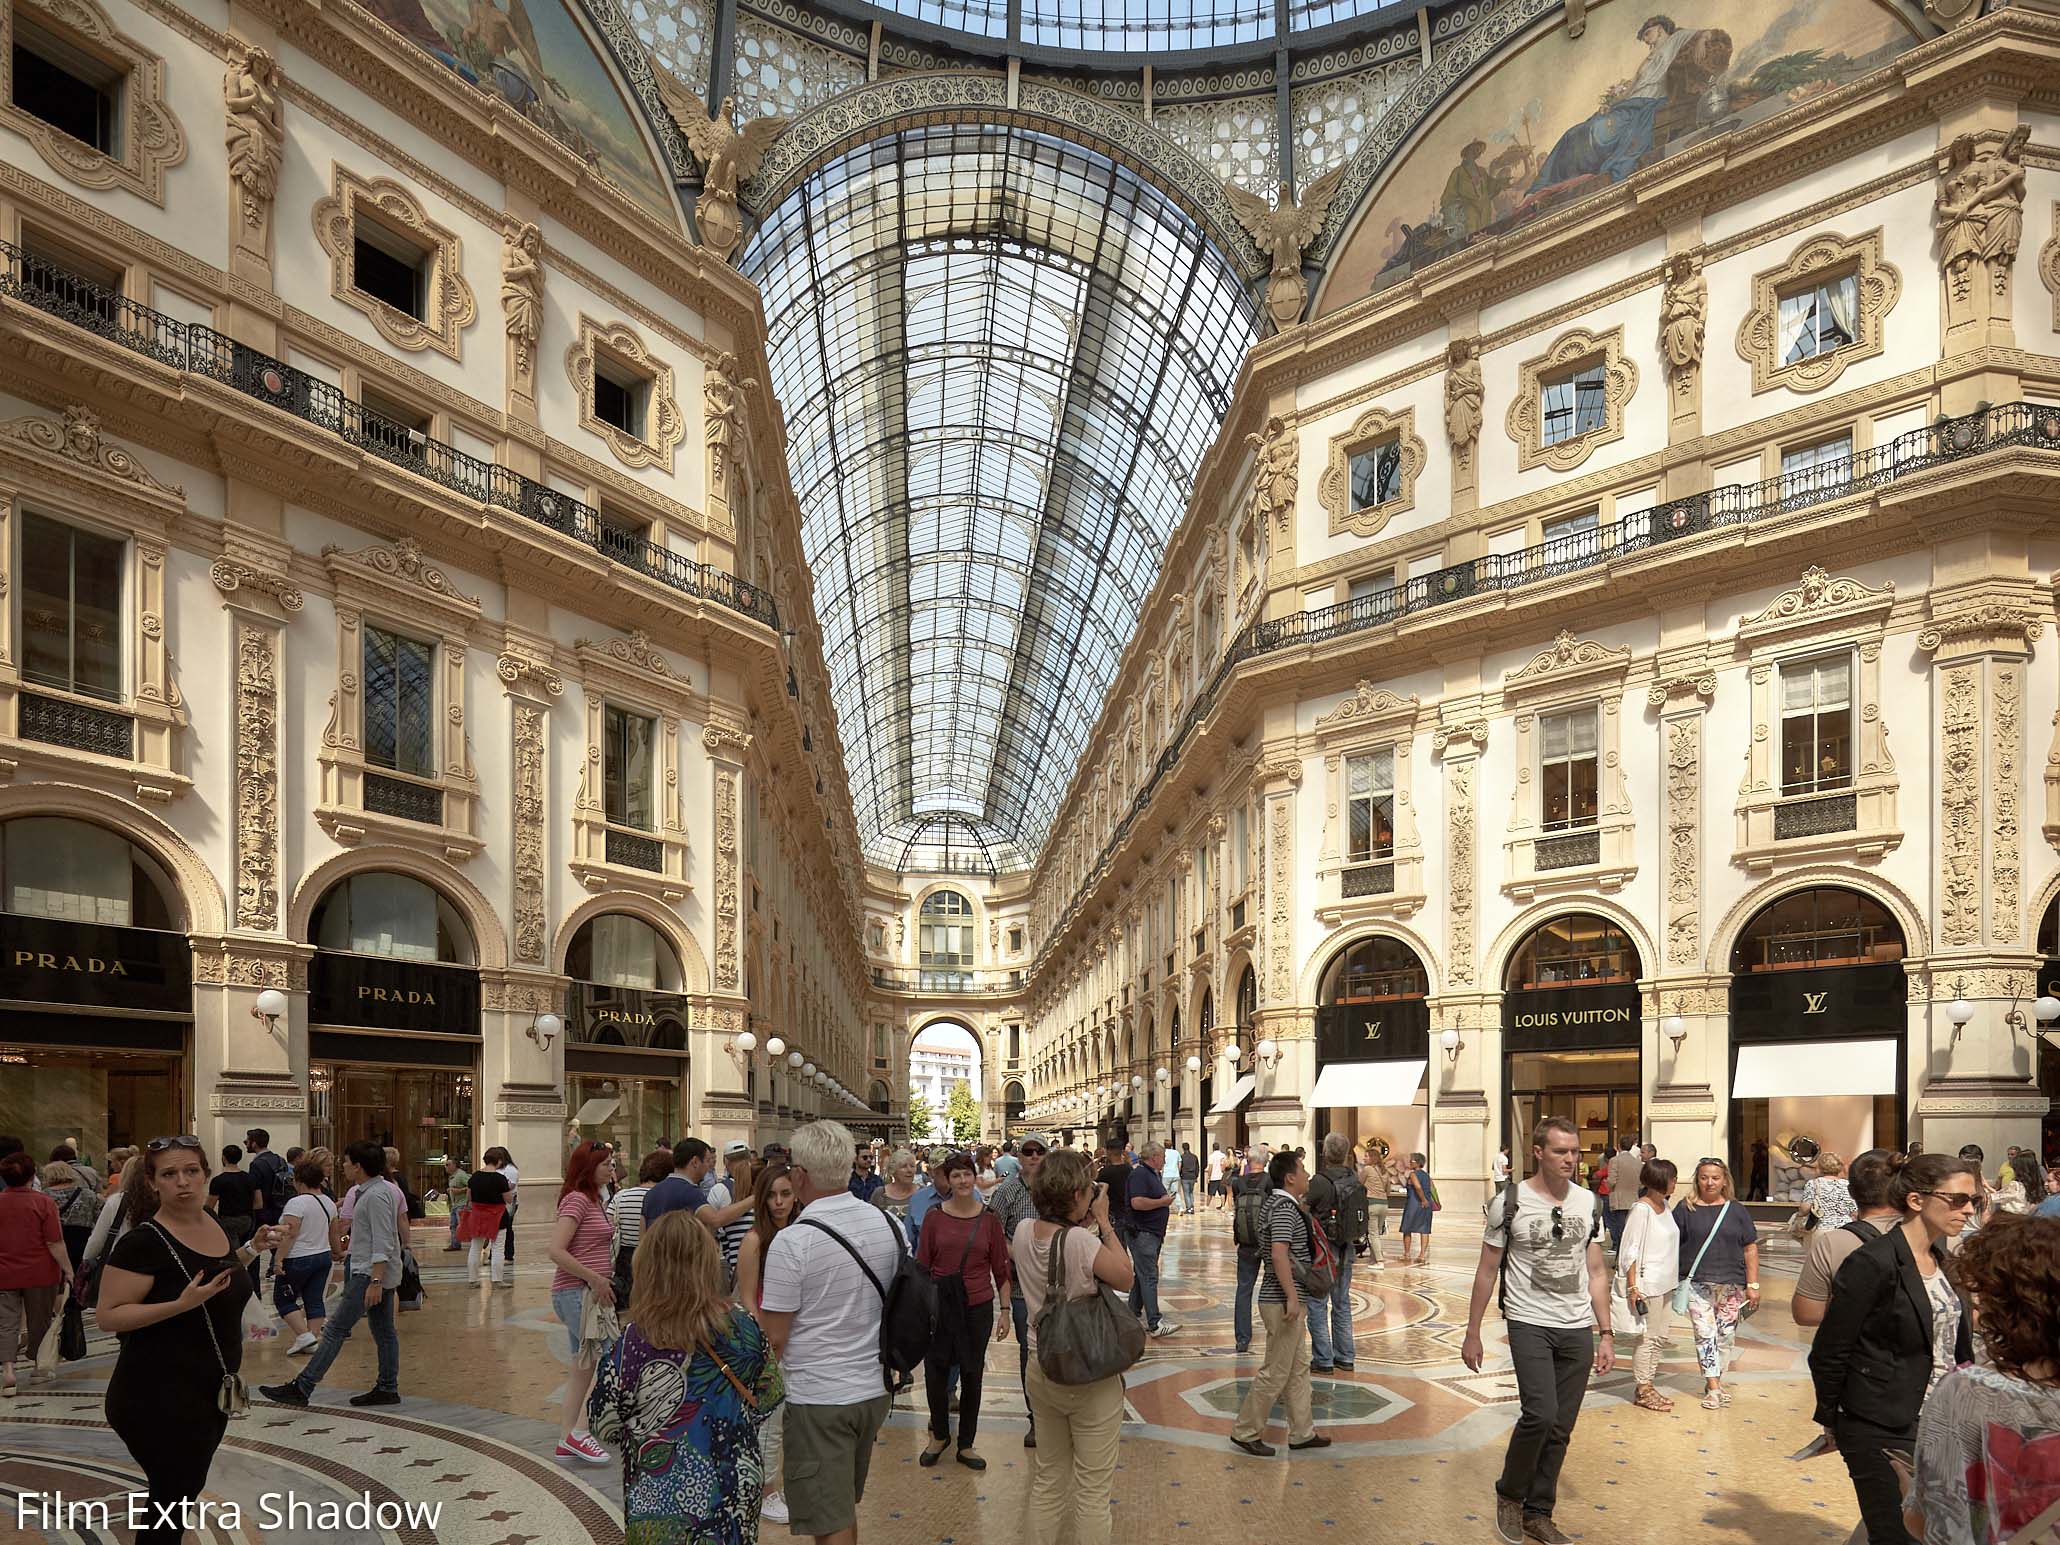
The Film Extra Shadow curve is a good starting point for images made with very harsh light conditions. To retain details in the highlight you had to slightly underexpose the image. Clearing up the shadows is a lot of work. The Film Extra Shadow curve is a better starting point before making further adjustments.
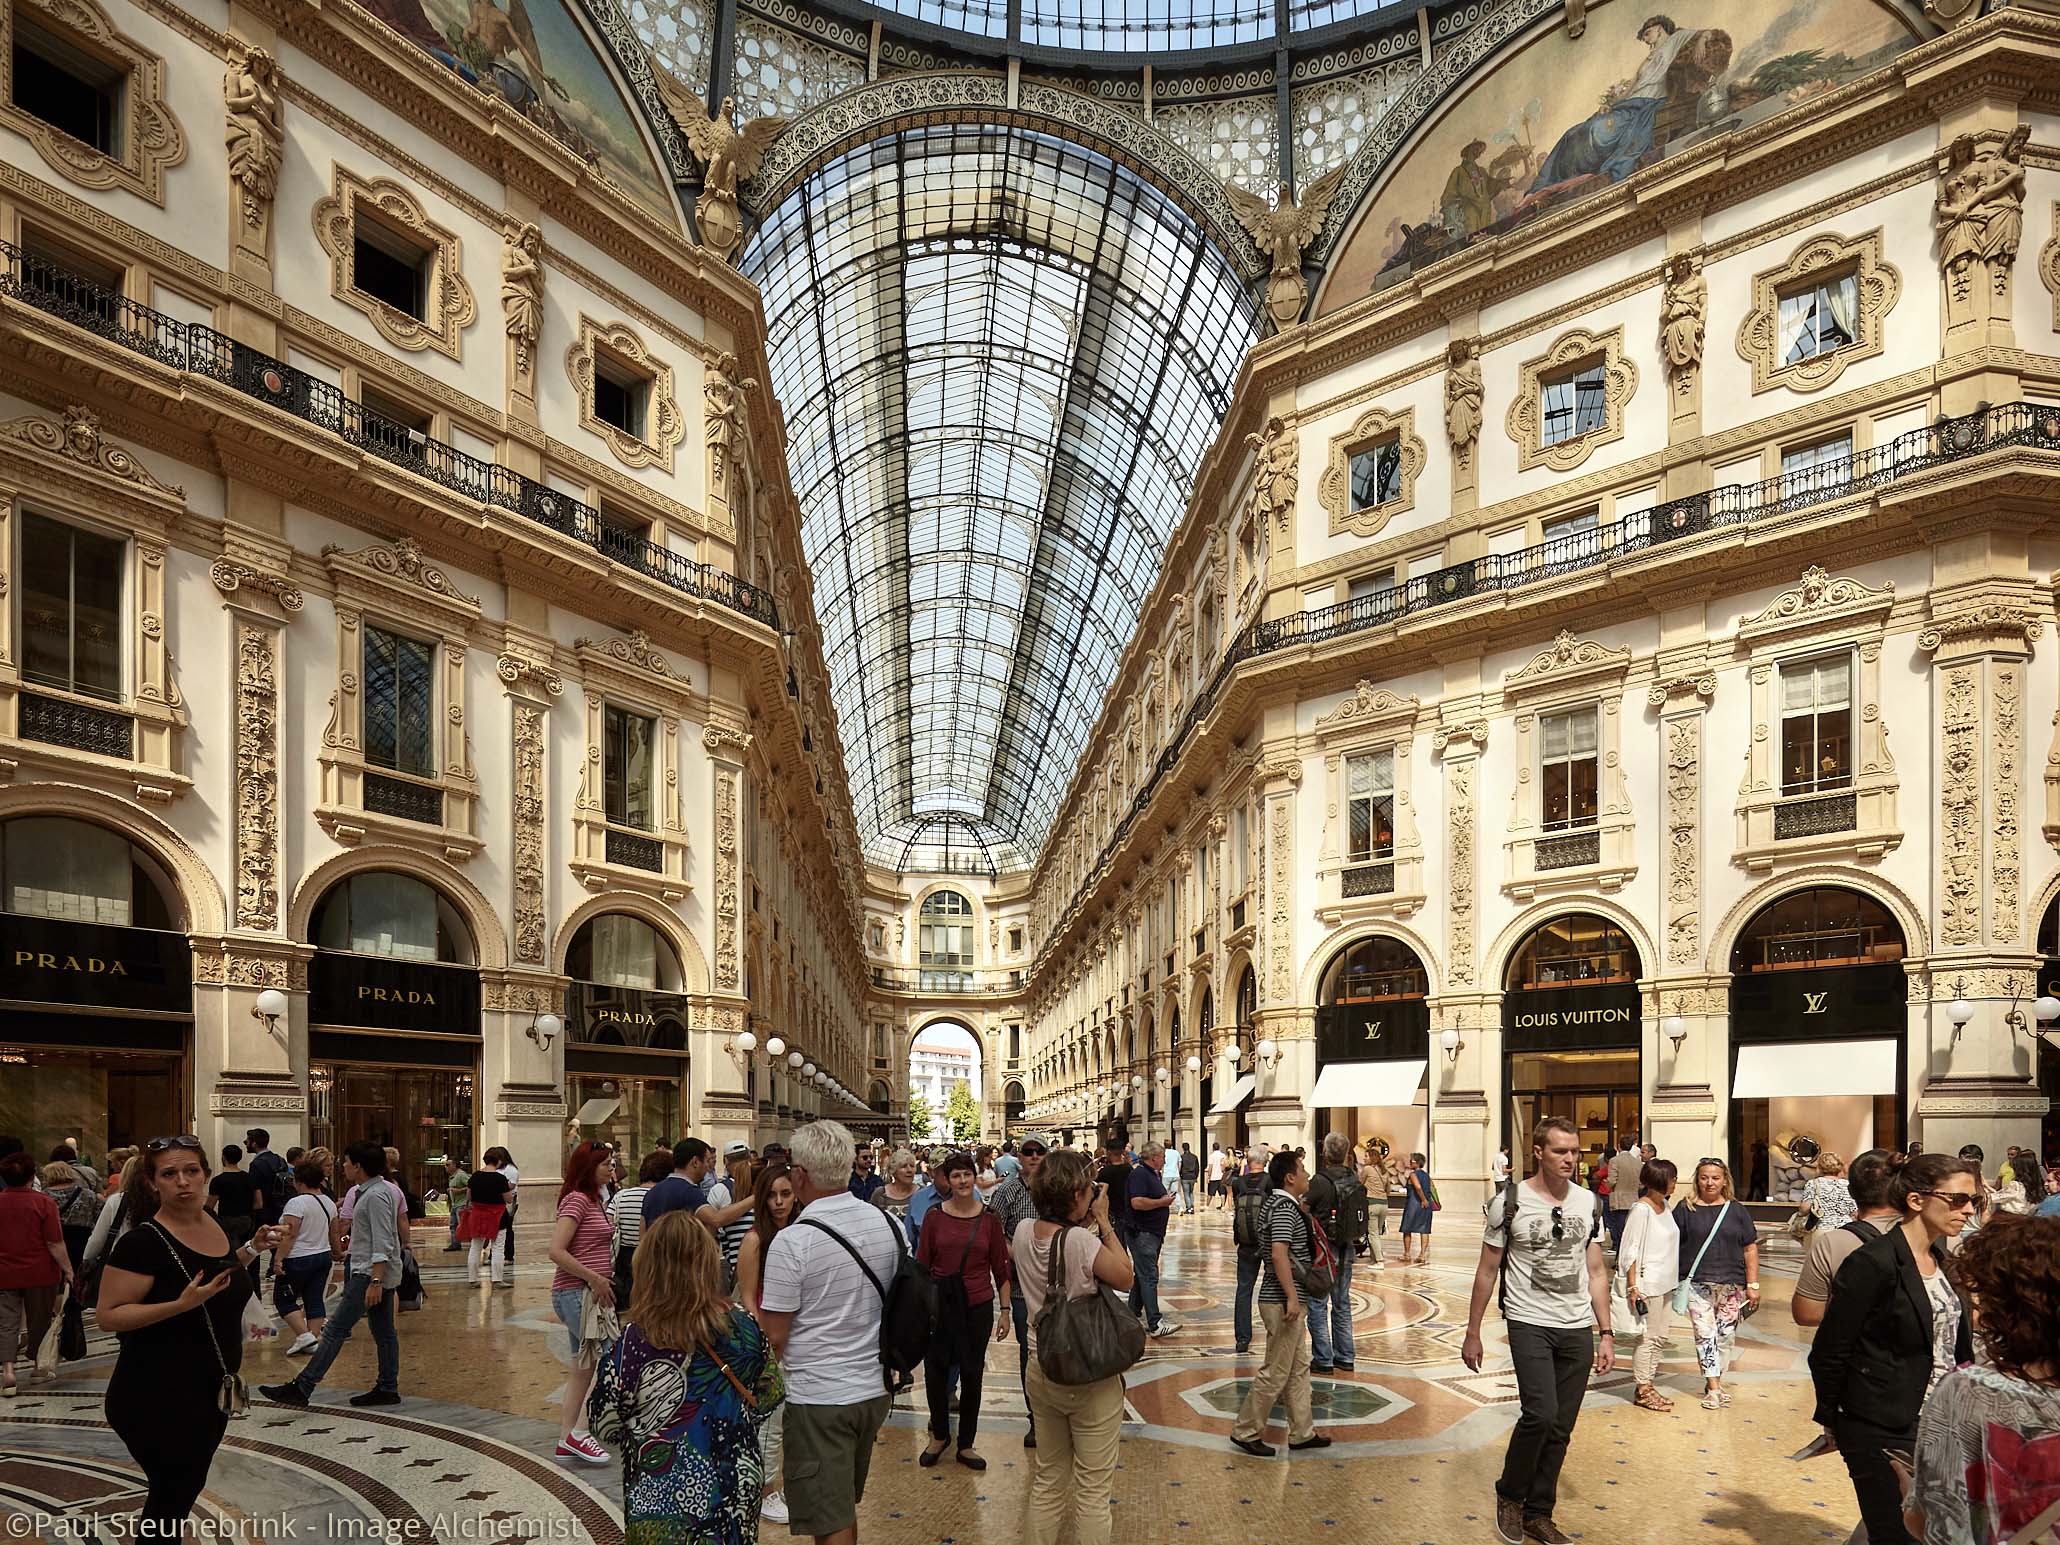
In the before/after comparison I stacked a Film Extra Shadow curve and a Film High Contrast curve image. Note that the image at the beginning of this post has the Film Standard curve.
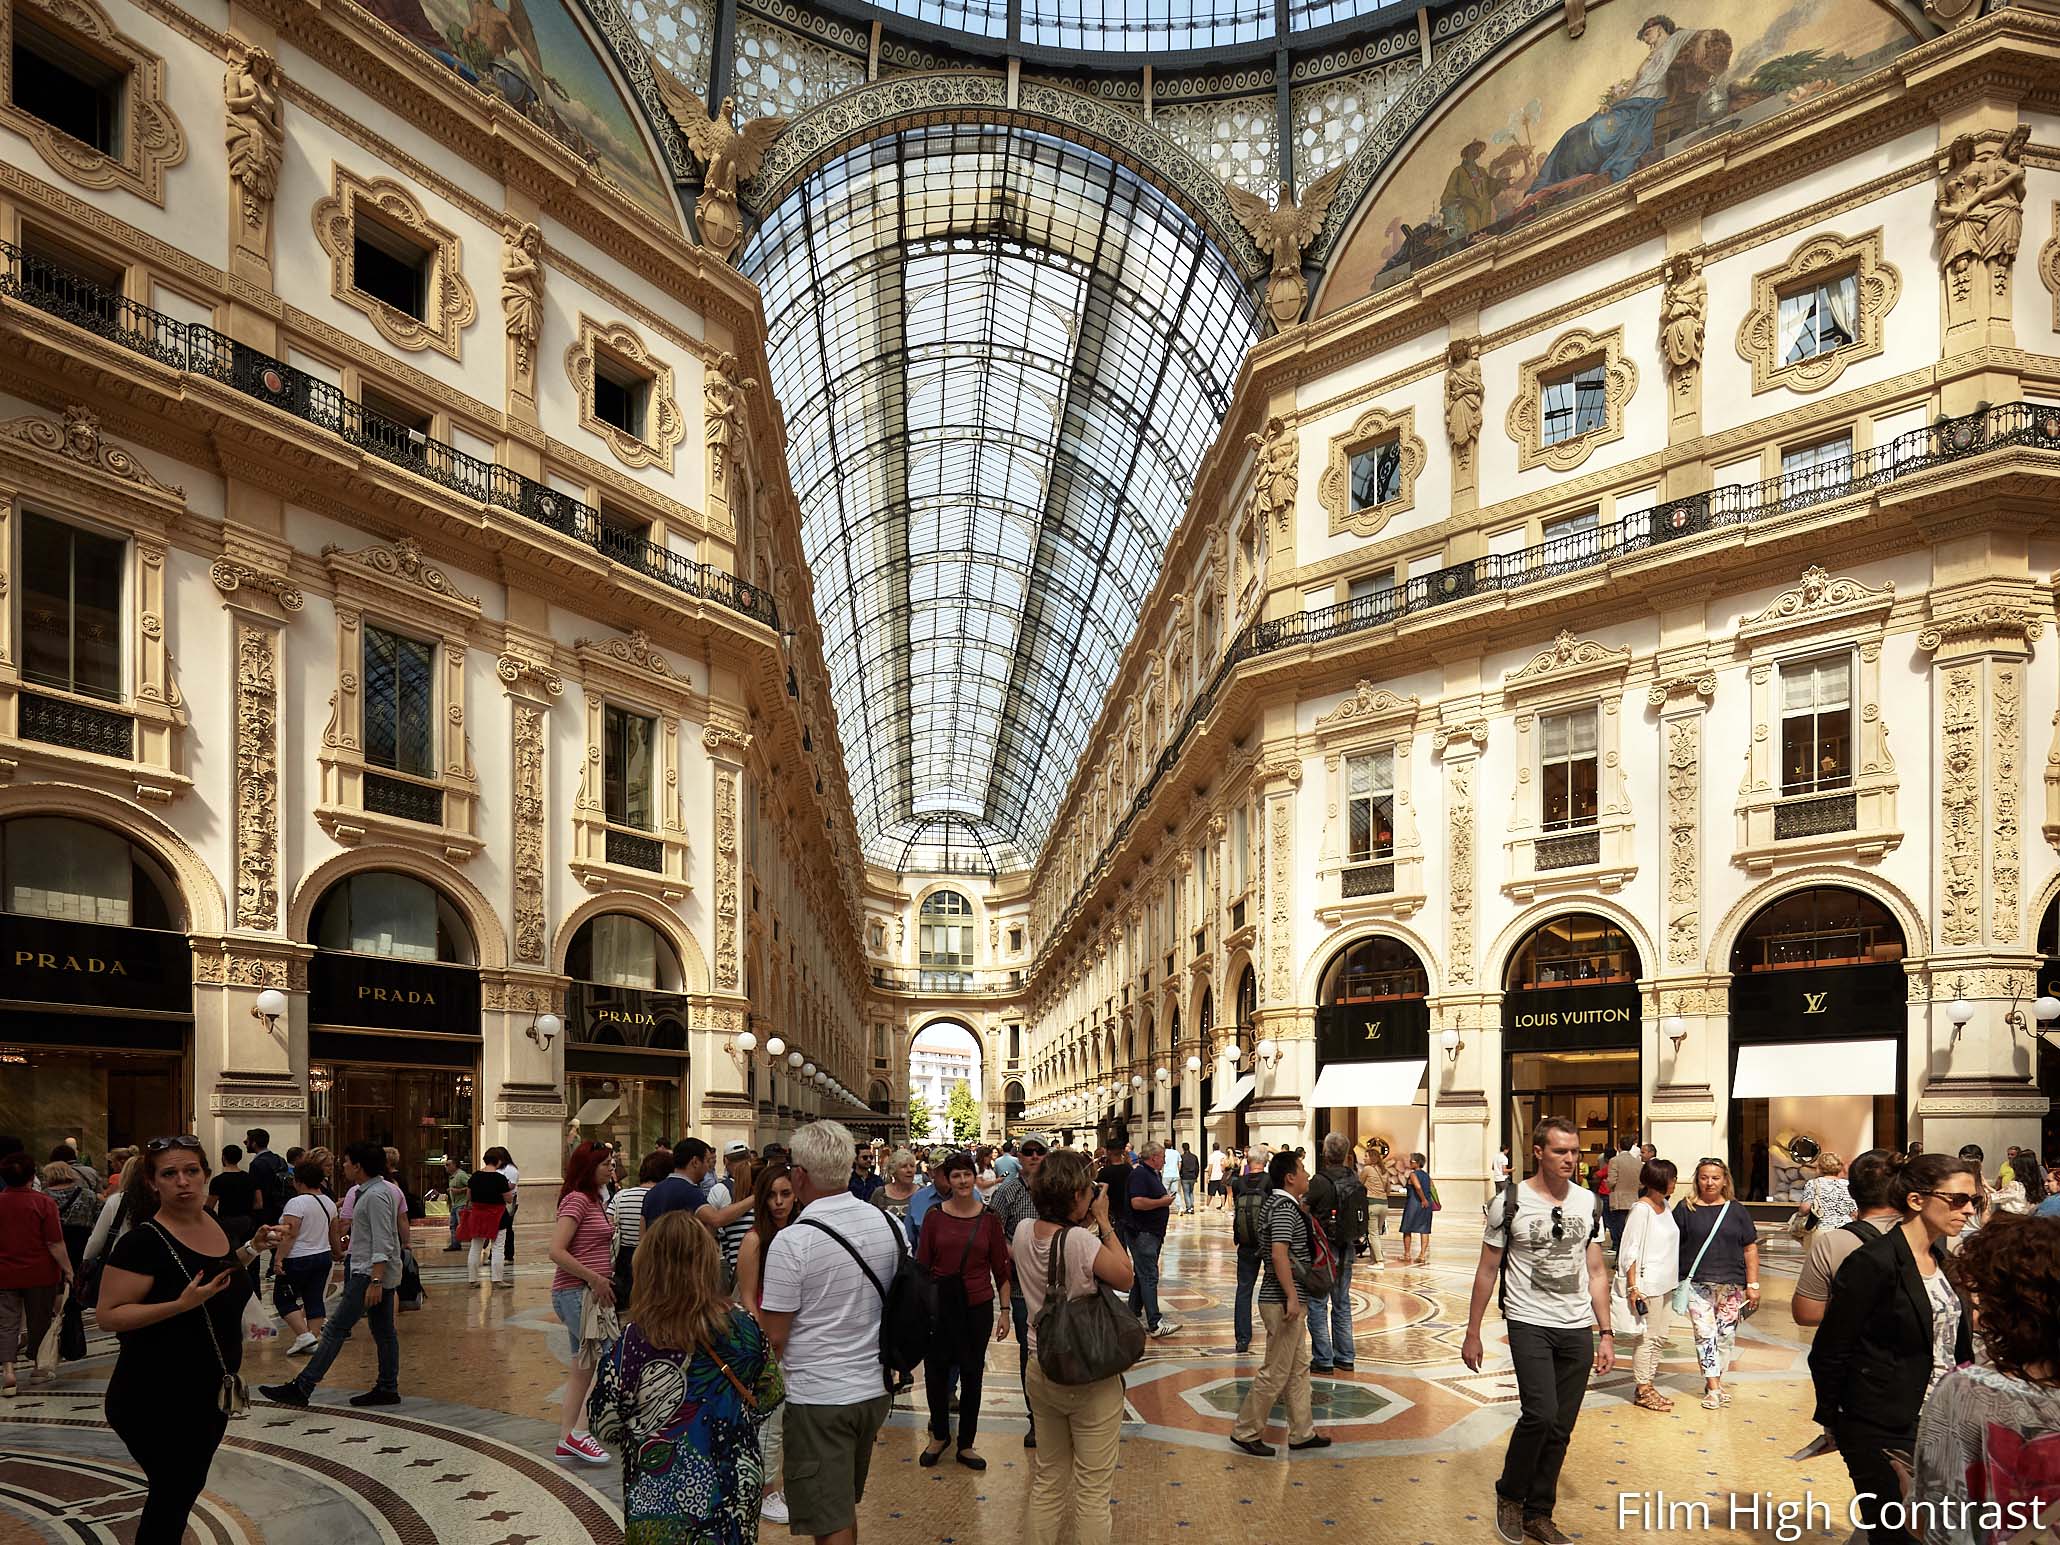
The Film High Contrast curve occasionally comes to the rescue when the image lacks sufficient contrast. Again, there are several tools to increase contrast but selecting this Film High Contrast curve gives you an easier if not better starting point.
Very low contrast images under cloudy weather or telephoto shots with atmospheric aberrations are typical examples here. In the past, I had a 1.4x teleconverter for my Canon EF 300mm lens. I got good quality images from it but the combo lacked a bit of contrast. This Film High Contrast curve solved it instantly for the entire shoot and was a great time saver.
Special Purpose Curves
The next two stacked images both have the Linear Response curve. The second image (right) has received further corrections for Exposure, Levels, and Curve (Luma curve). Note that you retain highlights better and the color contrast is lower than the Film Standard curve image at the beginning of this post.
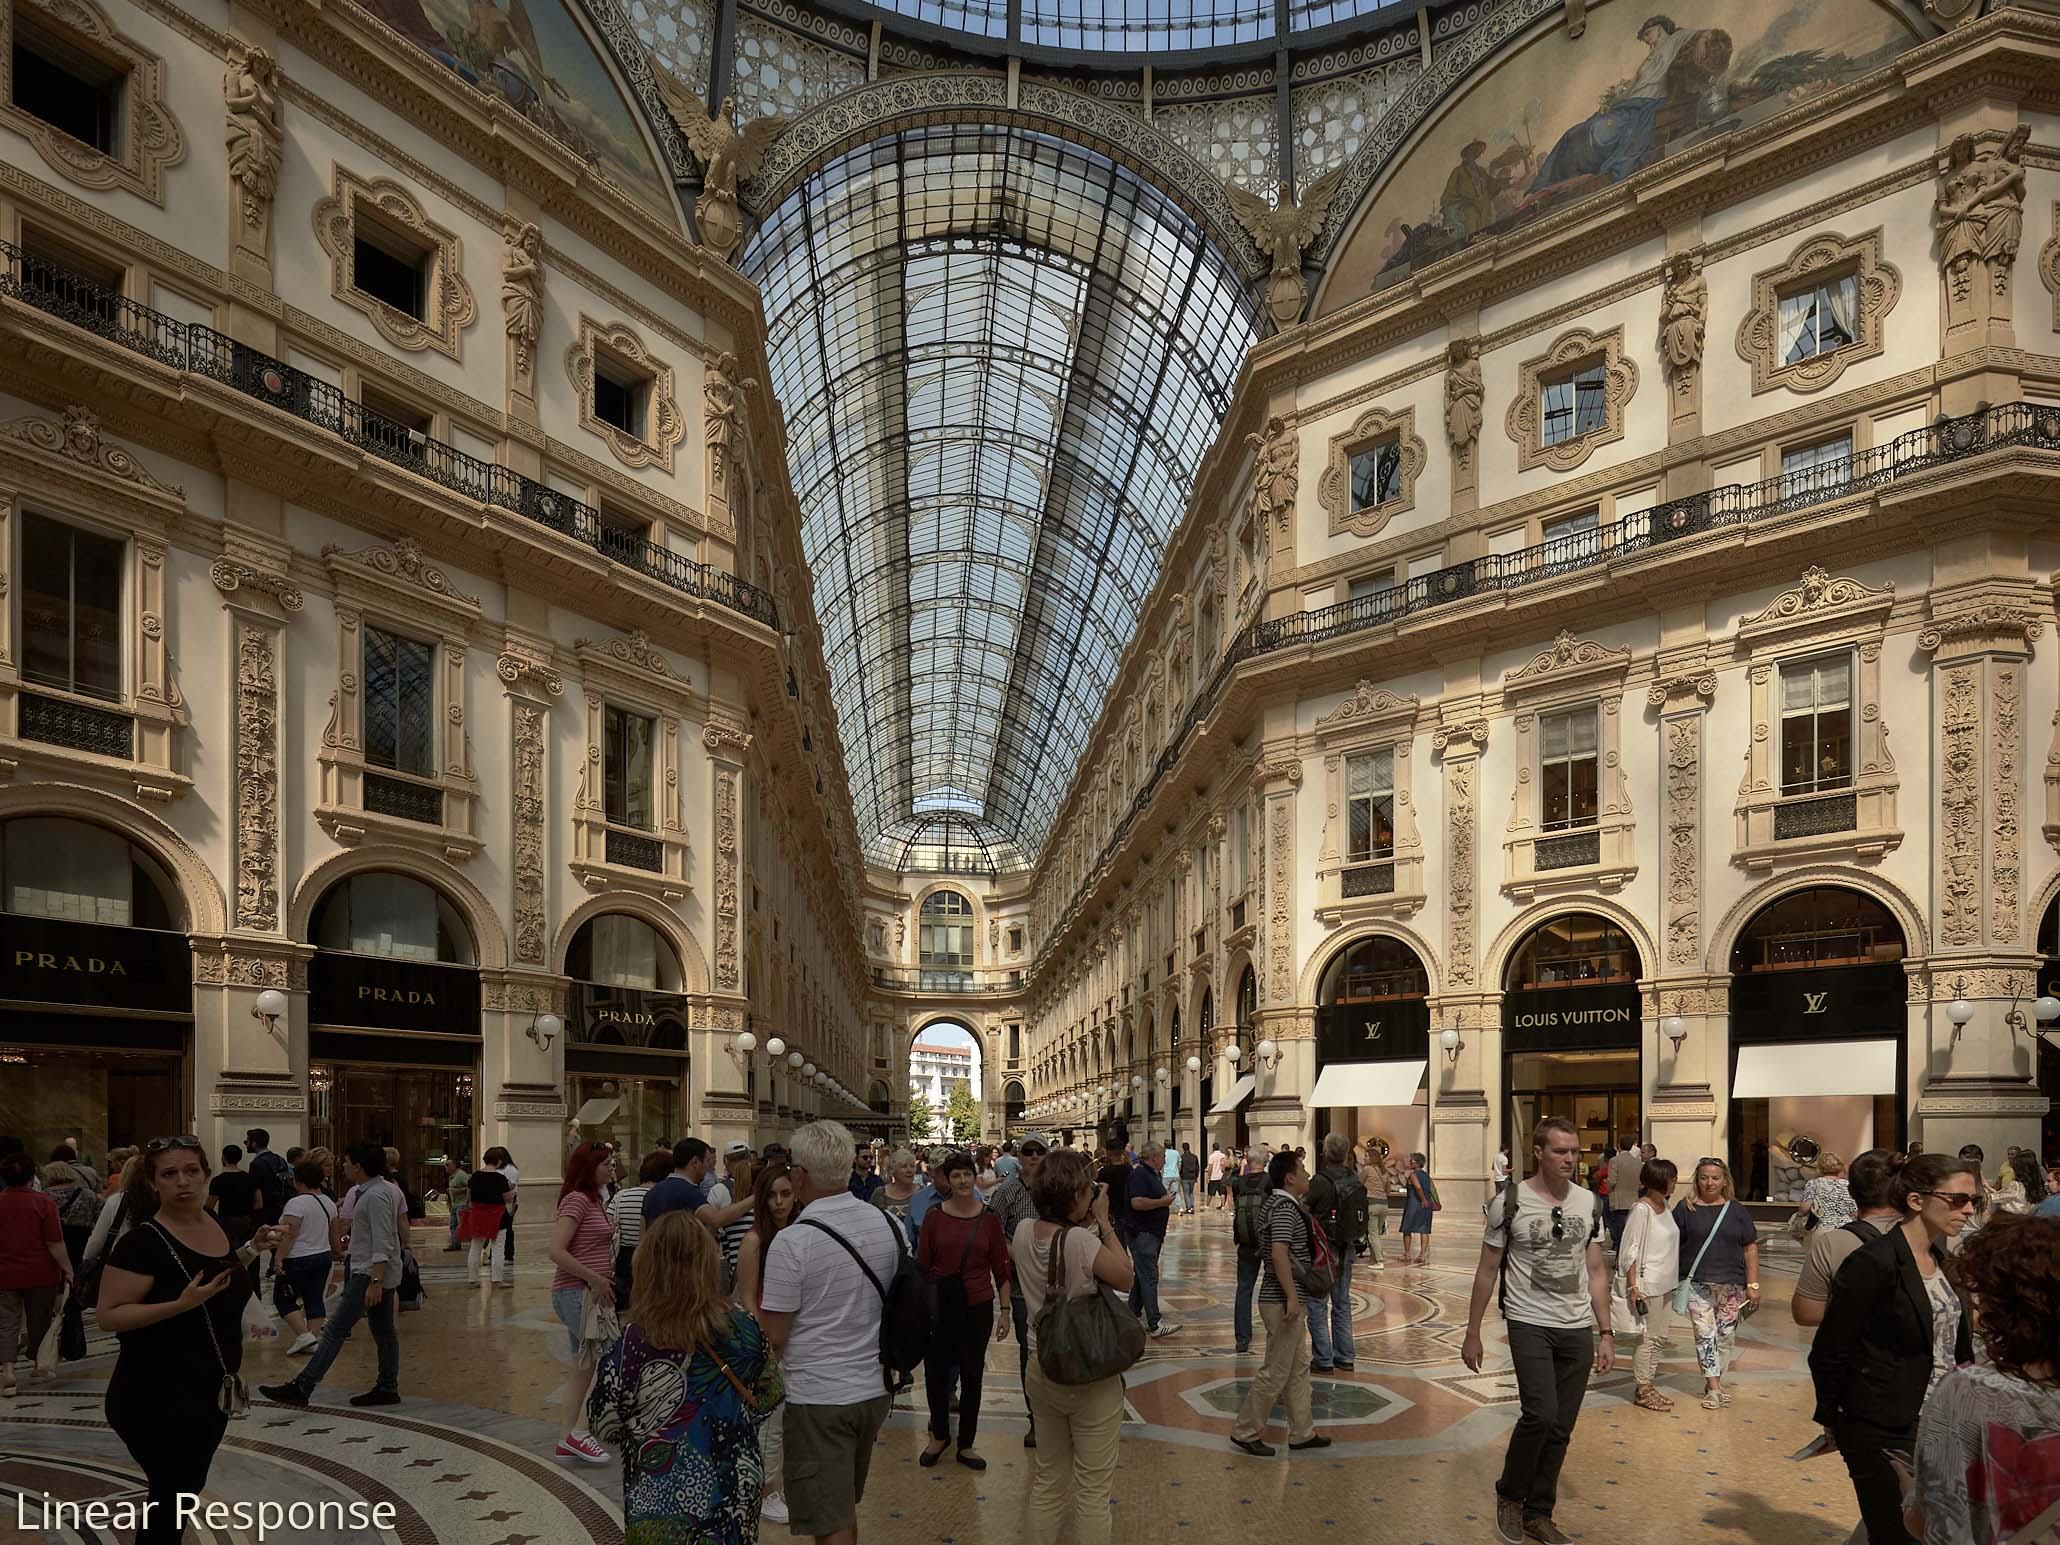
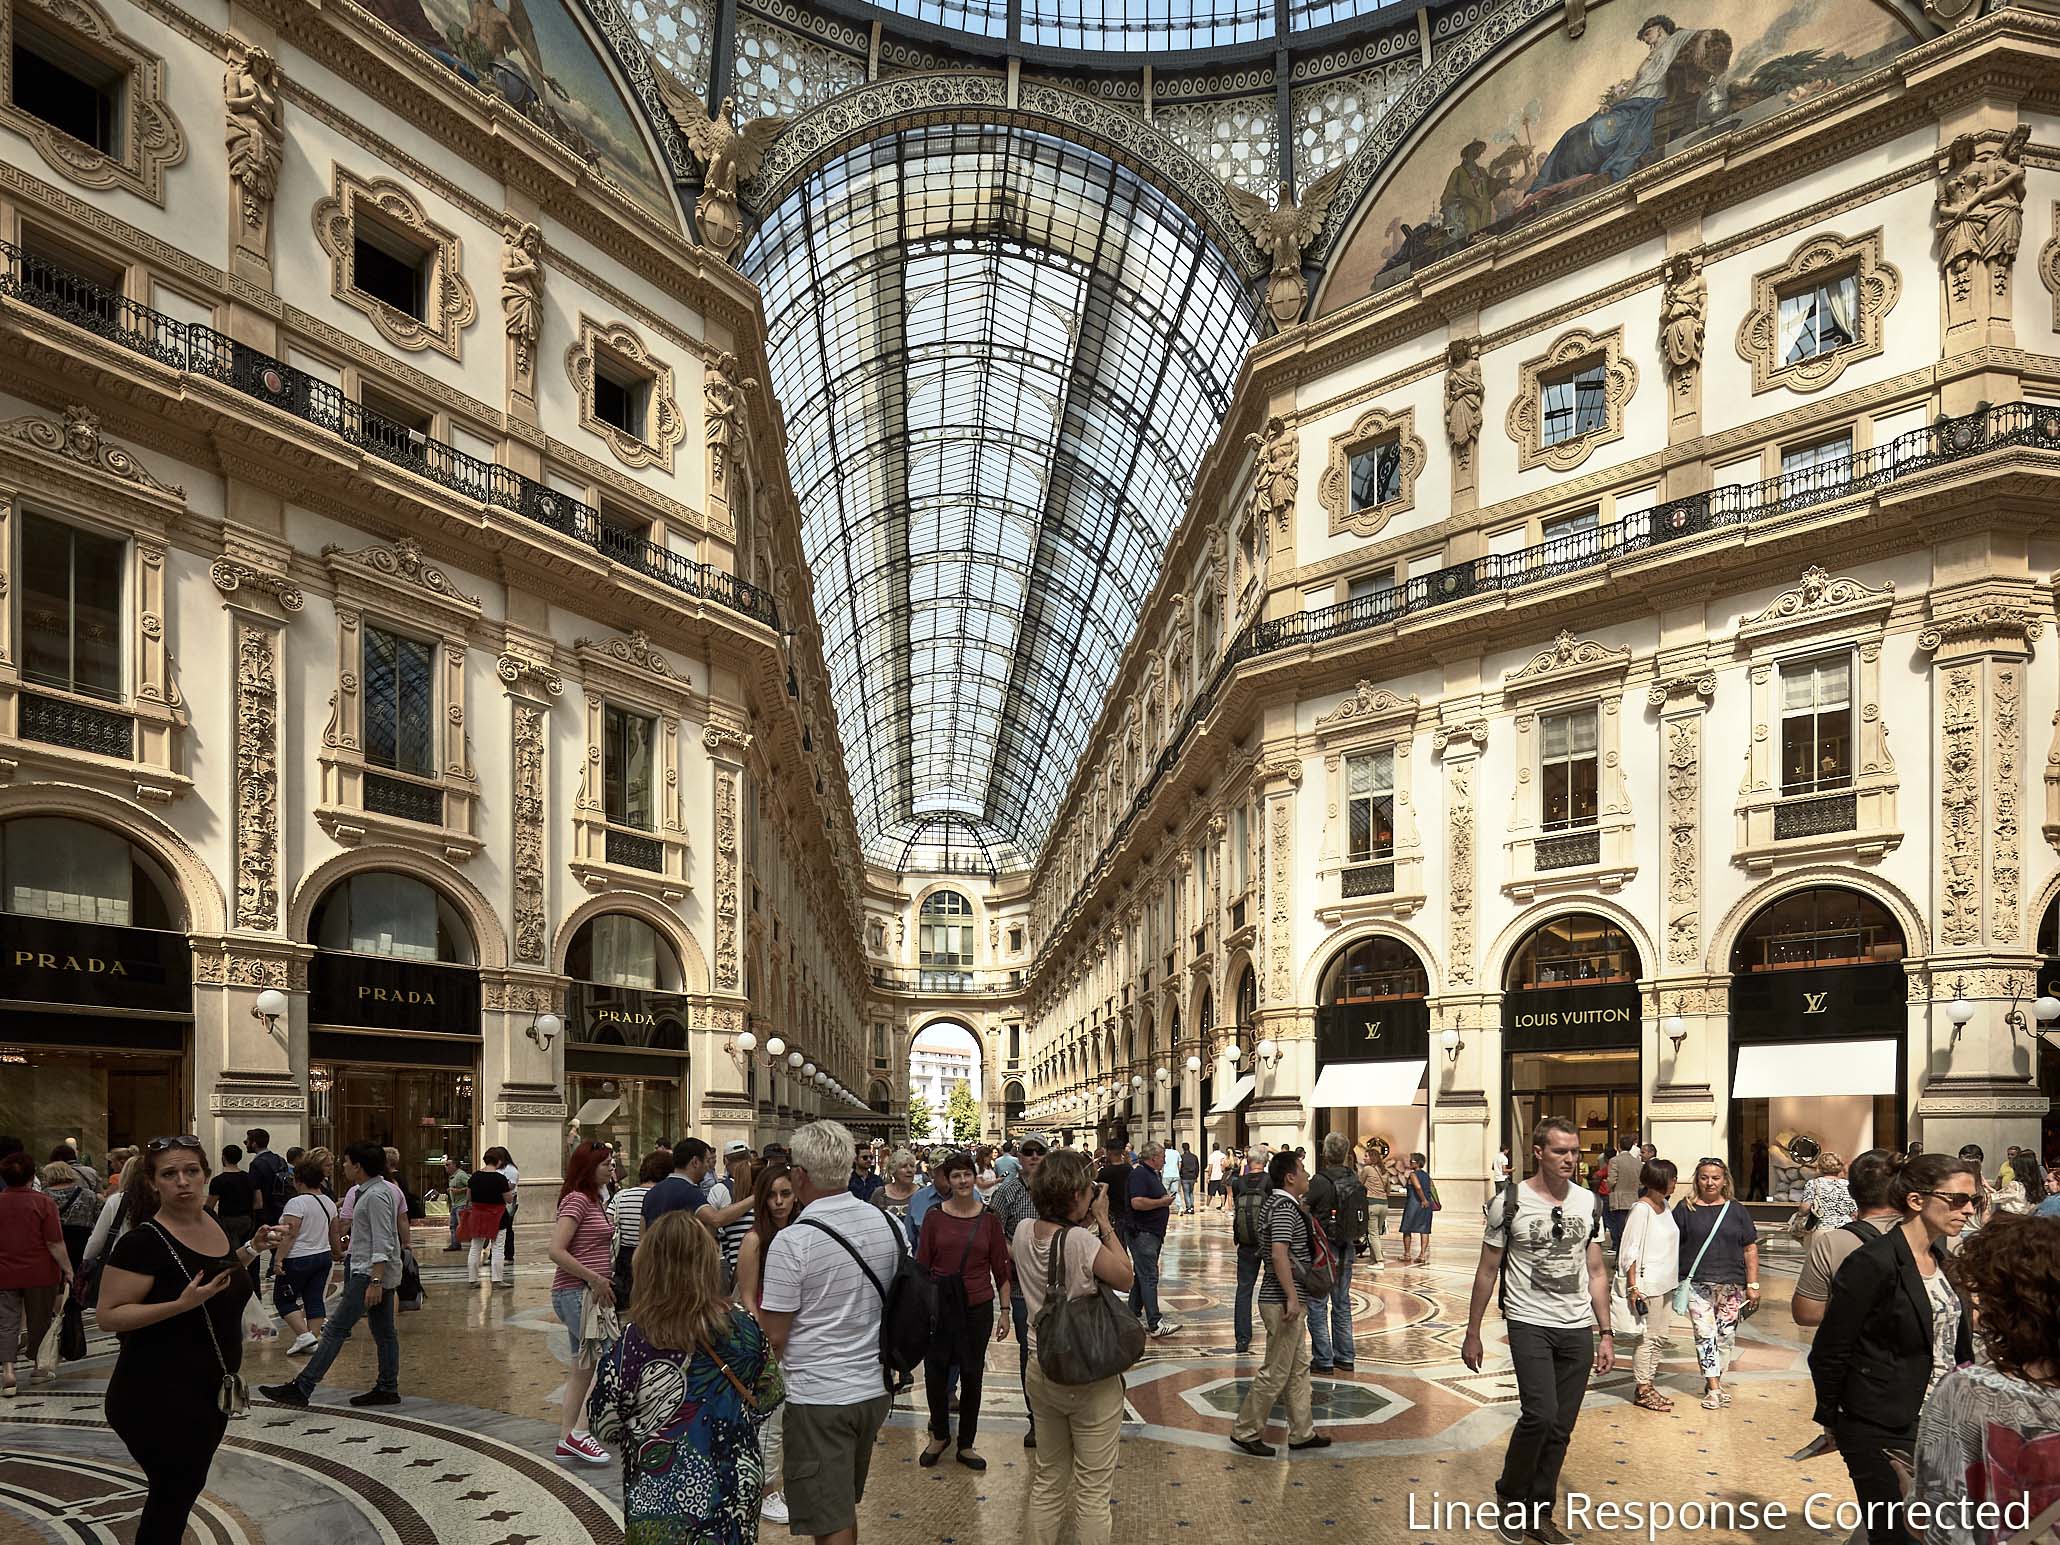
The Linear Response curve is a special purpose curve. Actually, it is hardly a curve as it only tips for the brightest highlights. The image looks dull and dark and this is how the sensor sees the world! The Linear Scientific curve that some cameras offer is really linear from beginning to end.
You can use this for high contrast images with difficult to control highlights. Add contrast with the Curve tool later in your workflow to establish the result you are after. Not a quick and dirty approach but rewarding if you are willing to make the effort!
Profile And Curve Matching
Although you are entirely free to select any Film Curve you like, it is good to know that there is a relation between ICC Profile and the Curve. Each of the profiles for your camera is made with a Curve in mind. In general, this is the Film Standard curve. The Flash – Flat art reproduction profile for Phase One digital backs, for example, makes a pair with the Linear Response curve.
To prevent an unintentional mismatch between ICC Profile and Curve you select the Auto curve. The Auto curve is a setting that automatically selects the right curve for the selected profile in the background for you.
Engine
This item shows the engine that Capture One uses for the selected image or Primary Variant in case multiple images are selected.
The Engine is the heart of the software and does all the computation to render the image. Both image quality improvements, as well as many of the new capabilities of new versions, are related to the Engine.
In general, you will use the latest Engine for new images and that is obviously the default setting in Capture One. Yes, you can alter the default processing engine from Preferences > Image tab but you seldom would do that. Here you can read more on Capture One Preferences.
Older images that have adjustments will open with an older Engine.
In case you have just opened a set of images from the past, you will see that the Engine displays the value, like Capture One 6 for example. You will see an Upgrade button next to it to upgrade the Engine to the highest value for your version.
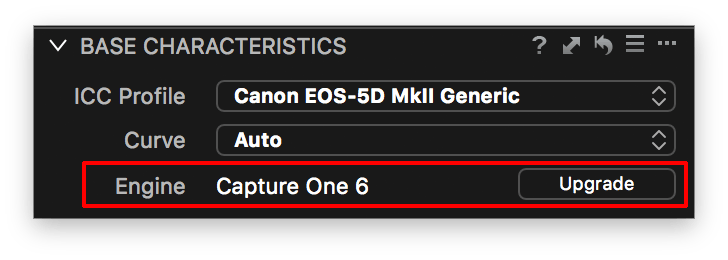
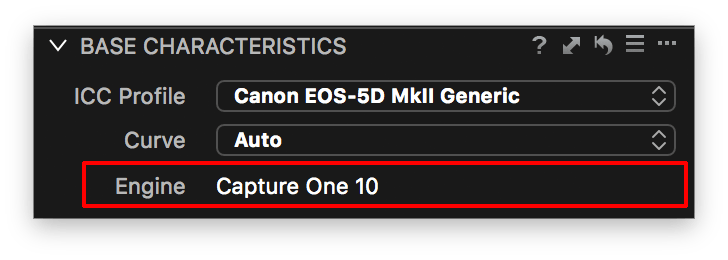
When you click on the Upgrade button you get a confirmation message (unless you disabled it). You can do this in one click for all selected images in your Collection or Folder. Please note that this step is irreversible. After the Upgrade, the Engine shows Capture One 10 as value. This may change for future versions, obviously.
Tool Controls
As with most tools, the Capture One Base Characteristics tool has a few features to get more out of it. In the top right corner, you find a few symbols you might be familiar with from other tools.
- The question mark opens your default browser with an online help page on this tool
- The double arrow is for Local Copy And Apply; this is the fastest route to copy the setting from your Primary Variant to the other selected images; read more in Adjustments Continued
- The curved arrow resets the ICC Profile and Curve to the default settings for the selected images.
See for default settings below at Defaults.
Presets
You can make Presets with the Base Characteristics tool. In a Preset, you can store an ICC Profile, a Curve, or both.
A Preset is convenient because it gives you quick access to a specific setting. Imagine a custom made profile or profile-curve combination. You can read more on Presets in Capture One Presets.
Another advantage of a Preset is that when you have multiple images selected, the Preset applies to all selected images at once. This is much quicker than the usual copy-and-apply steps for transferring adjustments.
Defaults
The working of the Base Characteristics tool is based on the concept of a Defaults. These Defaults are a combination of ICC Profile and Curve.
When you reset the tool and when you import or capture new images, the Defaults are applied. Obviously you can change the Defaults at any time.
In case you prefer a different ICC Profile or Curve as Defaults, you can change the Defaults into that other profile with curve combination.
First, set the desired ICC Profile and Curve. Next, open the action menu from the three horizontal dots. Select Save as Defaults for <camera name>. With Reset Defaults for <camera name>, you can restore the original situation.
As you can see are the Defaults camera-specific. For each model camera or digital back, you can save new Defaults.
Use As Output Profile
You can use the ICC Profile that you use for input for output as well. The advantage is that there is no conversion of color space on output. All color information is fully preserved. Some use this for fine-art printing or for archiving. Note that I use 16-bit TIFF as a file format because the camera profile has a large color space.
In your Process Recipe, you select the Embed camera profile on the Basic tab as ICC Profile. You can read about this at Capture One Process Recipes.
Please note that this practice is not recommended for a workflow that is not fully color managed and is not suitable for images for the web. In other words, you must know what you are doing.
Thank you
For reading. Please feel free to leave a comment. Like us on Facebook or subscribe to our newsletter to stay informed about new blogs.
Best Regards,
Image Alchemist


Leave a Reply
Want to join the discussion?Feel free to contribute!