Capture One High Dynamic Range
The Capture One High Dynamic Range tool lets you adjust the outer edges of brightness of your image: highlights and shadows. It is a very flexible and versatile tool that you might need often, in particular for medium and high contrast images. You best use it in conjunction with the Exposure tool. After reading this blog, the High Dynamic Range tool will not have any secrets for you anymore.

Capture One High Dynamic Range
The Capture One High Dynamic Range (or HDR for short) tool effectively maximizes the dynamic range of your images. It achieves this goal by retrieving as much information as possible from the darkest and brightest parts of the image.
I consider the High Dynamic Range tool as a specialized Exposure correction tool. Where the Exposure slider of the Exposure tool affects all brightness levels equally, has the High Dynamic Range tool two separate sliders for the highlights and shadows respectively.
In other words, you increase the exposure of the dark areas with the Shadow slider and lower the exposure of the brightest areas with the Highlight slider. Mid tones are much less affected by both sliders (mid-tones were more affected in Capture One 7 and earlier).
You can find the High Dynamic Range tool on the Exposure tool tab. On this tab, you will find other tools that are related to exposure. I will discuss their respective blogs.
Capture One 20 High Dynamic Range
In Capture One 20 the High Dynamic Range tool got a bigger range and two extra sliders, White and Black. You find more on these improvements in Capture One Pro 20 Review and High Dynamic Range In Capture One 20.
Two Sliders
The High Dynamic Range tool offers two controls in the form of sliders, named Highlight and Shadow. In addition, you find some controls through the icons in the title bar of the tool, top right, like with most tools, including an Auto Adjust, discussed further below. In the sections below I discuss what the sliders actually do with examples to help you understand it more thoroughly and make better adjustments to help you improve your images!
Highlight Slider
In general, you use the Highlight slider to compensate for overexposed areas. You can easily identify this from clipping in the Histogram or by using the Exposure Warning. Both options are discussed in the Capture One Exposure blog. You might want to use the Exposure control for this, but since the Exposure slider affects all brightness levels, you use the HDR Highlight slider to compress the blown-out highlights and bring them within a visible range (below level 255).
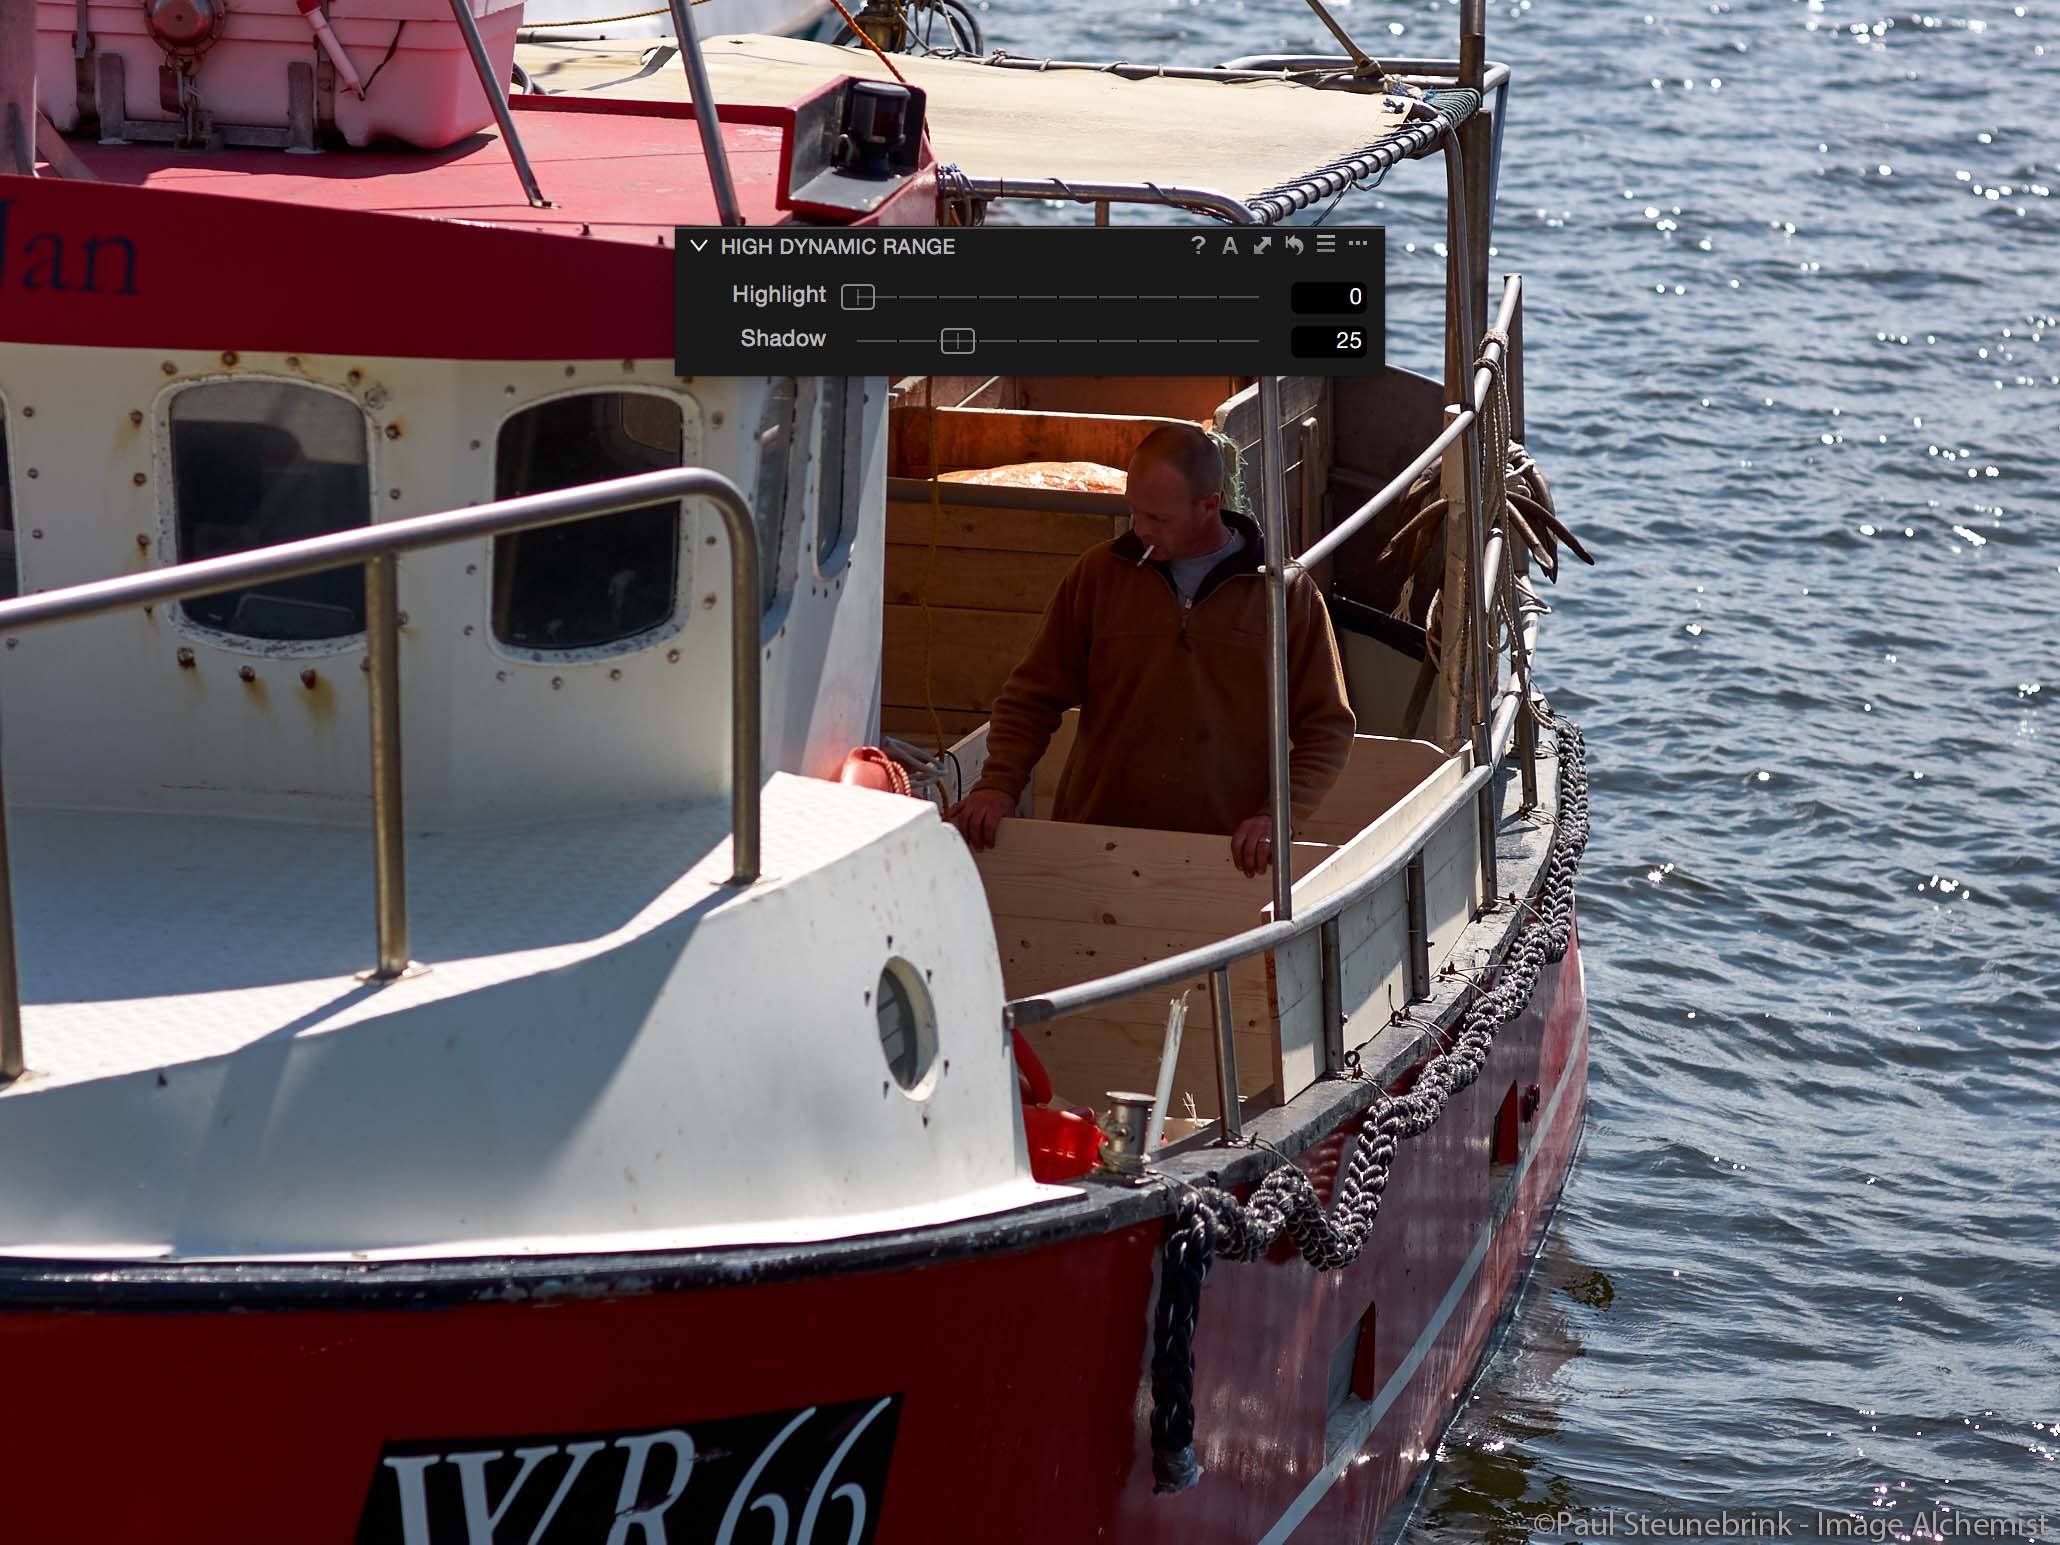
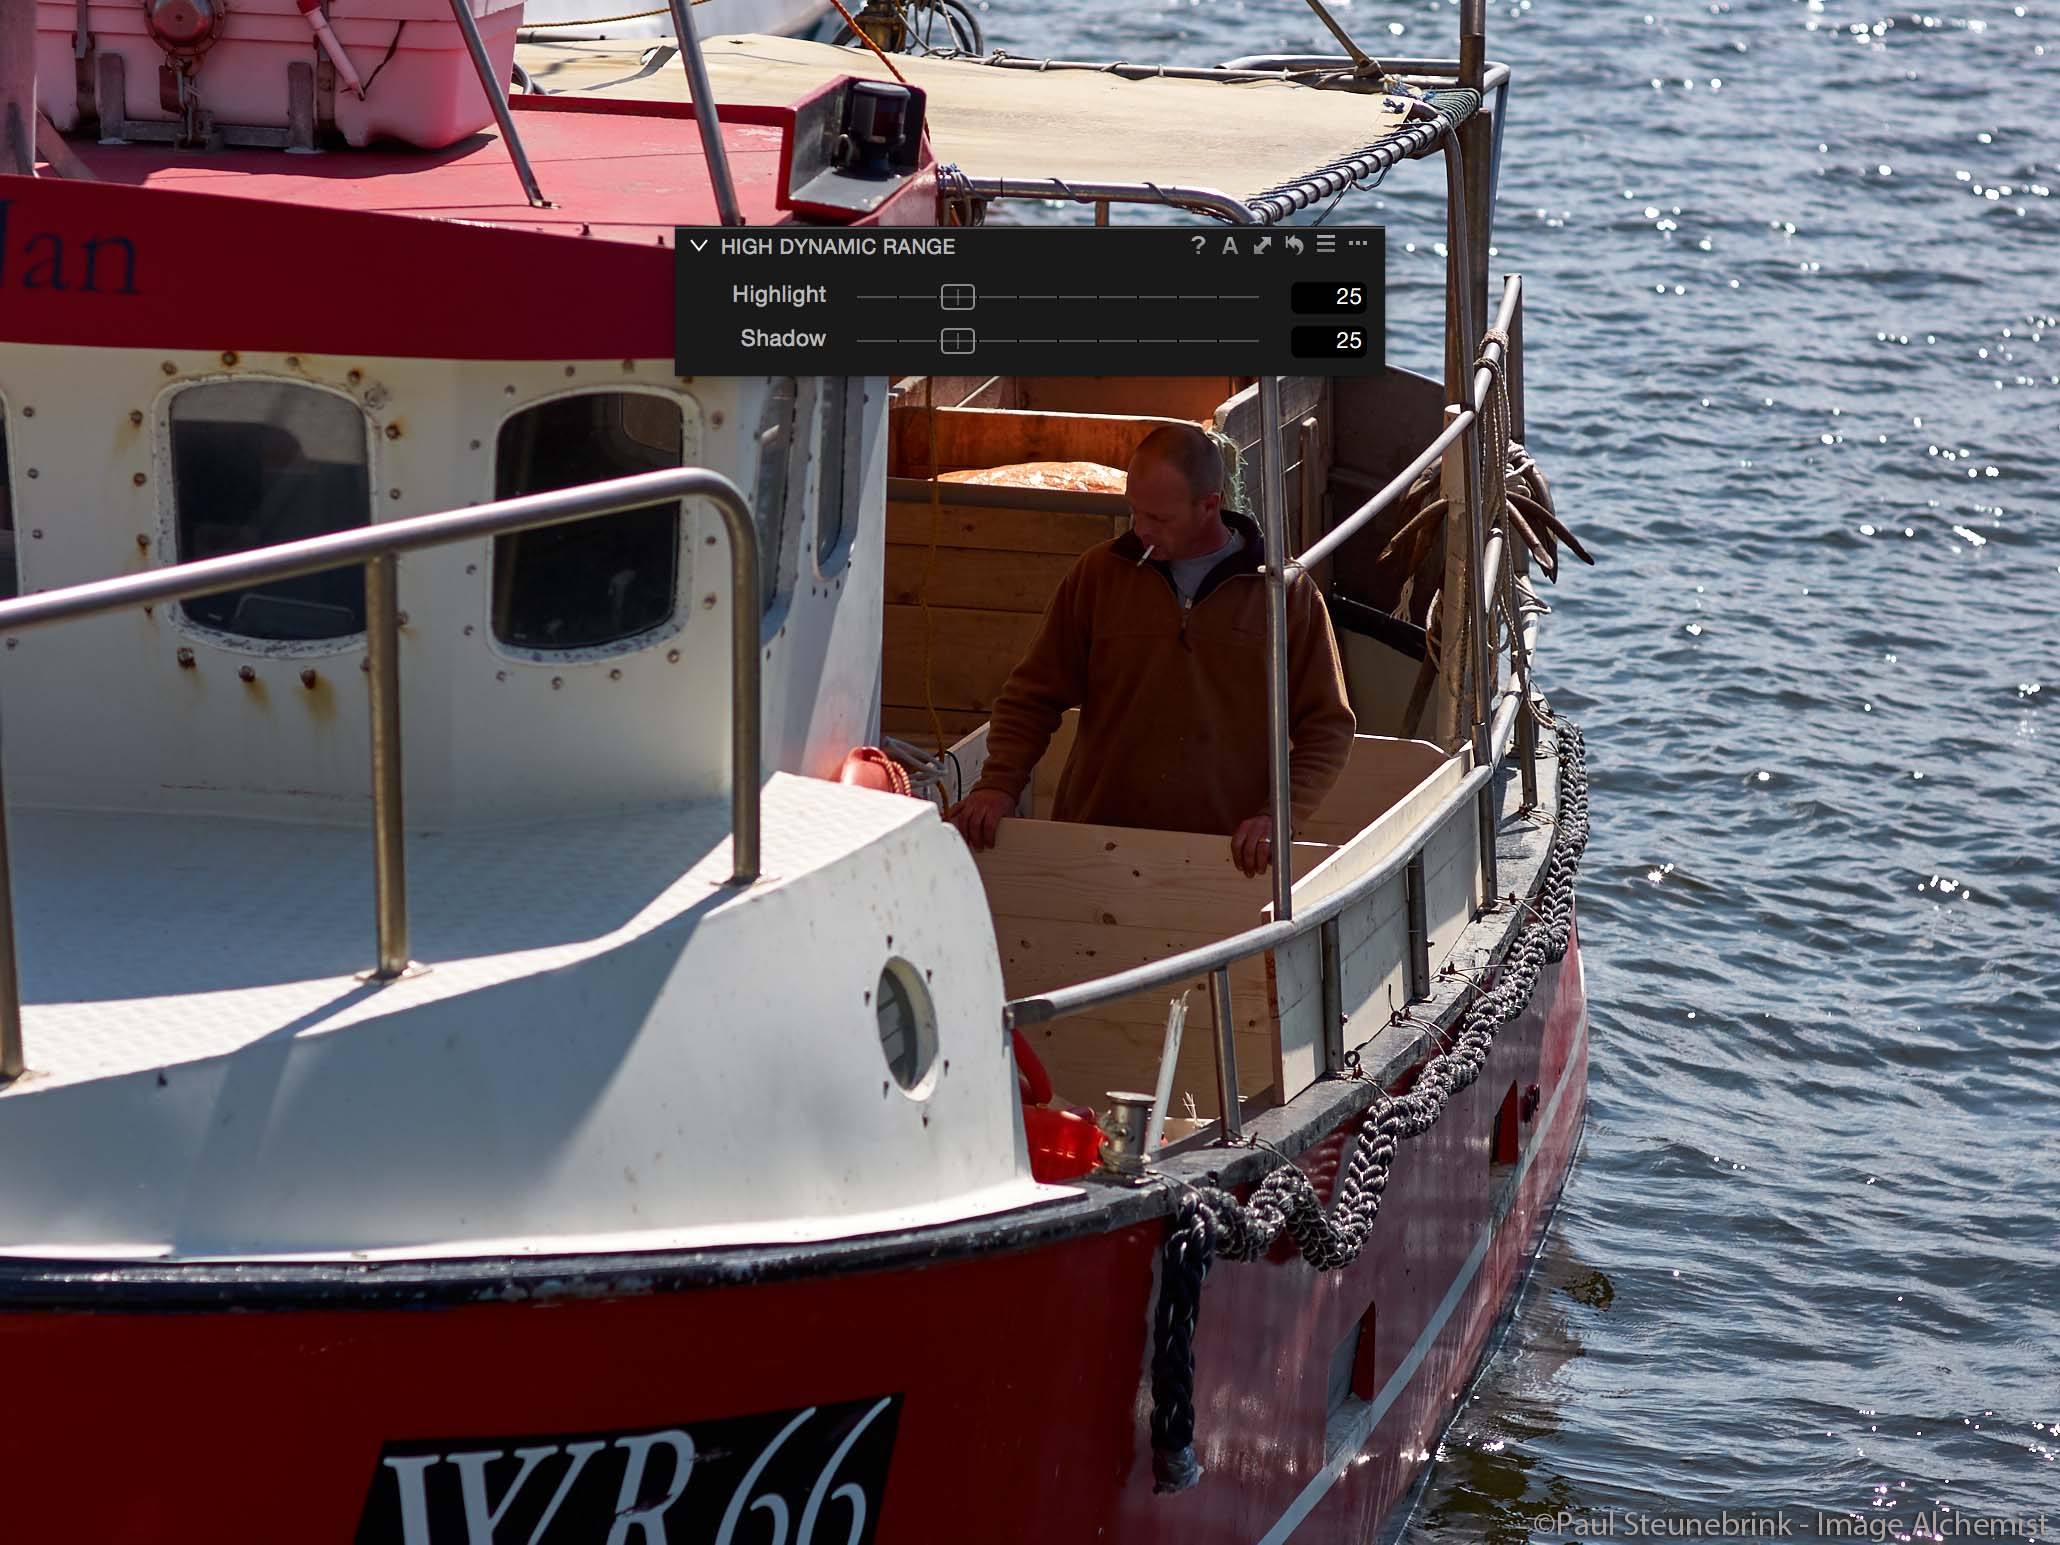
In the example above the After image has better detail in the brightest areas like the white on the boat in the center of the image. Also, note how the water in the background is affected.
You often need this highlight correction in high contrast images with very strong highlights. Note that it is not necessary to recover all blow-out areas. That would make the image too soft and dull.
I suggest you experiment with the combination of both the Exposure and Highlight slider (lower one, raise the other and vice versa) and see what kind of results you can achieve.
Shadow Slider
The HDR Shadow slider helps you to lighten up dark areas without the need to increase the Exposure slider from the Exposure tool. I noticed that I do not exclusively use it to recover clipped black areas but also for areas inside the visible range (above 0 (zero)) but are too dark to my taste compared to the overall image.
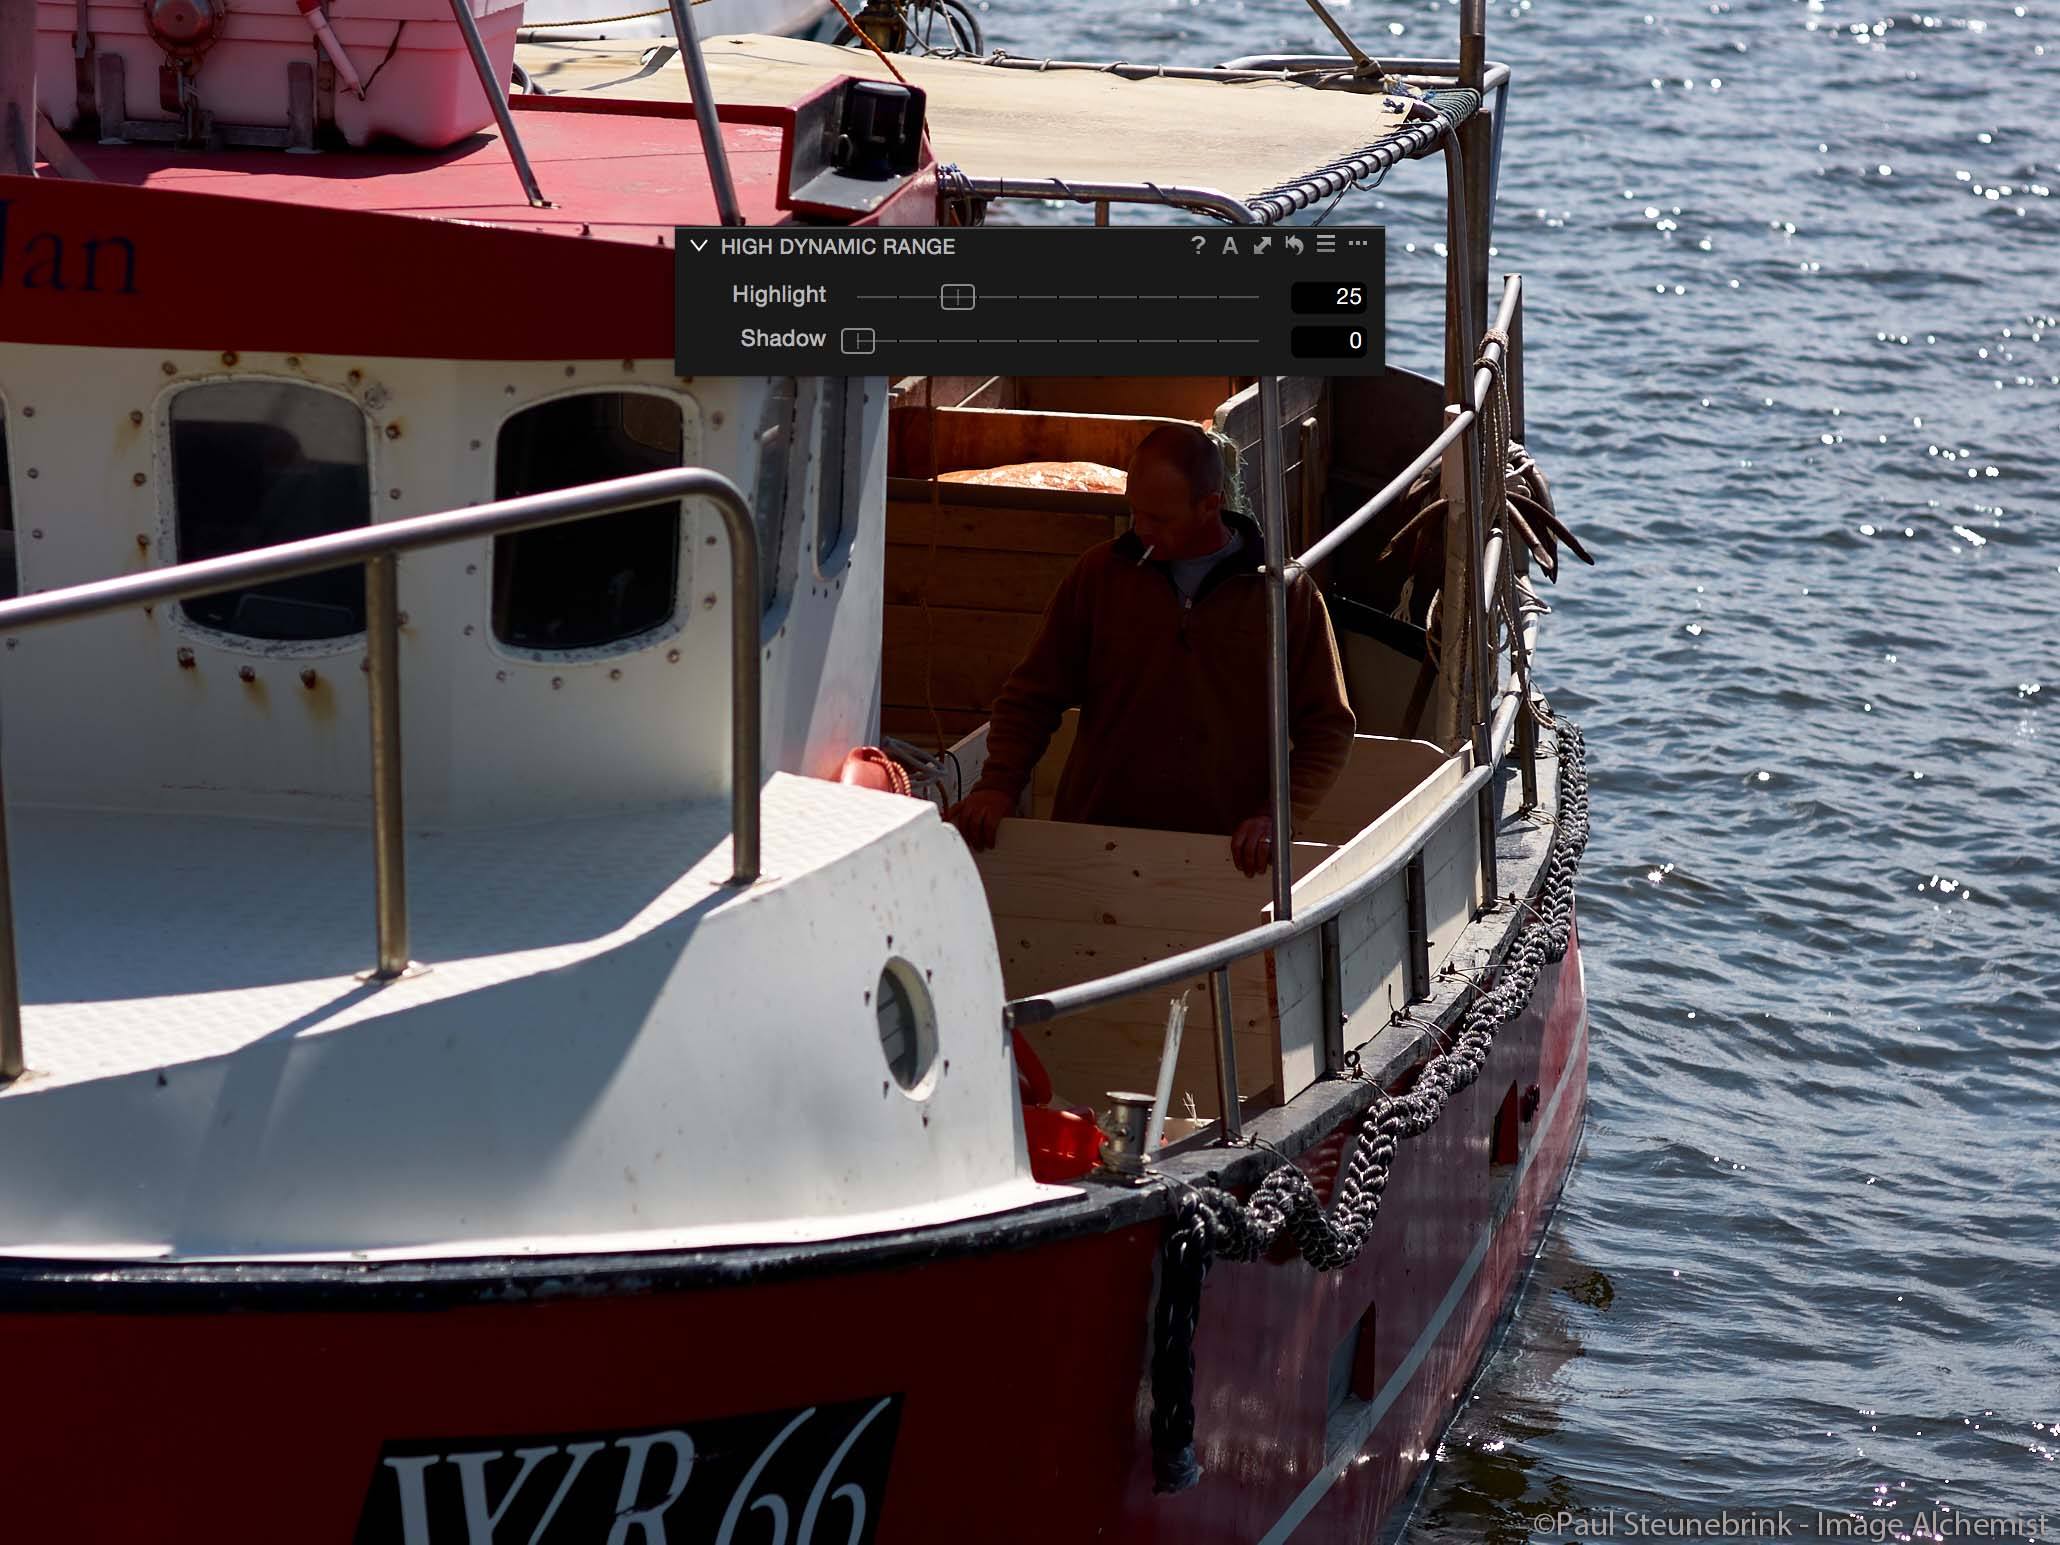

The Before/After example above shows an obvious change in the shadow areas like the fisherman in the center. Note that the front of the boat (bottom left in image) is clearly affected by the Shadow adjustment.
Note that you can safely make both Highlight and Shadow adjustments in the same image with Capture One Pro 9.
Auto-Adjust
There are two types of Auto Adjust in Capture One 9. One is from the Adjustments menu > Auto Adjust. This command controls different tools (configurable) but as far as the High Dynamic Range tool is concerned it adjusts both the Highlight and Shadow sliders.
The other way of Auto Adjust is accessible from the High Dynamic Range tool’s title bar, on which you see the uppercase A at the top right.
Note that in Capture One 20, the uppercase A is replaced by a wizard icon.
Exposure Warning
You can enable the exposure warning in the Viewer through the View menu > Show Exposure Warning, a shortcut or the toolbar. It is a toggle, so selecting it again switches it off.
The threshold for the warning can be set from the Preferences, Exposure tab, where you can also enable Shadow Warning. You can change the color for the warning here too if it does not contrast with the colors in your image.
Adjustments Layers
Both sliders of the High Dynamic Range tool can be used in adjustments layers. Capture One adds or subtracts all the values set in the respective layers to determine the end result. HDR on layers was introduced with Capture One Pro 8 and is very easy to use.
Imagine a blown-out window in an interior shoot. Mask the window with a large brush, not precise, and set the Highlight slider. Due to affecting only the bright areas, the parts of the mask outside the window (i.e. on the wall) are not affected.
High Dynamic Range Presets
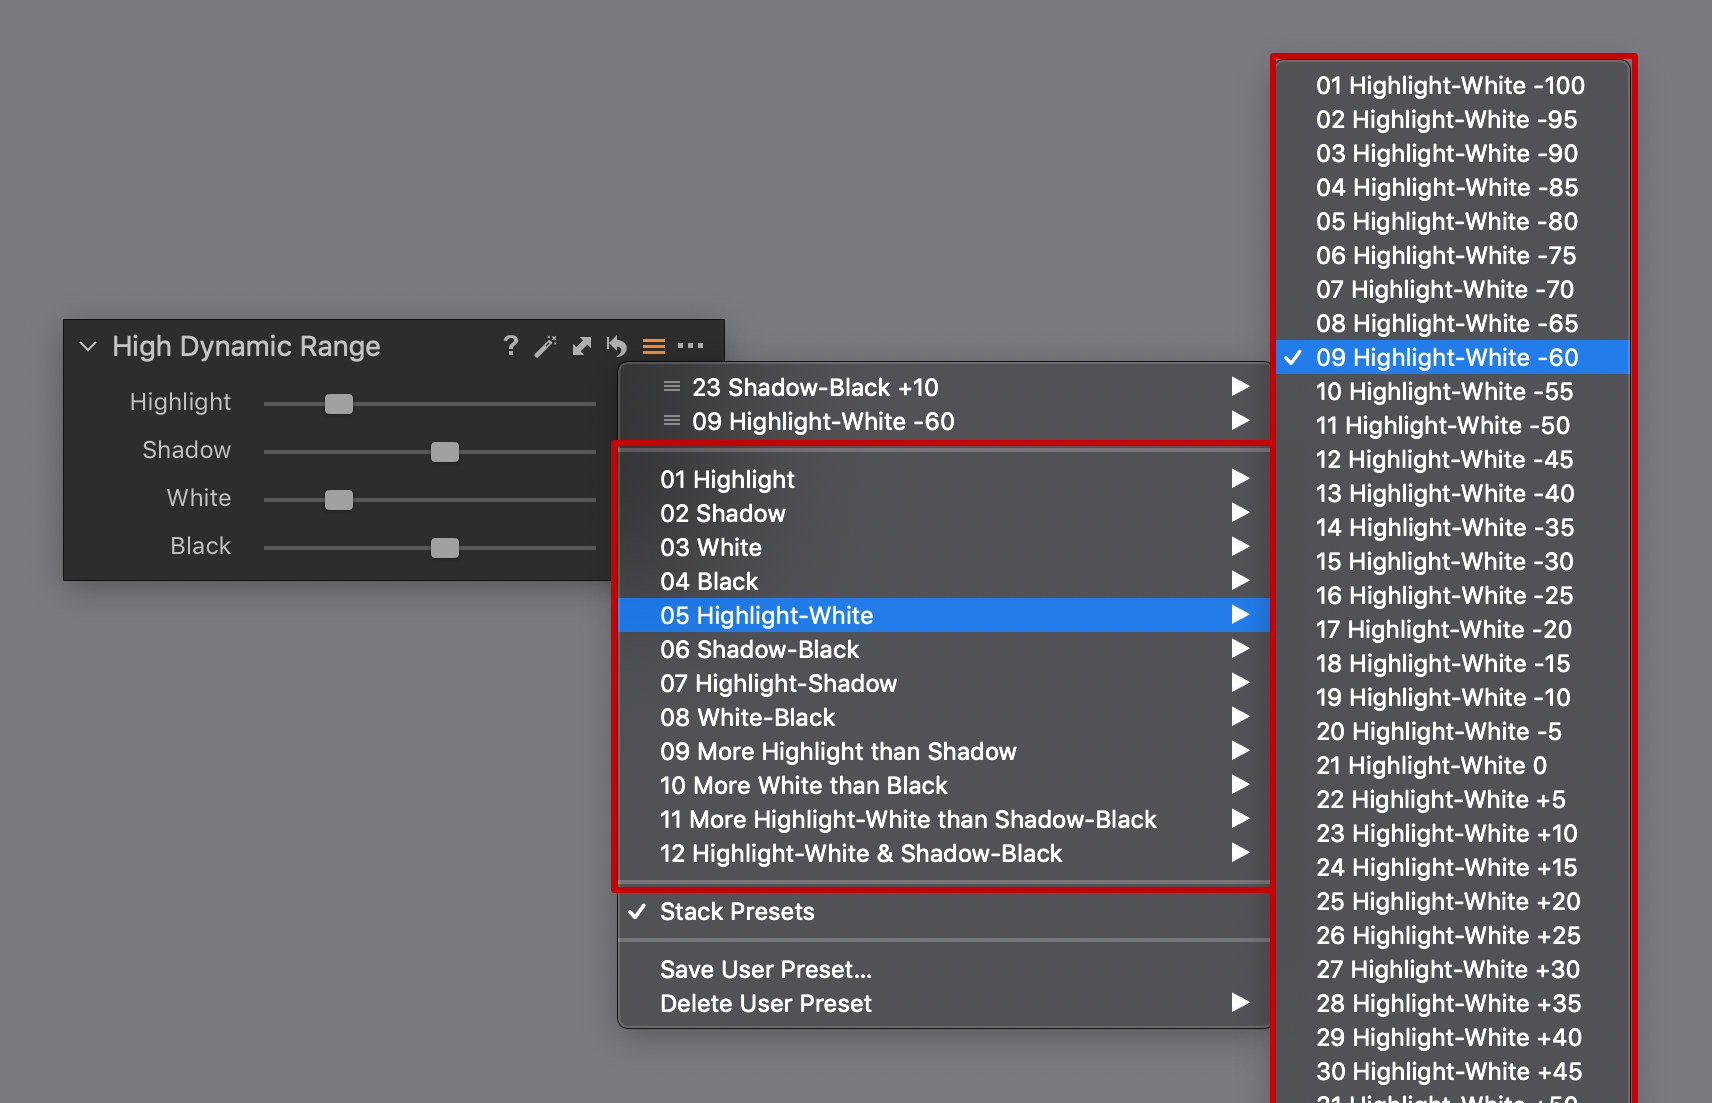
The High Dynamic Range tool does not come with built-in presets. The Capture One High Dynamic Range presets from Image Alchemist offers a set of 342 presets that cover both the sliders of the tool. You can combine all presets of the set through stacking.
The basic idea behind the set is that you explicitly use the presets for adjusting your images, instead of using the sliders. A combination of using preset and slider is always possible, of course. Using presets instead has numerous workflow benefits like directly adjusting multiple images simultaneously and having an adjustment history. You can find more details in the Capture One Presets blog.
Related Tools
Several tools relate to the High Dynamic Range tool, meaning that you can achieve similar results with these other tools or that these other tools are affected by the Exposure tool or vice versa.
- The Exposure tool can be used in conjunction with the HDR sliders suggested earlier in this post.
- The Vignetting tool is actually an Exposure slider, but not equally working on the entire image, hence the vignette.
- The Crop tool you might not expect here, but consider cropping before you use the High Dynamic Range tool. Cropping out a bright sky has a great impact on the dynamic range of an image!
Thank you
For reading. Please feel free to leave a comment. Like us on Facebook or subscribe to our newsletter to stay informed about new blogs.
Best Regards,
Image Alchemist






Leave a Reply
Want to join the discussion?Feel free to contribute!