Capture One 21 Review
This Capture One 21 review guides you through several enhancements like Speed Edit for speed and ease of use, the Dehaze tool and ProStandard profiles for better image quality, HEIF support, Leica tethering and more that this release offers.
Capture One 21 Review
Capture One 21 is easier and quicker to use, offers tools for even better image quality, and has some new features. It is typically an evolution of the previous release.
Note that most of what is new and improved applies to both Capture One Pro and Express modes. There are a few exceptions that I mark in the list below.
Capture One 21 offers benefits for existing users and is, even more, attempting than the previous version to entice Lightroom users to make the step into the Capture One world.
This review is updated to include changes made in Capture One 21 up to build 14.0.2.
Quicker and easier
- a Learn button for direct access to tutorials
- quicker editing with Speed Edit (Pro only)
- enhanced tooltips for on the fly guidance
- quicker adjusting Brush and Eraser (Pro only)
- more flexible import of images
- a White Balance tool with colored sliders
- improved overall performance
Better Image Quality
- Dehaze tool with manual color selection (Pro only)
- ProStandard camera profiles for specific camera models
New features
- support for HEIF files
- Leica tethered support (Pro only)
- new camera support
- new lens correction support
Legacy
- no support for older Engines 6 and 7
- no support for Windows 7
Let us have a look at all the news in more detail in this Capture One 21 review.
More updates and reviews
See also our Capture One 21 Update 1 Review and our Capture One 21 Update 3 And 4 Review for all the features available.
Easier and Quicker
Software that makes life easier and helps you perform tasks quicker. Is it going to happen? Well, at least Capture One makes some serious efforts, and for a good reason. As a Capture One trainer, I see firsthand how new users are easily overwhelmed by all features and capabilities.
Learn button
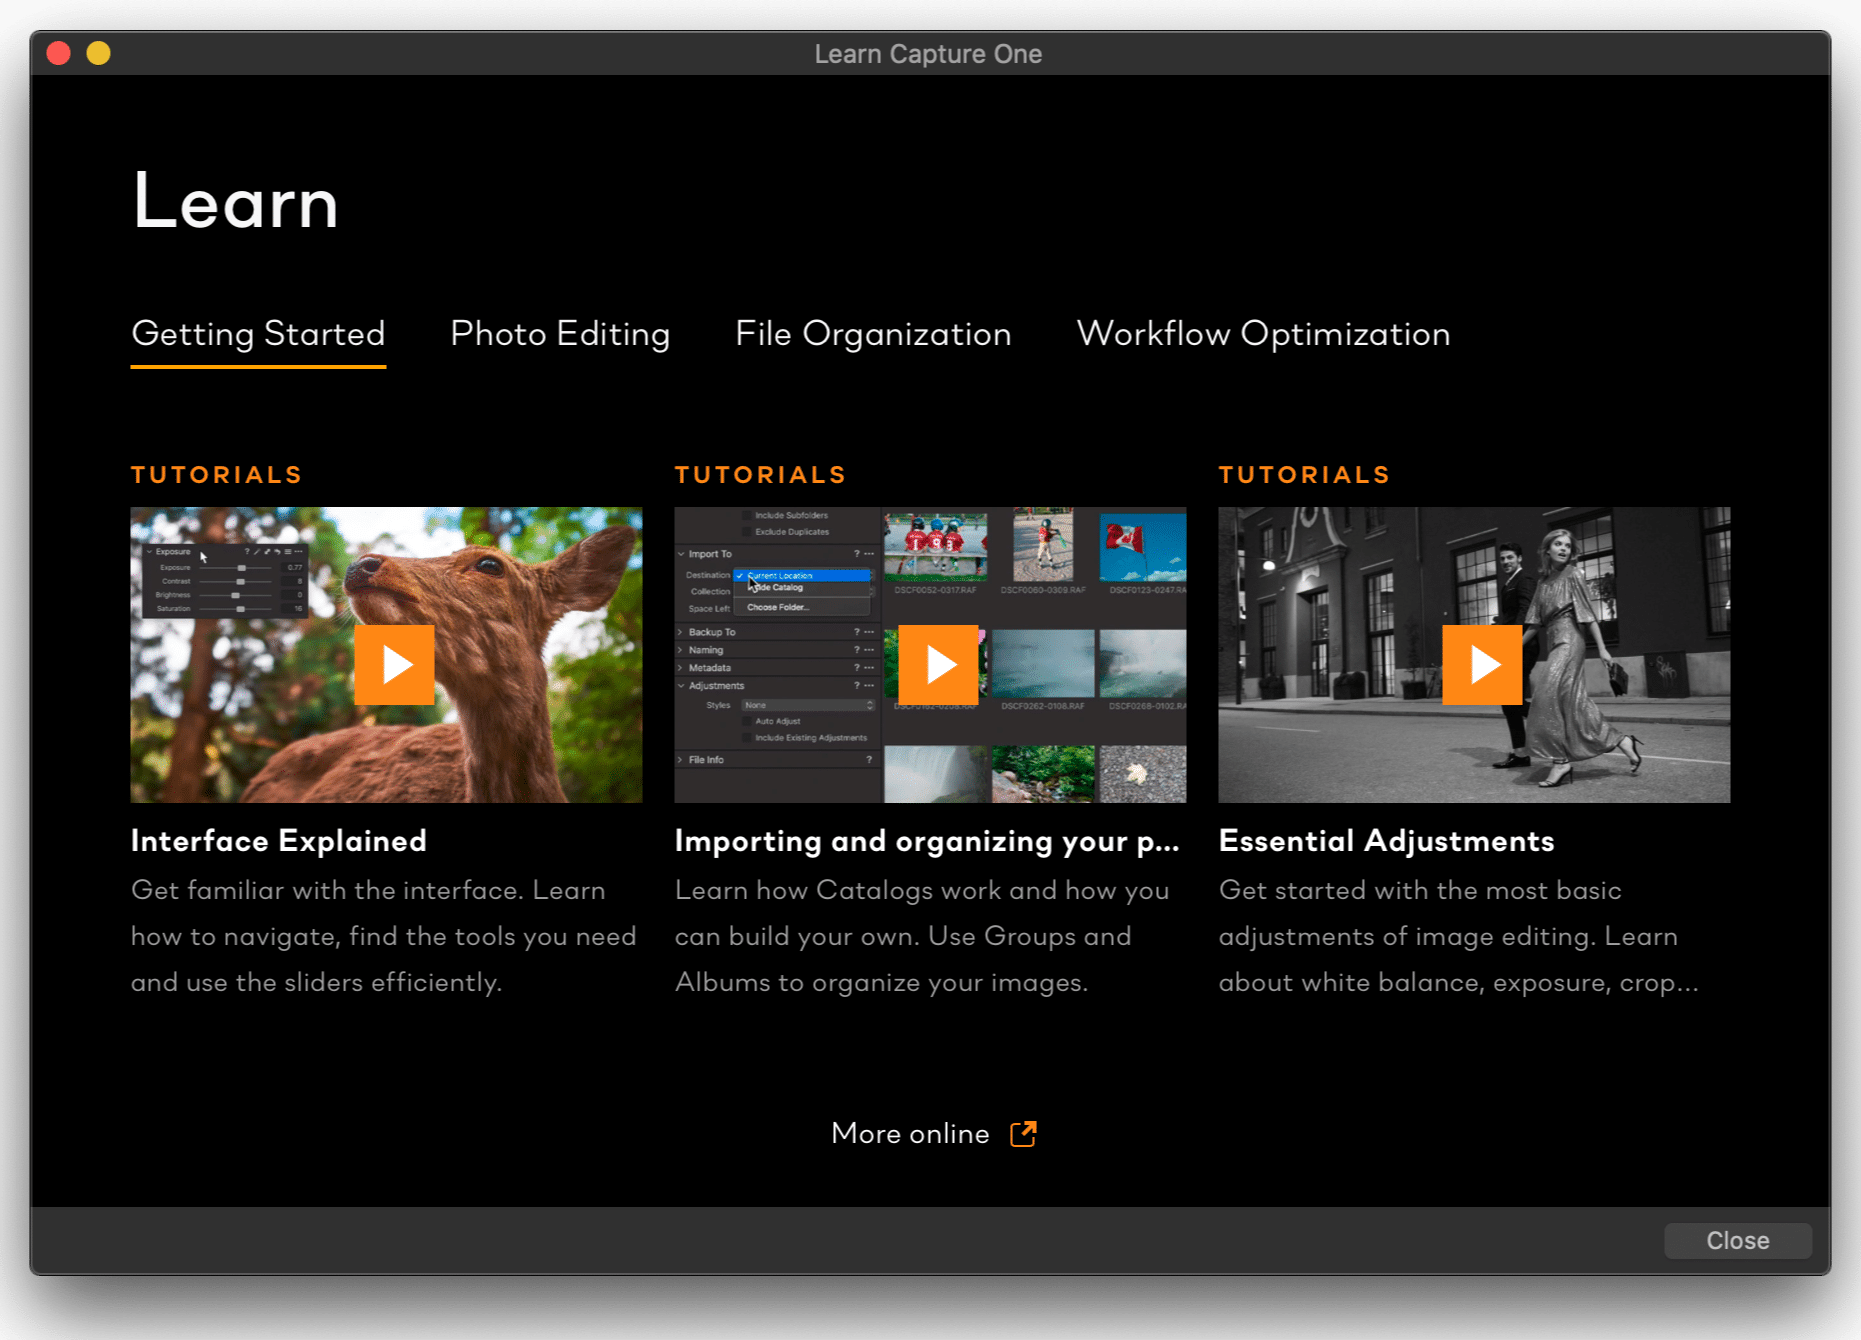
There is a new Learn button on the toolbar, and until you click on it, it alerts you about its presence with a small orange circle.
This button opens the Learn Capture One screen with four tabs: Getting Started, Photo Editing, File Organization, and Workflow Optimization.
From there, you go directly into the online learning environment of Capture One.
Enhanced tooltips
Cursor tools already had a tooltip with their name and shortcut key. The enhanced tooltips add a visual clue and a link to a tutorial or video. This enhancement is a welcome hint for new users.
Note that all tools on the tool tabs have similar enhanced tooltips. Seasoned users can disable the enhanced tooltips via Capture One Preferences.
Open the Capture One Preferences, General tab, Tooltips section, and remove the checkmark for Show enhanced tooltips.
Speed Edit
This feature’s subtitle could be edit like a Pro since it is not available in Capture One Express but only in Pro and all its derivates.
The idea is that you move your mouse in either the horizontal or vertical direction while you keep a key pressed. Depending on the key, a specific slider reacts to the mouse movement, raising or lowering its value.
The main advantage is that you can keep your eyes on the image instead of on the slider while editing. But there is more.
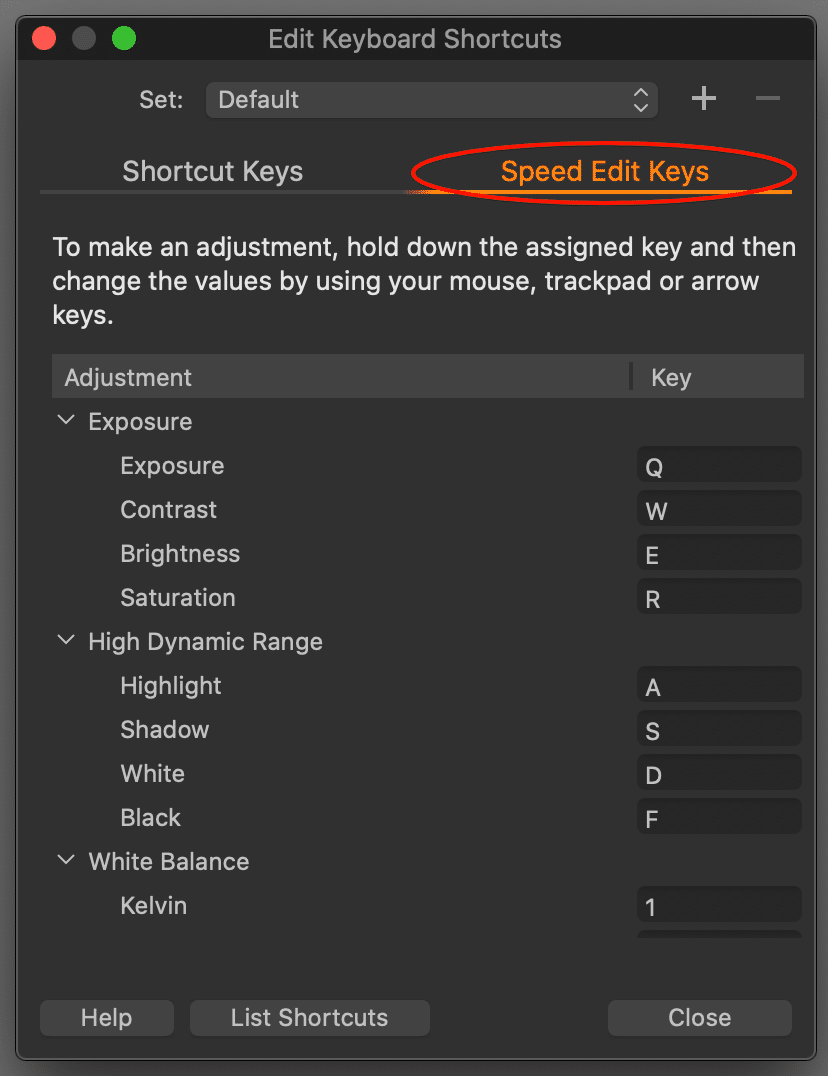
You find the (predefined) keys in the Edit Keyboard Shortcuts dialog, on a new tab named Speed Edit Keys. Here you can add keys or change them to your liking.
You may notice that the default Speed Edit shortcut keys are designed for QWERTY keyboards. For other keyboard layouts, I suggest you design your own shortcuts.
During the use of Speed Edit, a temporary slider appears at the bottom of the Viewer. This gives you reassurance about the tool you use and the adjustment you make.
You can use Speed Edit with your mouse, trackpad, digitizer tablet like Wacom, and cursor keys. With the Sensitivity slider in Capture One Preferences, you can customize the responsiveness of Speed Edit. This also affects the amount of adjustment with the cursor keys.
Note that you can enable or disable Speed Edit here as well.
Speed Edit multiple images
Another exciting feature of Speed Edit is that you can adjust all selected images simultaneously. Note that Speed Edit alters each image with the same relative amount or delta value. In other words, you have three images selected, with an Exposure adjustment of 0.8, 1.0, 1.2, respectively. Giving it one notch with Speed Edit, you get 0.85, 1.05, and 1.25, respectively.
The Speed Edit feature is definitely something that you have to try to get its hang.
Quickly adjust brush
If you think you were ready to learn a few extra shortcuts for Speed Edit, get ready to stretch your muscle memory with a few more key combinations.
The Brush and Eraser cursor tools have a few new tricks. The idea is similar to Speed Edit: keep your eyes on the image while you change the Brush’s main properties.
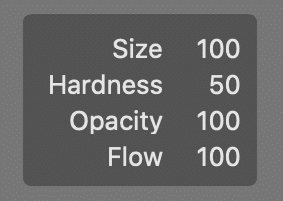
Select the Brush or Eraser cursor tool, press the Control+Option keys (Mac), and left-click the mouse or trackpad. A head-up display appears in the Viewer with the Brush settings.
While having the Control+Option keys and mouse button pressed, move the mouse horizontal or vertical and notice that you change the Size and Hardness of the Brush. Include the Shift-key, and you can change the Opacity and Flow setting of the Brush.
Windows has different key and mouse button configurations. To summarize:
- macOS
- Control + Option + left-click – horizontal drag: Size
- Control+Option + left-click – vertical drag: Hardness
- Shift+Control+Option + left-click – horizontal drag: Opacity
- Shift+Control+Option + left-click – vertical drag: Flow
- Windows
- Alt + right-click – horizontal drag: Size
- Alt + right-click – vertical drag: Hardness
- Shift + right-click – horizontal drag: Opacity
- Shift + right-click – vertical drag: Flow
Okay, this list is boring. That all change when you try it out yourself, I promise.
Image import
The Capture One 21 image importer looks better and works smarter.
The Image Import window always opens in a large window. The thumbnails in the Image Importer now have a higher resolution.
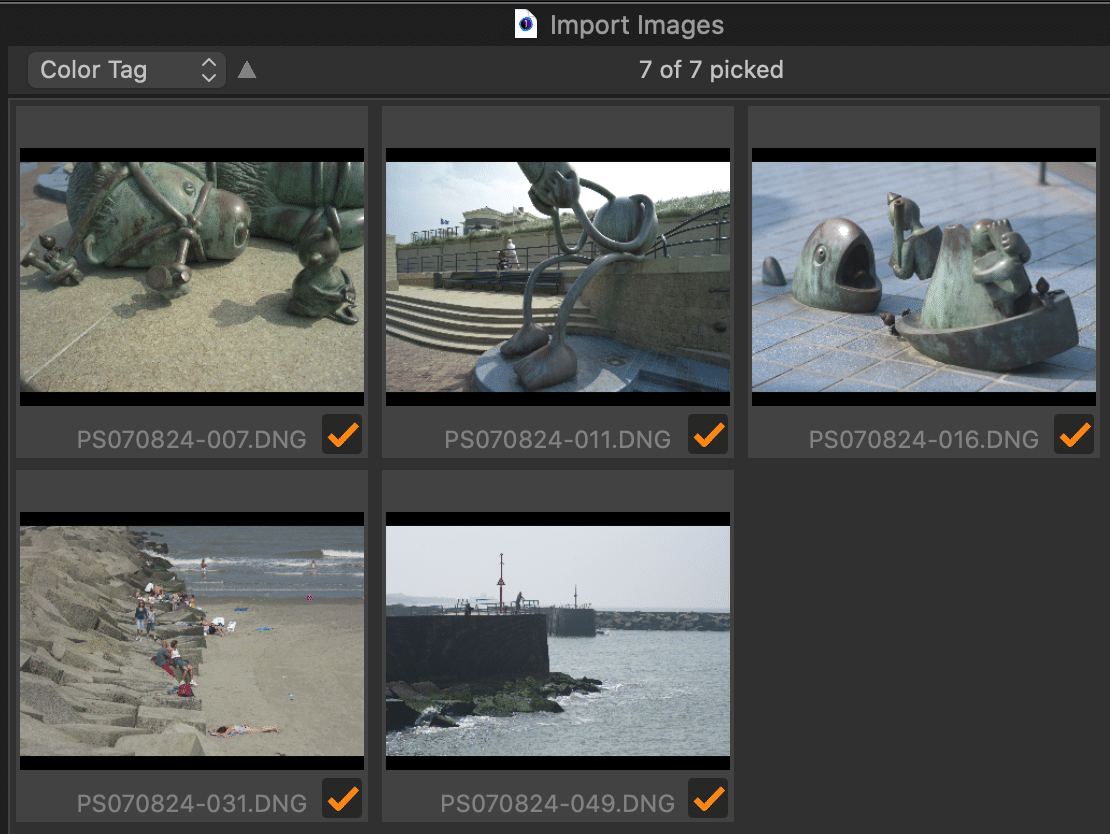
New is the Picker to select images for import. After opening and selecting your source, all photos are picked and ready for import. You can select pictures and unpick them with the spacebar or the X-key.
Vice versa, you can uncheck the Pick all box at the bottom to unpick all images and select the photos you like to import by picking them with the spacebar or the P-key.
Note that you can start the import before the import screen lists all photos.
Import into Catalog
The import destination description for importing into a Catalog is now easier to understand the differences. In the past, users often confused whether their images were imported inside the Catalog or referenced.
You currently have the following options, with descriptive subtitles:
- Add to Catalog
“Your files will stay where they are”
(previously known as Current Location) - Copy into Catalog
“Your files will be copied into the Catalog structure”
(previously known as Inside Catalog) - Copy to Folder
“Your file will be copied to the specified folder”
(previously known as Choose Folder)
Multiple folders or files
Let’s go back to the Import From section where you select the folder to import.
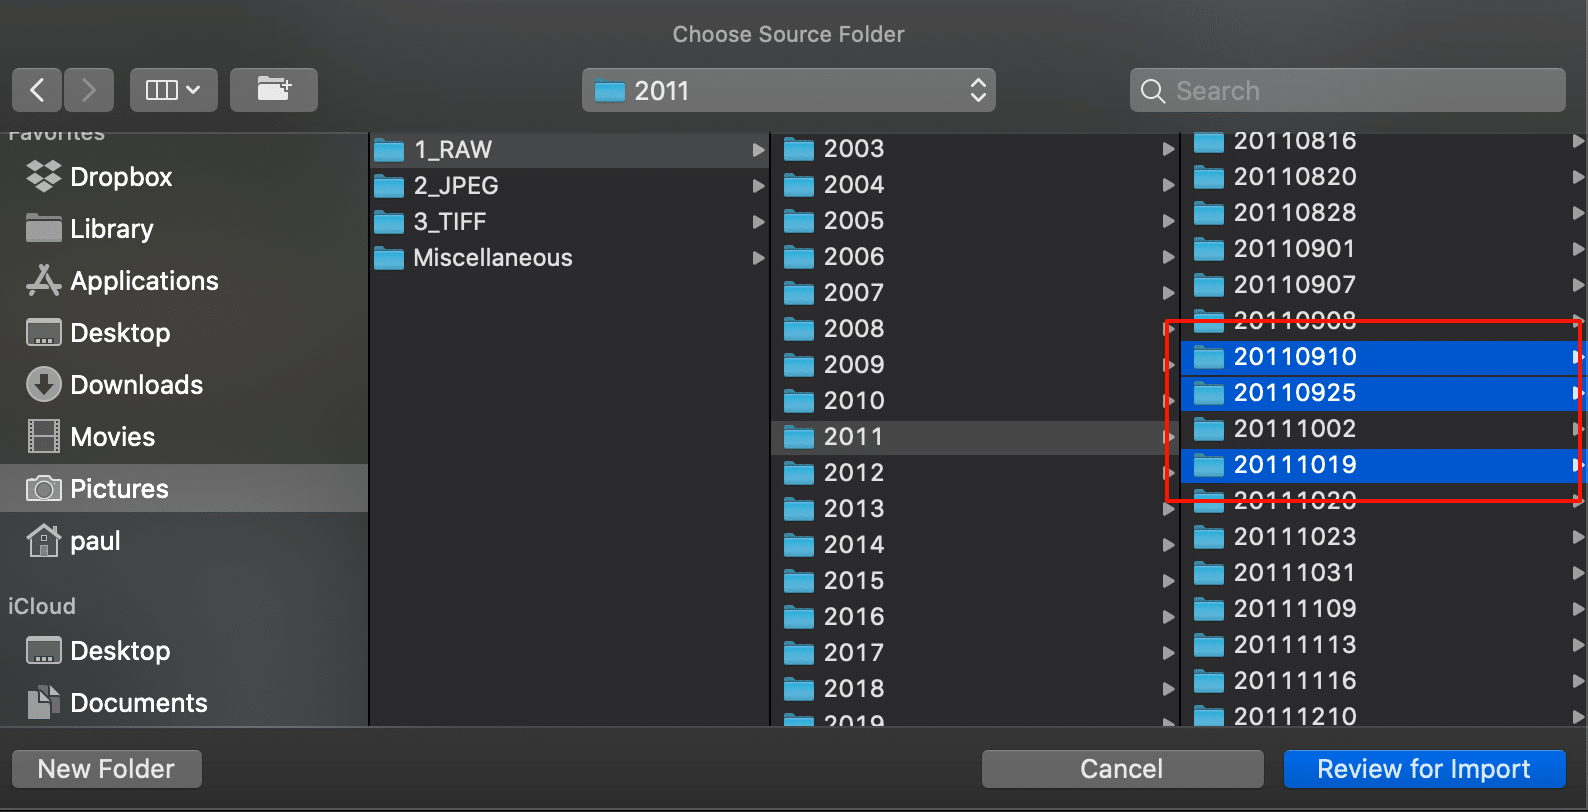
When you need to import images from different folders, you can select multiple folders to open in the importer. All pictures of the chosen folders appear in the Import Images dialog. Note that the subfolder option still works when you have selected multiple folders.
Finally, you can now directly select photos in a specific folder instead of the entire folder. If you know beforehand which pictures to import, select them, and you are ready to import them.
Colored Sliders
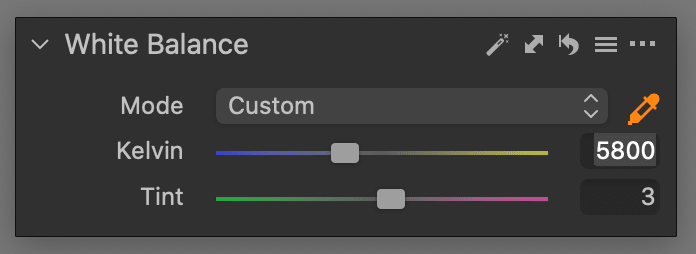
The White Balance tool got a little cosmetic makeover in that it now displays the color on the sliders.
You see the blue-yellow color on the Kelvin slider and the green-magenta for the Tint slider. No doubts anymore in which slider to pull and in which direction for your White Balance adjustment.
Improved performance
Each Capture One review seems to have an improved performance item. Fact is, performance is continuously maintained and improved.
Different tweaks for the macOS and Windows versions are made in this release, like the faster opening of Sessions and Catalogs (macOS) and faster general browsing (Windows). For full details, please refer to the release notes.
Let’s continue this Capture One 21 review with what is probably the most interesting feature as it affects image quality.
Better Image Quality
Concerning image quality, Capture One 21 offers two new options. One is a new tool, Dehaze, which helps you to remove haze. The second feature is the ProStandard profile for selected cameras.
Let’s have a look at both features.
Dehaze tool
The Dehaze tool makes it easier to remove haze in landscape images. The tool has one slider with a range from -100 to +100. This tool affects the contrast and saturation of the image.
You can use the Dehaze tool on an adjustment layer. Early experience shows that I do that in over 90% of the images in which I use this tool.


One nifty trick the Dehaze tool has on its sleeve is that it works against a color bias, say the haze’s color to dissolve. You can let the Dehaze tool automatically determine the Shadow Tone, or you can set it manually with the new Dehaze color picker.
When you pick a color and do not like the result, you can select another area in your photo. Going back to the auto color selection of the tool is always possible.
In the 3-dots action menu, there is an option Recalculate Haze Color. This also reverts to Shadow Tone in Auto mode.
Results
Let’s have a look at an image without and with Dehaze adjustments.
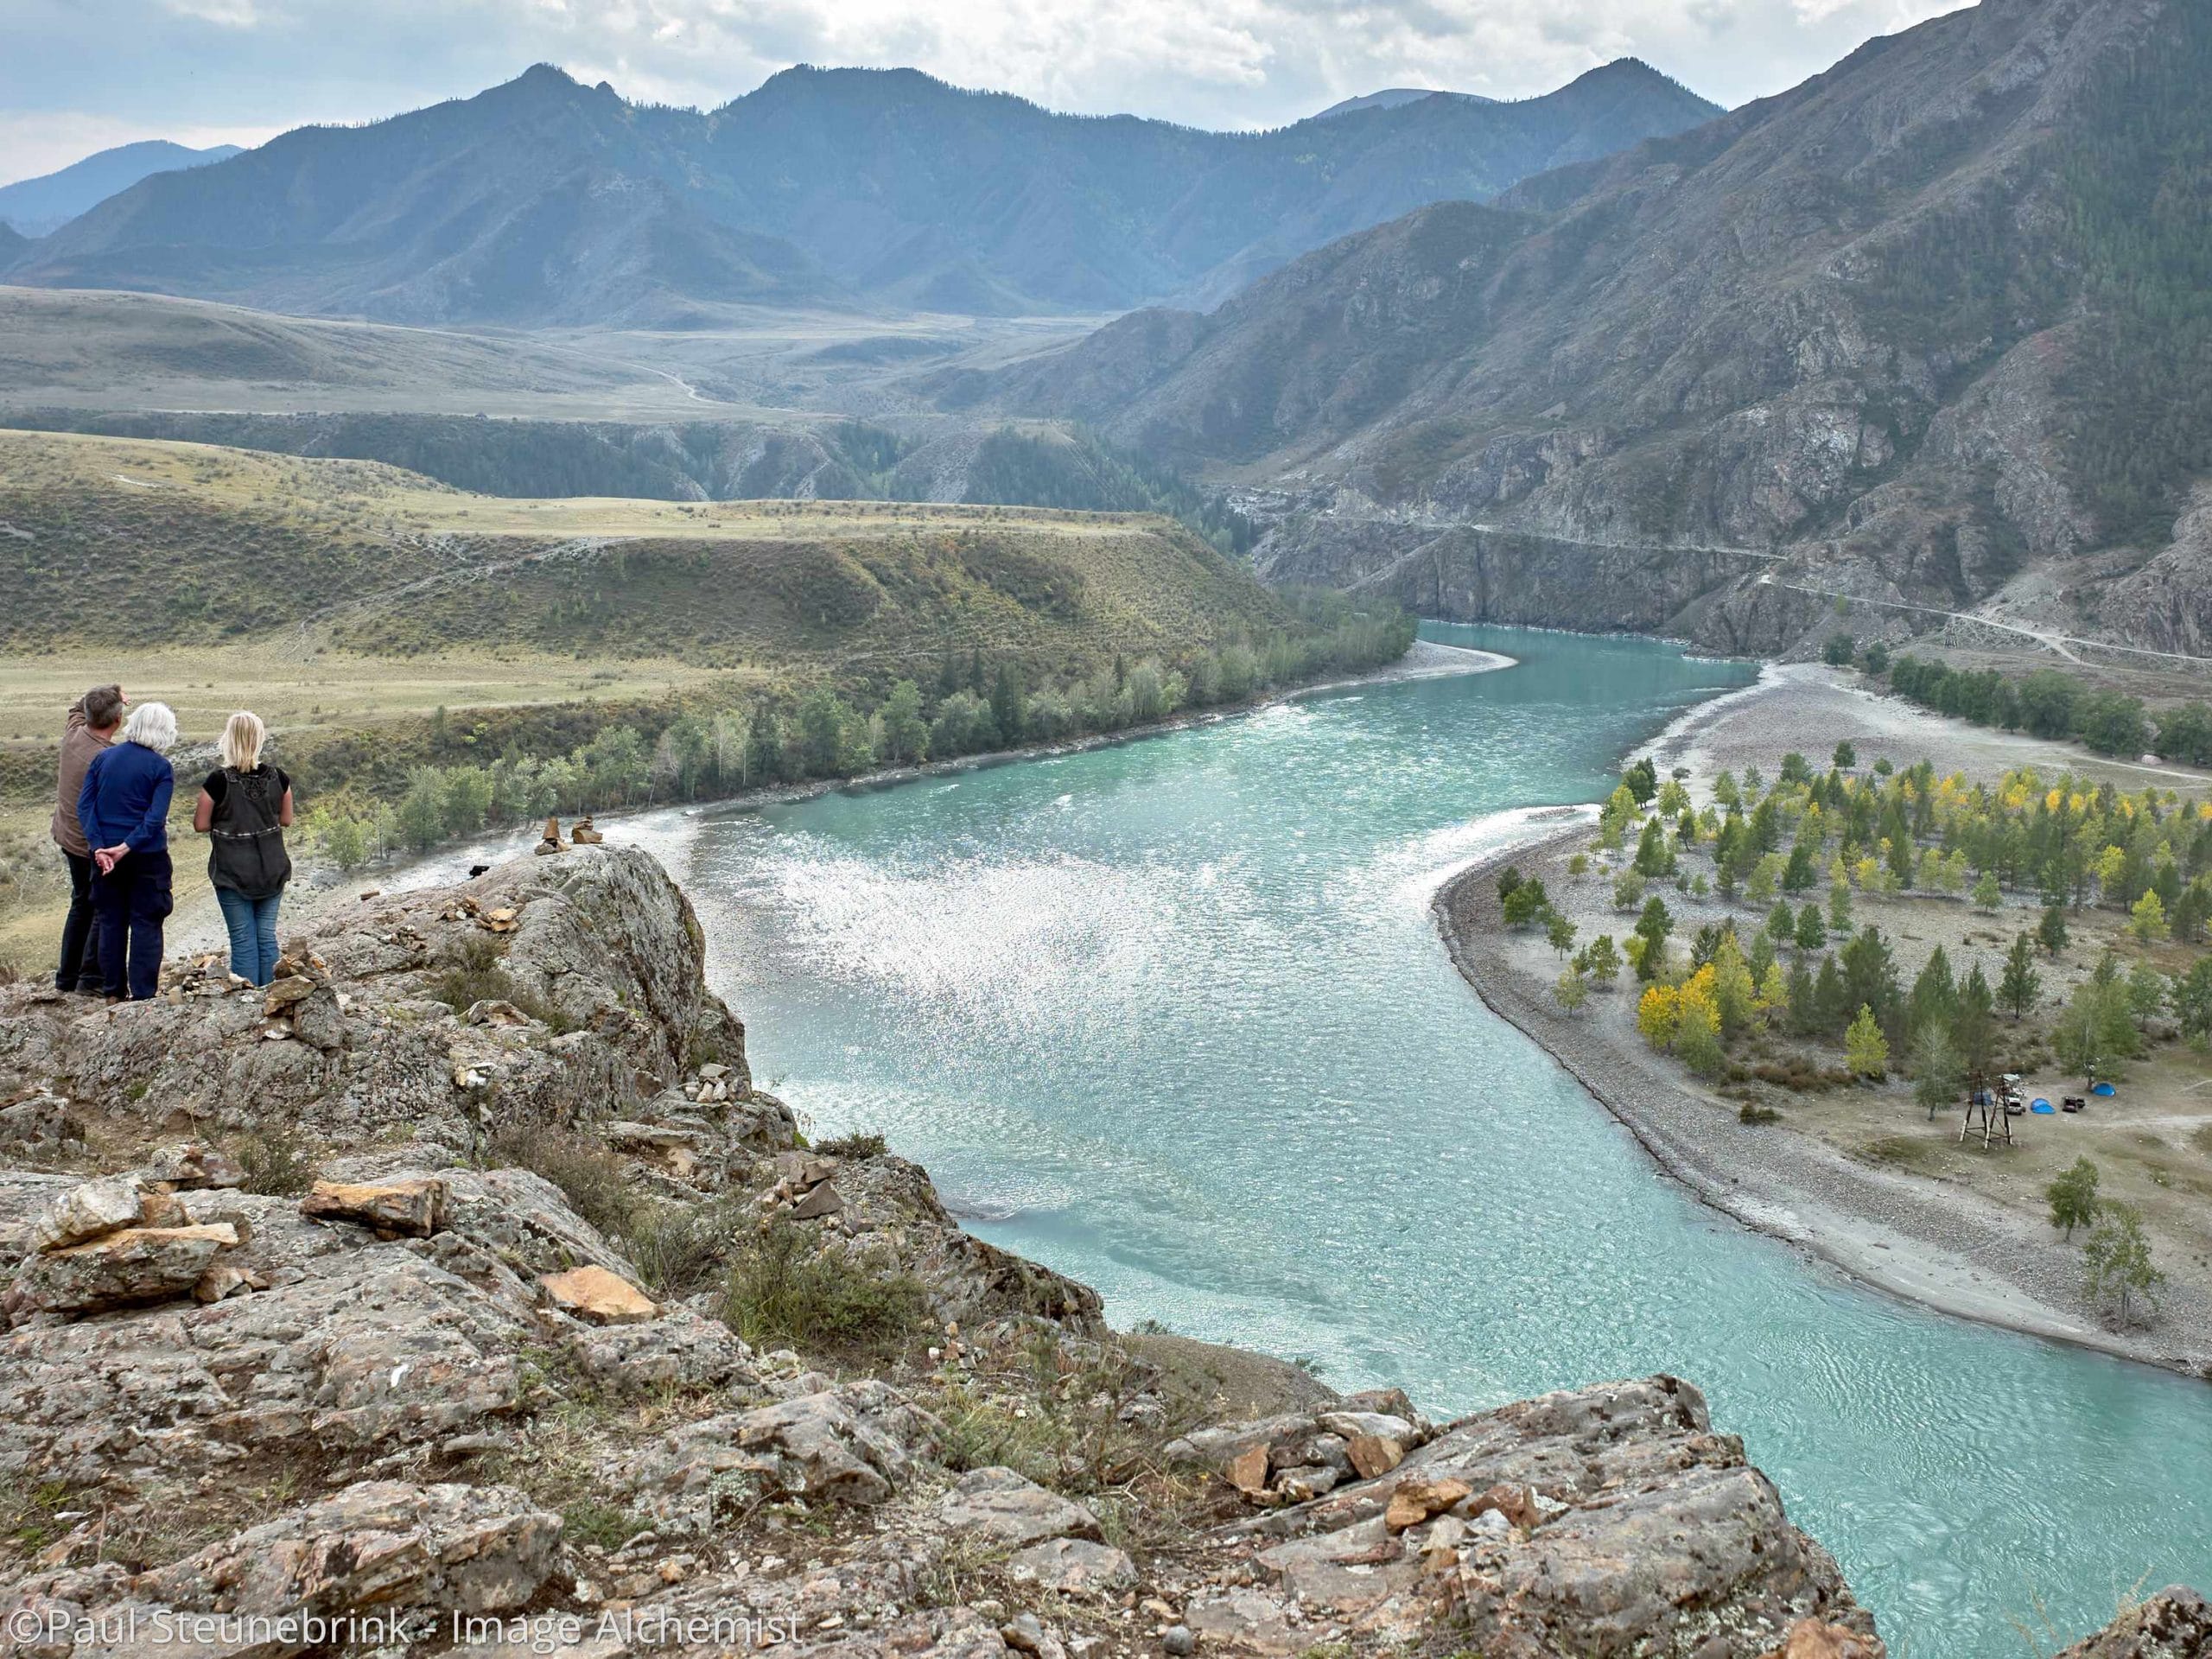

In the before/after comparison above you see a noticeable difference in the mountain area. I created two layers, where the more distant mountains got an additional Dehaze correction.
I also noticed on several images that a White Balance correction, and sometimes a little brightening of the de-hazed areas, further improves the image.
Fun results
While testing the new Dehaze tool, I used it in an image with no haze. Just for fun. I took this image in a fairy tale amusement park in The Netherlands.


The strong Dehaze adjustment on building alone helped me exaggerate the facade architecture expression in this park.
ProStandard profiles
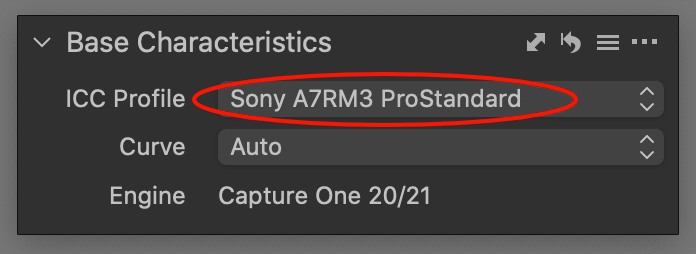
This feature surprised me. Is Capture One going to improve on their ICC camera profiles? Yes. The ProStandard profiles, compared to the Generic profiles, define colors better and more consistent over the entire brightness range.
Not all cameras have new profiles, yet. Currently, Sony, Nikon, Canon, Phase One, and Leica are currently in this first release with ProStandard profiles. Expect more cameras to get ProStandard profiles in the near future.
Already supported cameras that have a ProStandard profile in Capture One 21 (up to build 14.0.2) are:
- Canon EOS 5D MkII/III/IV, 5DSR, R5, R6
- Leica SL2, S3
- Nikon D810, D850, Z6, Z7
- Phase One IQ3 100, IQ3 100 Trichromatic, IQ4 150
- Sony A6000, A6300, A7C, A7 III, A7R II/III/IV
Capture One staff have already announced that this list will grow over time both with new camera support as well as with existing and already supported models.
New features
As mentioned at the beginning of this Capture One 21 review, there are some other new features like HEIF (and HEIC) file support. Tethering starts to come to some Leica camera models.
HEIF file support
Capture One 21 now imports, adjusts, and exports 8-bit HEIF files. This format includes HEIC files from cameras like the iPhone. You can export this file format to all other file formats from earlier versions.
The branded modes of Capture One, for Fujifilm, Sony, or Nikon, also support this format, like all other processed formats like JPEG, TIFF, PSD, and so on from any camera brand. Capture One for Phase One, however, does not. That mode does not edit or process any kind of processed file format, only raw files from the Phase One family.
Please note that export to HEIF is not supported in any mode of Capture One.
Leica tethered support
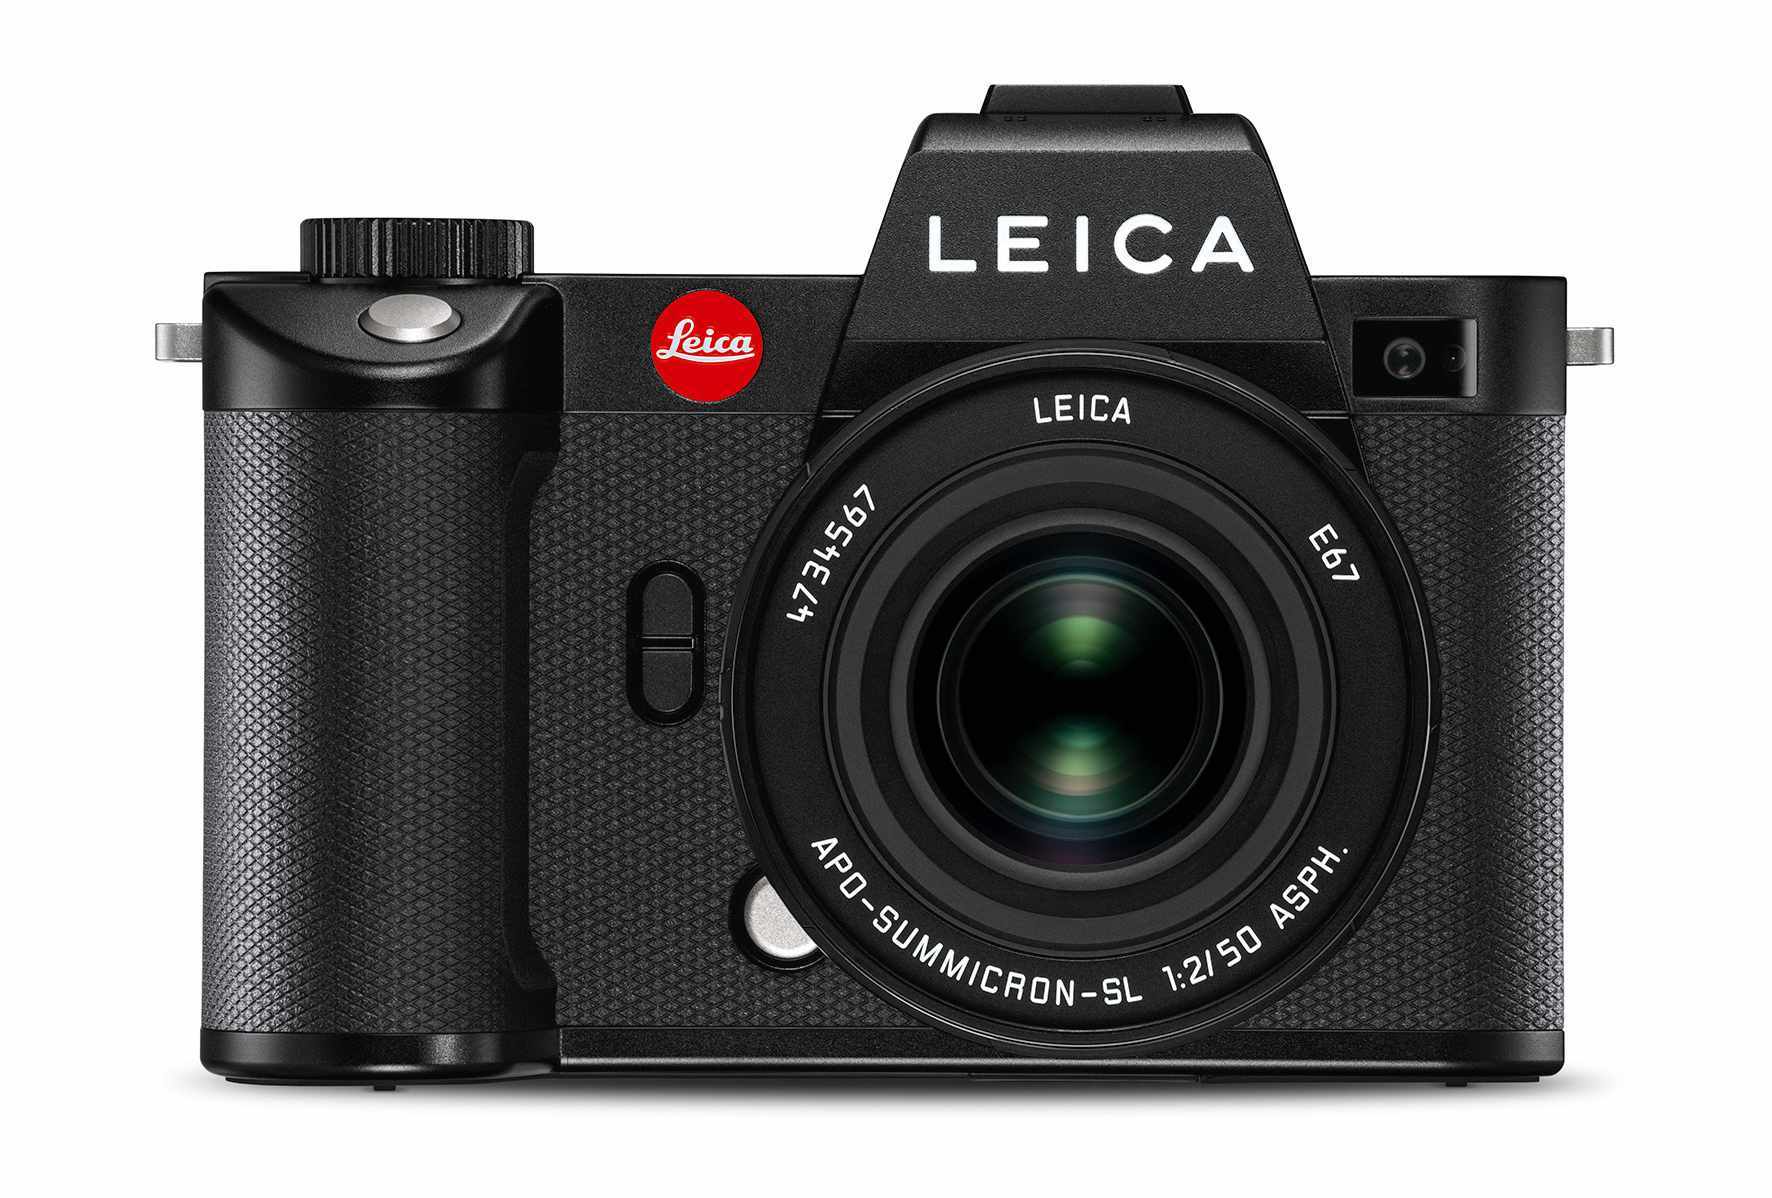
For the Leica S (TYP007)/S3, SL/SL2/SL2-S cameras, tethering is now available. You can use all tethering features like prolongations of adjustments, capture naming, and capture location with these cameras, but not live view.
It is good to see that Leica and Capture One are catching up again. From 2006 onwards, a Capture One Express license was in the box with Leica M8 digital cameras and some of its successors, but that ended with the introduction of the Leica S medium format model if I recall correctly.
New camera support
Compared with Capture One 20 (build 13.1.4) the Capture One 21 (up to build 14.0.2) release supports the following cameras:
-
Canon 850D
- Leica M10-R / Q2 Monochrom / S3 / S (Typ 007) / SL2-S
- Nikon Z6 II / Z7 II
- Panasonic DC-S1M / DC-S1RM / DC-S5
-
Sony A7C
-
Fujifilm X-S10
Note that tethering including live view is now available for the Sony A7S III.
New file support
Capture One 21 (14.0.2) supports the Fujifilm Pixel Shift Multi-Shot DNG file types released with the Fujifilm GFX 100 3.00 firmware update, including support for Fujifilm Film Simulations.
Note that tethering using Pixel Shift Multi-Shot is not supported.
New lens correction support
Compared with Capture One 20 (build 13.1.4) the Capture One 21 release supports the following lenses for lens correction:
- Leica
- Super-Vario-Elmar-SL 16-35mm f/3.5-4.5 ASPH.
- Super-Elmar-S 24mm f/3.5 ASPH
- Elmarit-S 30mm f/2.8 ASPH.
- Elmarit-S 30mm f/2.8 ASPH. CS
- Summarit-S 35mm f/2.5 ASPH. CS
- Elmar-S 45mm f/2.8 ASPH. CS
- Summarit-S 70mm f/2.5 ASPH. CS
- APO-Macro-Summarit-S 120mm f/2.5 CS
- Summicron-S 100mm f/2 ASPH
- Rodenstock RS-180mm/Aerial
Legacy
For the last couple of years, since Capture One 7 (2012) actually, new versions of Capture One came with a new Engine. The Engine in Capture One is the image core that does all the work for us. New features are often linked to a newer Engine but not always necessarily so.
The Capture One 21 release does two interesting things in this area. First, it uses the same Engine as Capture One 20, now renamed to Capture One 20/21 Engine.
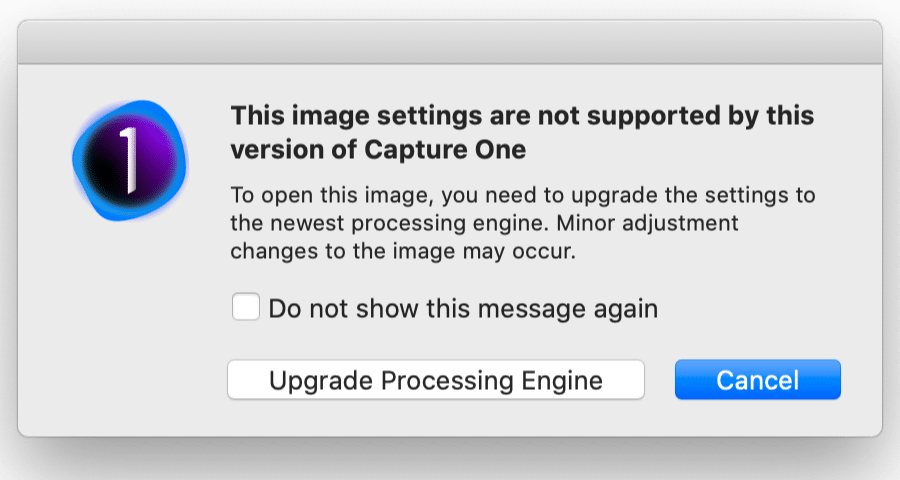
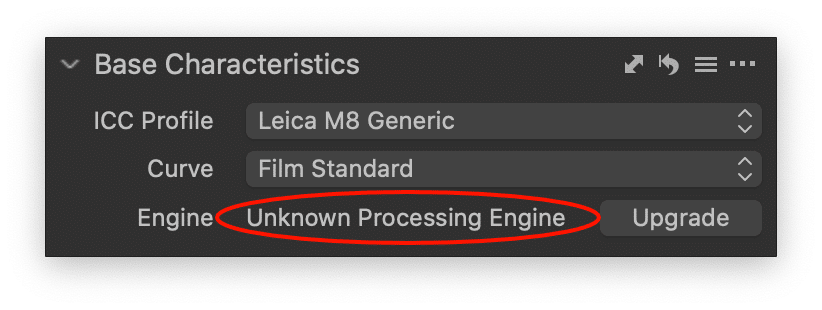
Second, when you open older images with adjustments from earlier versions with Engine 6 or 7, you get a warning that you need to upgrade the Engine. That older Engine is unknown.
When you disable the notice, upgrading will happen automatically and instantly from then on.
Operating System support
Windows 7 is no longer supported. You need at least Windows 8.1 or later. Windows 10 is supported up to 20H2 release.
The macOS version now supports up to macOS 11.1 Big Sur. This applies to the Intel Mac platform, not the newer M1 platform yet, for which support is pending.
Thank you
For reading. This ends your Capture One 21 review. Please feel free to leave a comment. Please like us on Facebook or subscribe to our newsletter to stay informed about new blogs.
Best Regards,
Image Alchemist













Hi Paul,
Good job as usual.
Speed edit must be great when you be used to it. But it may be confusing with shortcuts, for example I use B for Brush and E for Eraser when drawing a layer, and now E is in used for a layer in speed edit!
On the other hand, some shortcuts must begin without use wihen using speed edit, don’t they?
Not so easy, and more with an “azerty” keyboard.
The second big new is dehaze, a lot of fun, and a lot of old pictures to re-edit! Never mind I’m enjoy of this new tool.
I begin with HDR and your fun result make me think to HDR.
For the new import, it’s not quite clear how it work and how it is different of the old manner, but I’ll see in learning to use it.
I’m not really concern by Leica things, but it’ll make probably some people happy.
By way of conclusion, I’m excited to begin to use the new CO21.
Thanks again for your blog.
Kind regards
Patrick
PS: next time I’ll write in French so you can practice it…
Cher Patrick,
For AZERTY keyboards you’d better make your own Speed Edit shortcut keys. They built-in shortcuts are typically QWERTY based.
Merci pour vos commentaires et à bientôt!
Meilleures salutations, Paul Steunebrink / Image Alchemist
Hi Paul,
I am not sure, but I think that with the renewing of the colourprofile tool (with the new ProStandard profiles) another issue seems to have been solved. Until now using profiles made with the X-Rite Colorchecker Passport resulted in images with on the one hand more true colours, but as by-product less contrast (a little haziness) that could not be compensated for, as it was impossible to regain true 0-0-0 blacks in those variants. As first-thing-to-do I tried this in C1 21 and the issue is not there anymore! A whole lot of people complained on this in the past and I hope that those people will come to the same conclusion as I did.
Thank you very much for all your very detailed information on C1. I have learned a lot from you!
Kind regards, Piet Brummer
Thank you Piet,
For letting us know and being a recurring visitor. I also hope more users jump to the same conclusing regarding profiling with X-Rite as you did.
Best, Paul Steunebrink / Image Alchemist
Ha Paul,
Bedankt voor deze eerste uitleg! Ga maar weer op ontdekkingsreis. Het eerste waar ik al tegenaan liep is dat mijn huidige catalogus blijkbaar niet in 21 versie wordt geïntegreerd. Moet ik nog even uitzoeken hoe dat moet.
hartelijke groet,
Rob Pauel
hello Paul,
De retour, mais je continue en Anglais, car mon commentaire peut intéresser des “non Français”.
I was in troubled of possible mistaking for the same letter than you have a mess between shortcuts and speed edit.
In fact both system lives together, but nobody tell How and why.
It’s very simple, a short action on a letter and you have the action of the design shortcut;
You press for a long time on the button and then you go to speed editand it’s very usefull
Sincères salutations
Patrick
PS: pour le QWERTY, en fait cela ne me dérange pas réellement, juste une petite plaisanterie.