Capture One Composition Tools
The Capture One Composition tools help you optimize the composition of your image. Cropping, rotating and correcting perspective are the tools. Grid and guidelines enhance these tools and your experience with them.
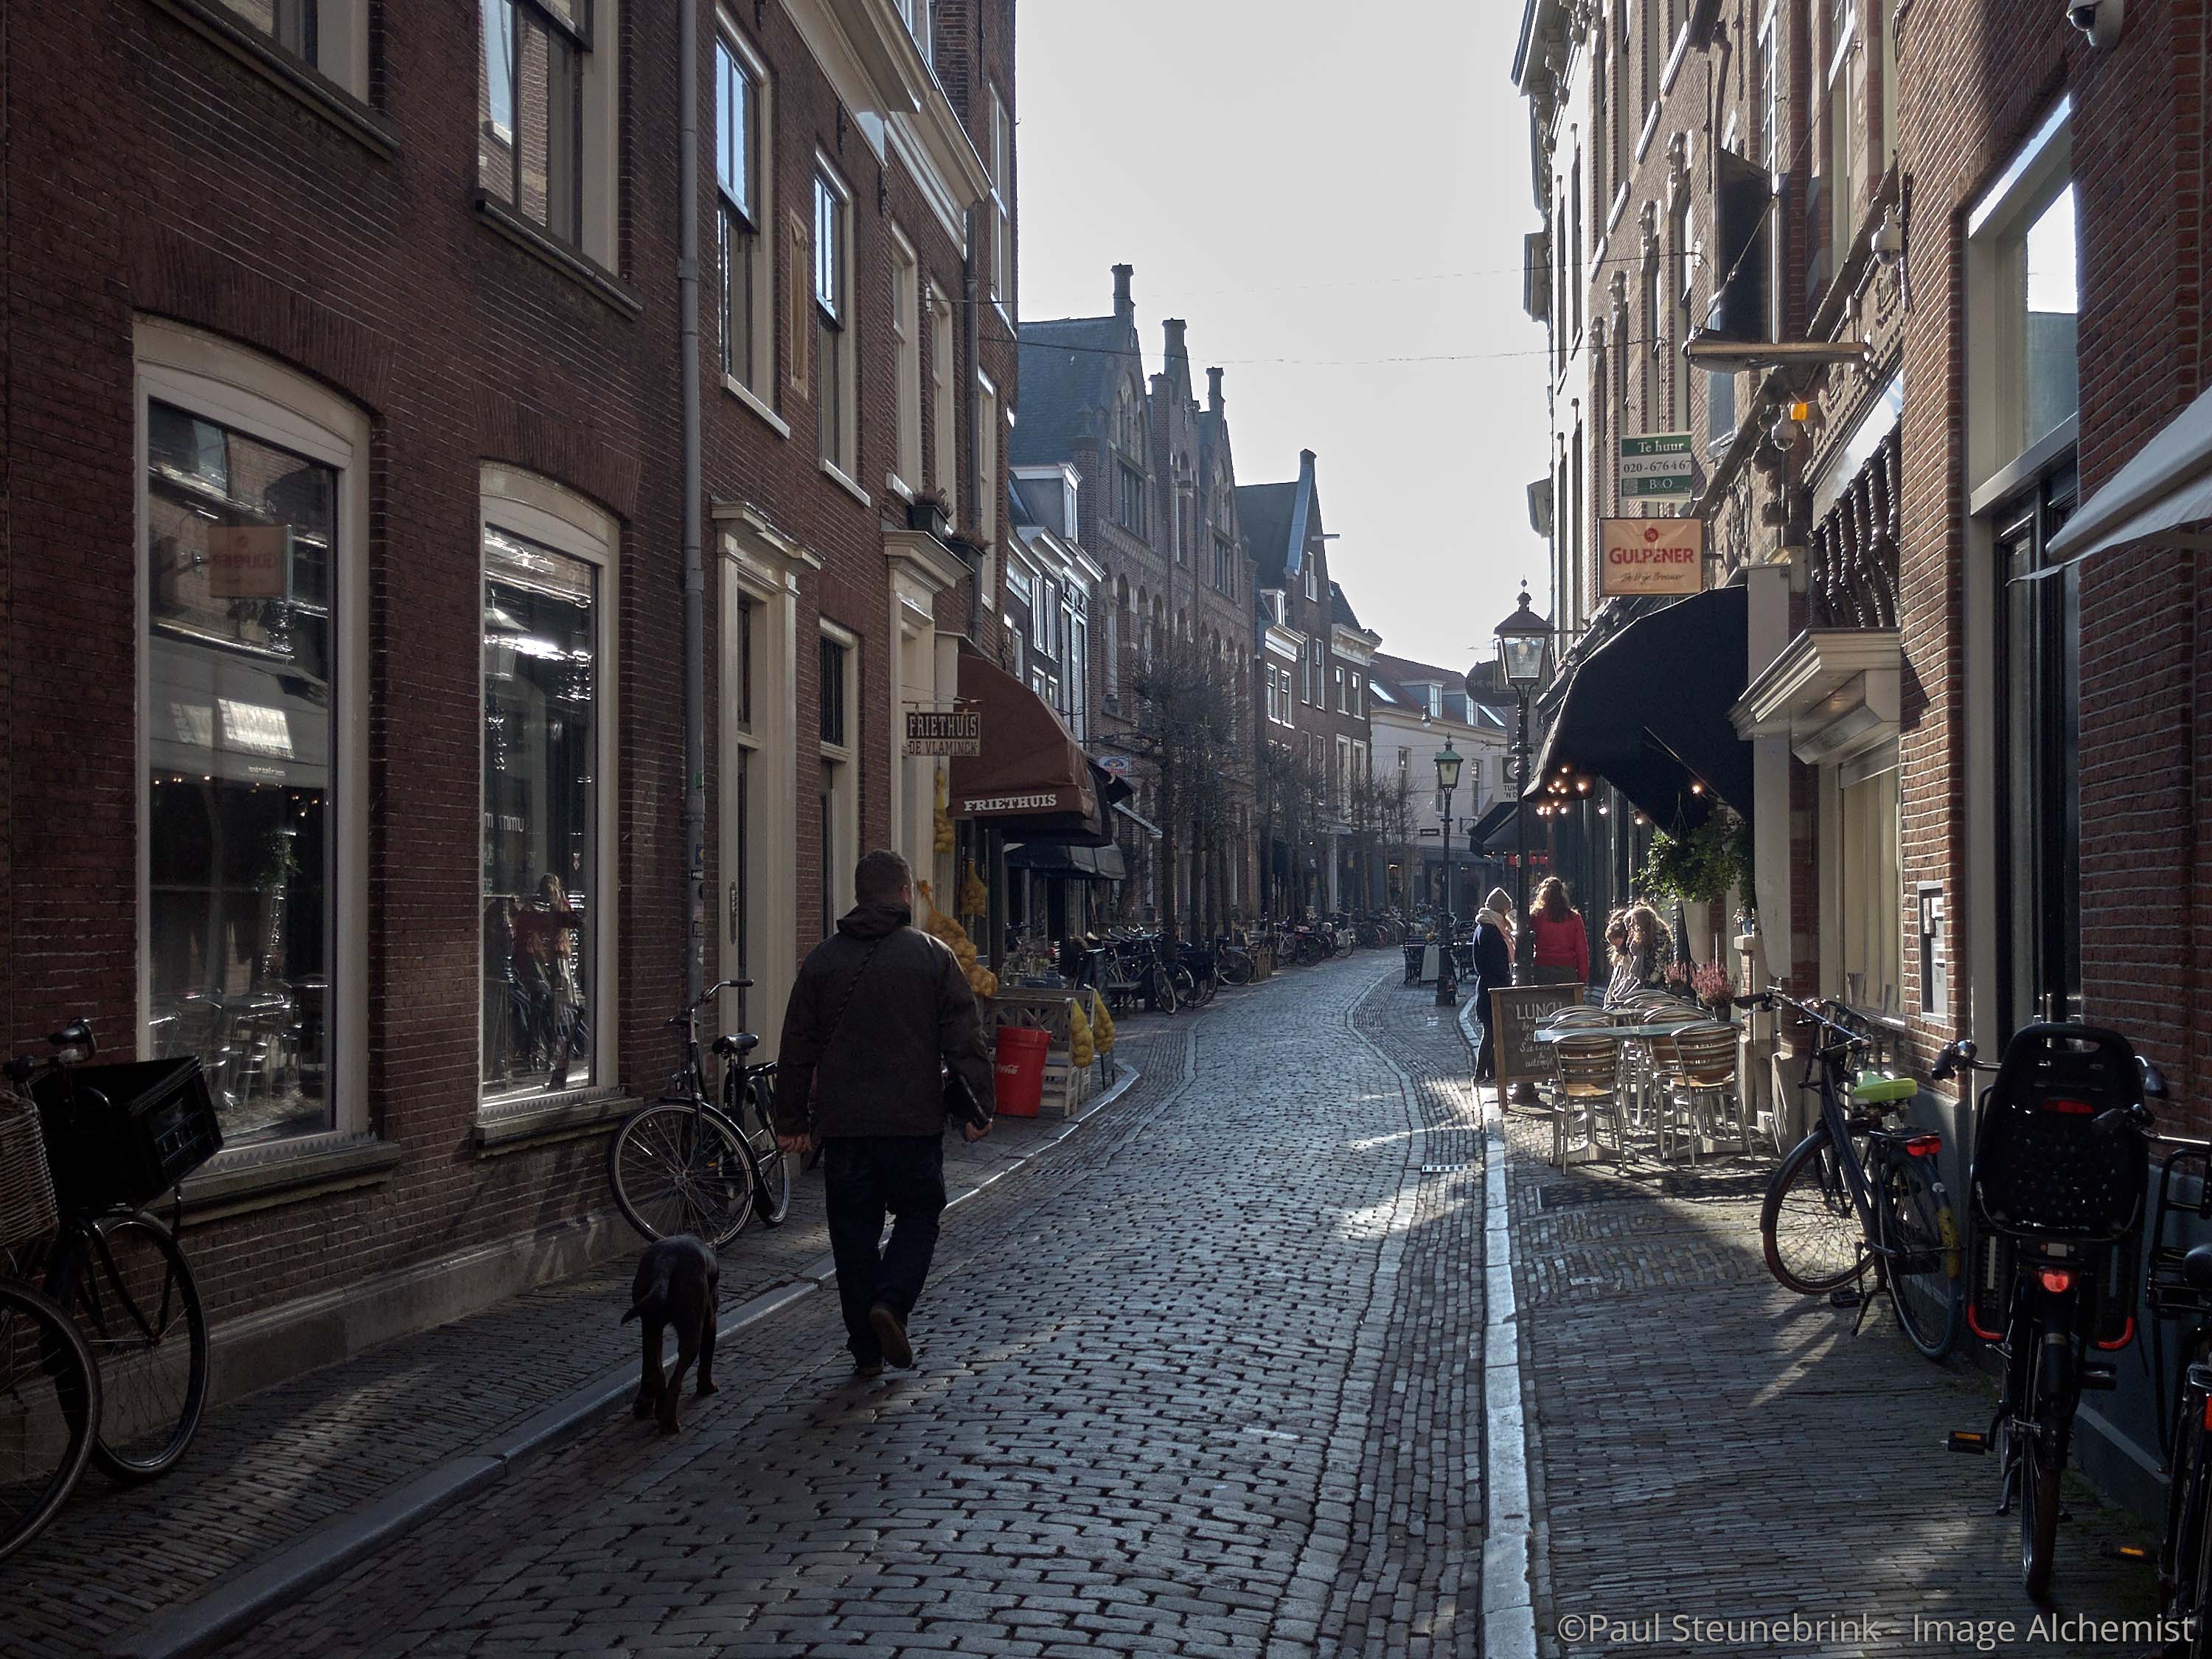
image shot in DNG (RAW) format with iPhone X, processed in Capture One Pro
Capture One Composition Tools
You find the Capture One Composition tools on the Lens tool tab. Versions prior to Capture One 10 had a separate Composition tool tab. But Phase One decided to consolidate a number of tabs, so here we are.
There are three Composition tools and I discuss them all here below in detail.
- Rotation & Flip
- Crop
- Keystone [Pro only]
Much related to both the Crop and Keystone tools are the Grid and Guidelines. I discuss them here as well.
Please note that due to their nature of adjusting the image’s composition, these tools work on the Background layer and not on adjustments Layers. Of course, you can use adjustments Layers in combination with these tools.
Note that the Keystone tool is part of Capture One Pro/Pro Sony/DB and not included in the Express Sony mode.
Composition In Your Workflow
It is totally up to you whether you first crop your image and adjust brightness and color next, or vice versa. However, the Histogram changes with the crop. In particular, when you use any Auto-Adjust the result is affected after cropping.
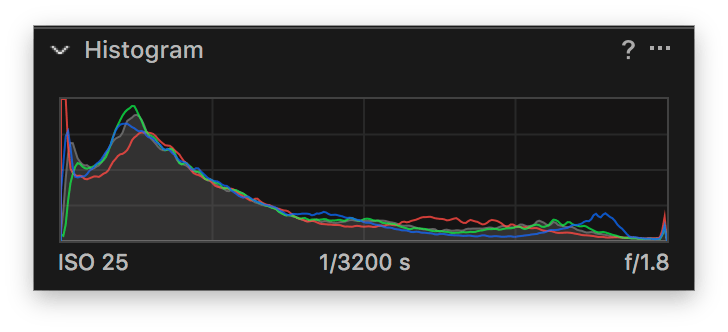
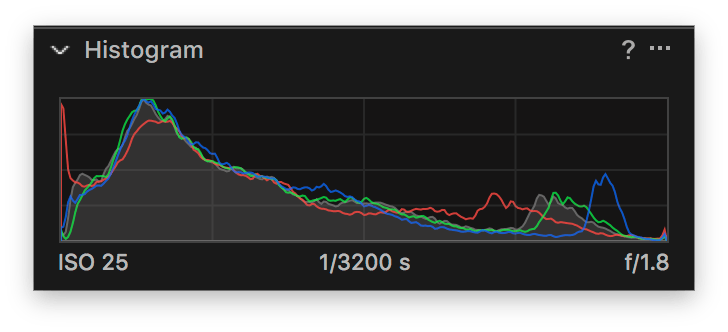
The before/after stack above is the Histogram from the same image, without (left) and with a crop.
For example, cropping out a bright sky will result in a different Auto Levels adjustment compared to the uncropped image. So it makes sense to use the Capture One Composition tools early in your workflow.
Rotation & Flip Tool
The Rotation & Flip tool is actually two tools in one as the name implies: Rotation and Flip.
Both parts work independently but affect each other in that a Flip operation inverses an Angle Rotation. For example, a -10° Rotation becomes +10° after flipping.
Rotation Tool
Let us focus on the Rotation part of the Rotation & Flip tool first. The obvious purpose of the tool is to rotate the image. There are two kinds of rotation that Capture One both support.
One way is that you need a minor rotation of a few degrees to straighten a horizon or align a vertical structure. Capture One offers a slider and a set of accompanying cursor tools for this purpose.
The other kind of rotation is 90° steps. Capture One provides a pair of buttons, keyboard shortcuts and icons on the Toolbar.
Let us take a look in more detail at each of them and how they interact with each other.
Angle Rotation
The main control here is the Angle slider, which has a range between -45 to 45°. As with all slider controls in Capture One, there are several ways to control the value.
You can drag the slider, click on the slider line, or enter a value. You can also place the cursor in the value box and use the up and down cursor keys for 0.01° increments. Accelerate by combining the Shift key for 0.1° increments.
Special controls are pressing the Angle text label for a temporary reset and double-clicking the slider line for a permanent reset.
From the four Rotation cursor tools the first two – Straighten and Rotate Freehand – are related to the Angle setting.
The Straighten cursor is a quick and dirty method to align a horizontal or vertical line in the image. The Rotate Freehand is not attempting to align one way or the other. It’s free, no strings attached.
Note that the Crop tool, discussed below, also offers freehand rotation. Also note, that Capture One will automatically crop the image when you use the Angle Rotation adjustment. The Crop Ratio is not affected by the rotation.
There is no Preset function for Angle Rotation but you can save it as a Style.
Rotate Snap
There is a so-called Rotate Snap feature (Windows: Snap to 90°) that you can access from the tool’s action menu, the Adjustments main menu and via a keyboard shortcut. It resets the Angle adjustment to zero degrees.
Rotate Snap works on the Primary Variant only, unless you simultaneously press the Shift-key. It then becomes Rotate Snap Selected.
Rotate Left & Right
The effect of the Rotate Left/Right buttons in the Rotation & Flip tool has a great similarity with the Orientation setting in Capture One. However, you set Orientation during tethering and use Rotate Left/Right afterward on captured and imported images.
At first sight, the Rotate Left/Right swings the image 90° clockwise (right) or counterclockwise. However, what if the image already has an Angle Rotation?
A Rotate Left/Right adjustment does not affect an Angle rotation. A +1.00° Angle rotation remains in effect after a Rotate Left/Right adjustment.
Think of it as an image on the table. The Angle Rotation rotates only the image, not the table. The amount is relative to the table. The Rotate Left/Right adjustment rotates the table per 90°, but that does not change the Angle Rotation relative to the table.
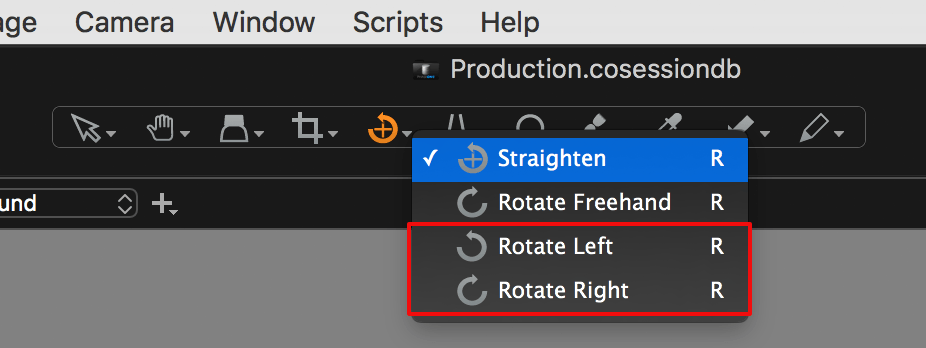
From the four Rotation cursor tools the last two – Rotate Left and Rotate Right – are related to the Rotate Left/Right setting. You can also use the keyboard shortcuts from the Adjustments menu or the icons on the Toolbar.
You can not save the Rotate Left/Right adjustment in a Preset or Style.
Flip Tool
Next, it’s time for the Flip part of the Rotation & Flip tool.
The Flip tool has three settings: None, Horizontal, and Vertical. You select them from the drop-down list. To remind which is doing what, remember that the Horizontal flip exchanges left and right.
What is interesting here is that the Flip tool inverses the Angle rotation. A +1.00° Angle adjustment becomes -1.00° after a Flip. The stacked before/after images below show a Horizontal Flip.
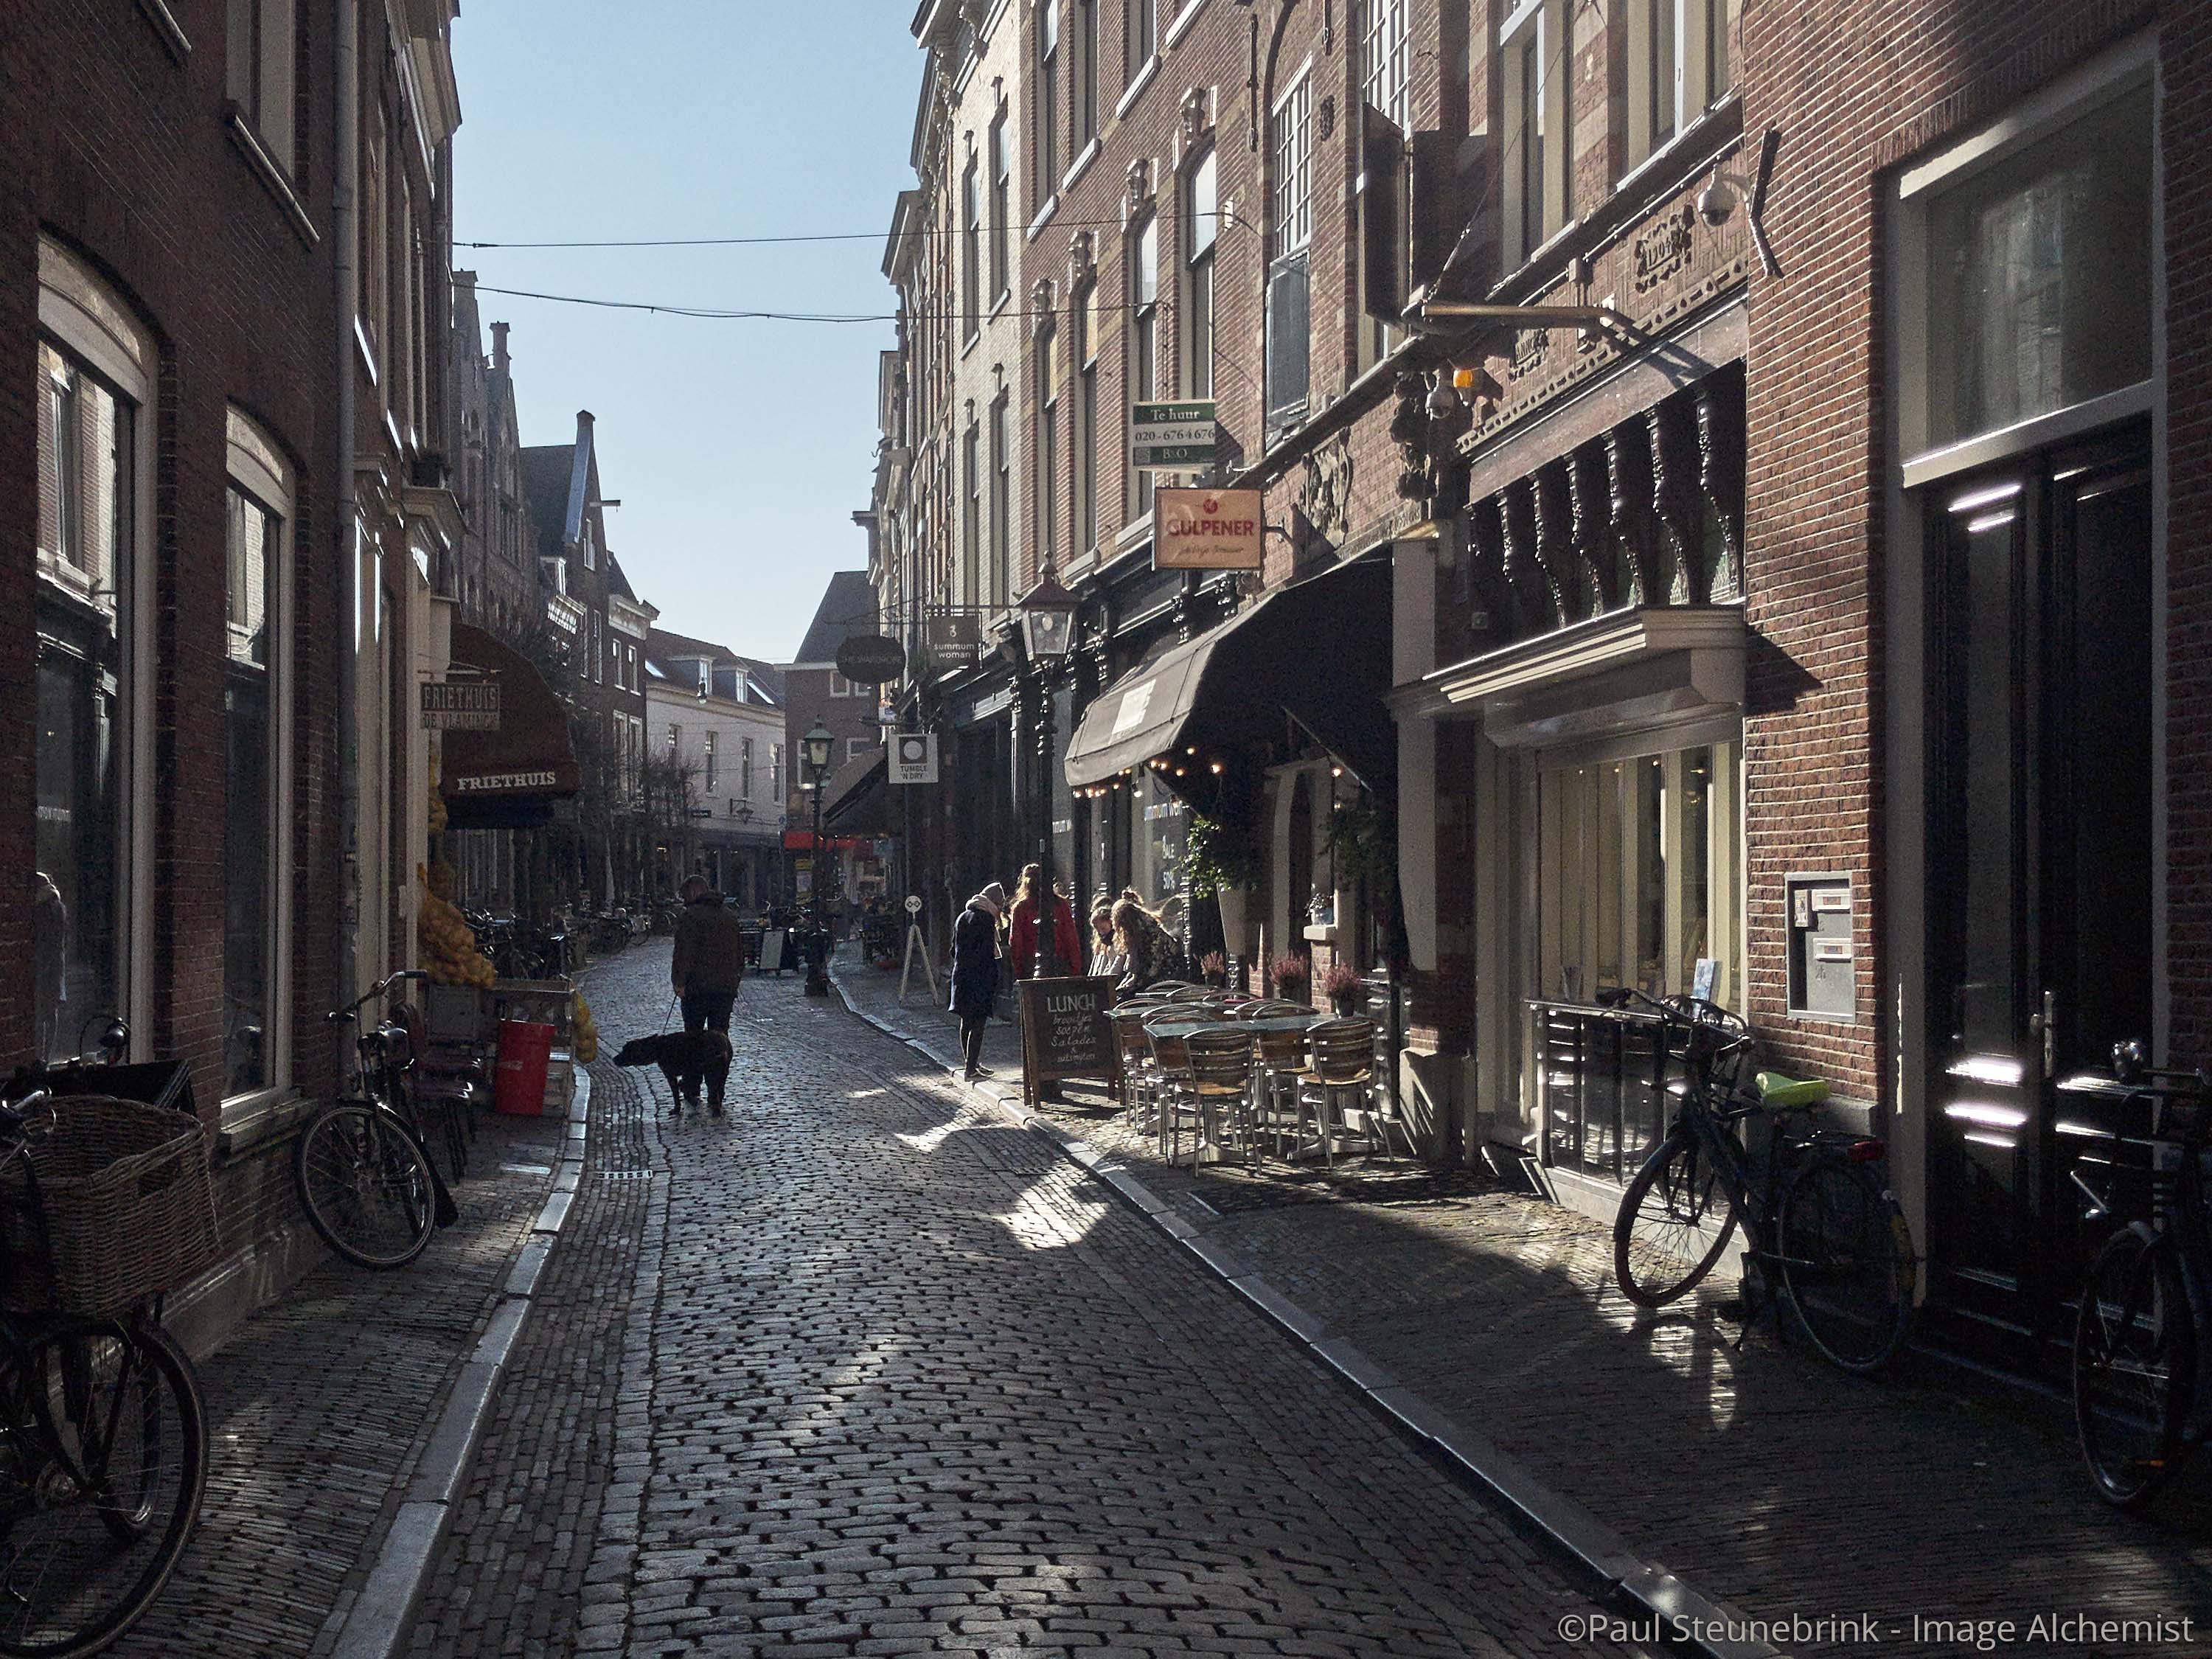
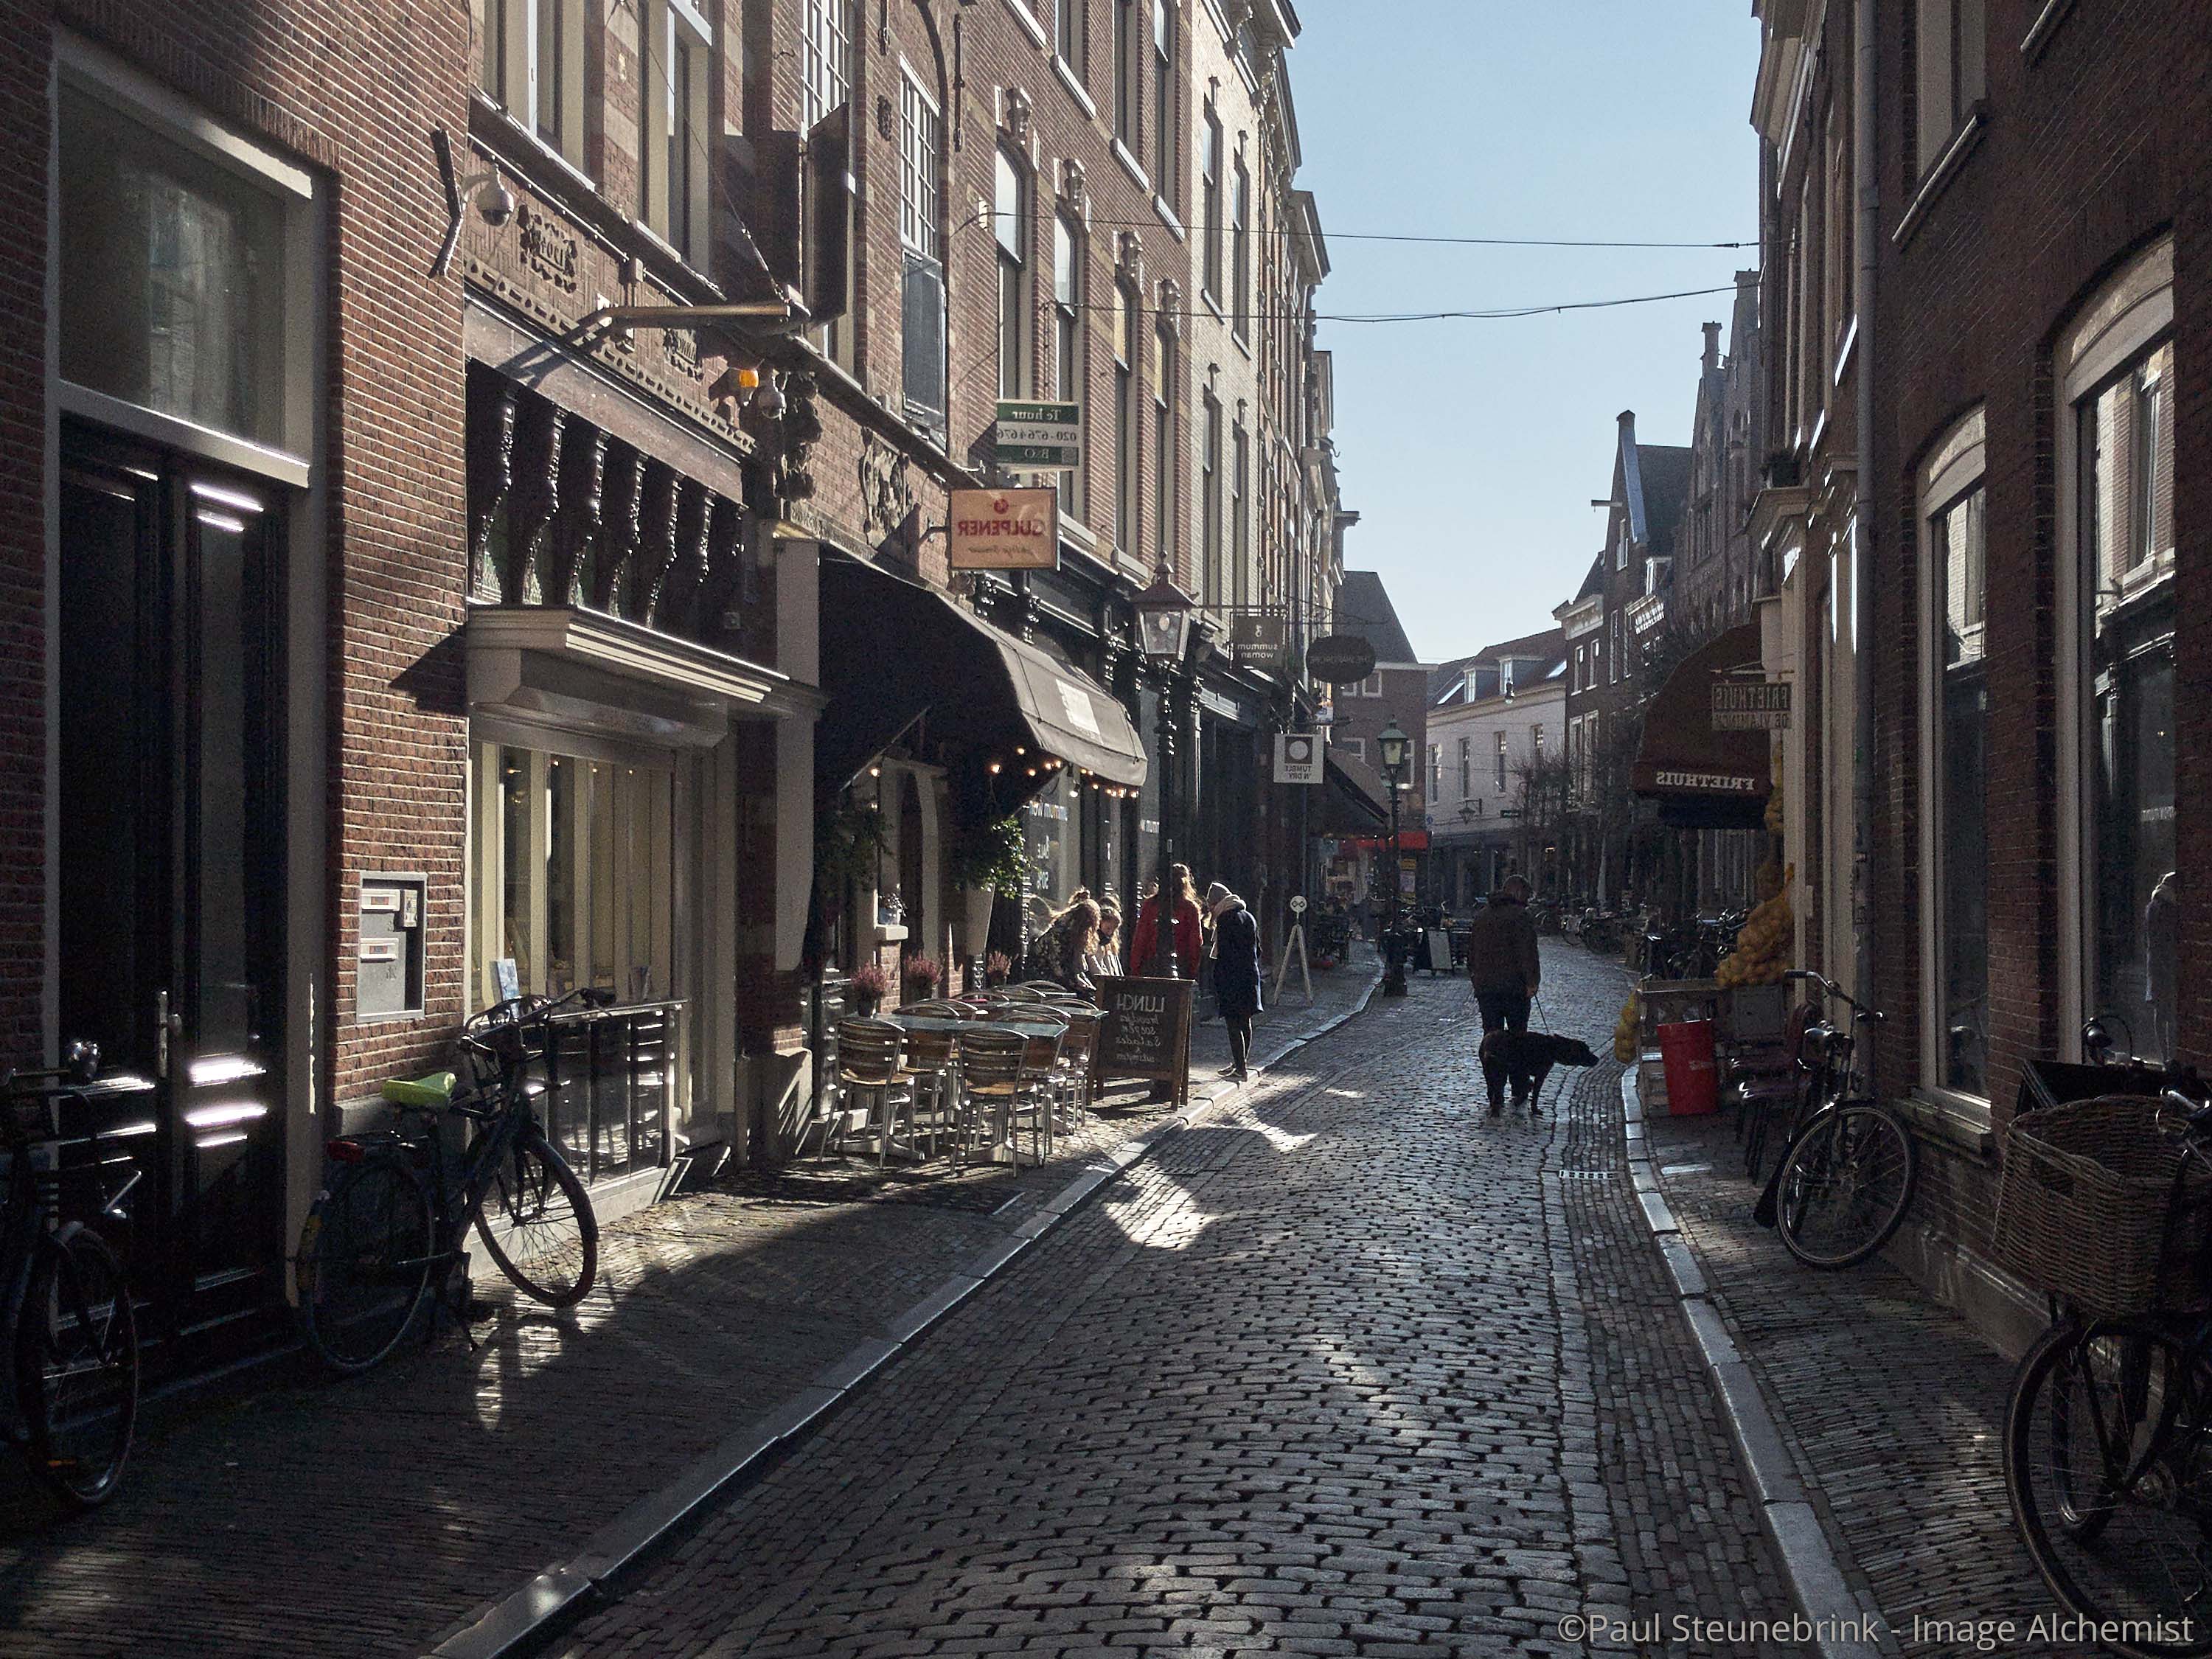
There are no cursor tools or keyboard shortcuts for the Flip tool. You have to use the drop-down list from the tool.
There is no Preset function for the Flip adjustment but you can save it as a Style.
Crop Tool
The Crop tool is easy to use and mostly self-explaining. However, when taking a close look you discover that there is a lot more to it.
Let us start by clearing three common confusions related to the Crop tool.
- you do not need to confirm a crop; you just crop
- a crop ratio is not the same as image size; a ratio expresses the relation between the long and short edge of the image or width and height
- each crop ratio works for both landscape as well as portrait-oriented crops; you control this with the mouse while you crop
Using Crop
In contrast to the Angle Rotation, you must select the Crop cursor tool to make a crop. You can do this from both the Crop tool as well as from the cursor tools on the Toolbar.
Click in the image and drag the mouse to create a Crop. Change the Crop from the edges (Unconstrained ratio only) or the corners of the Crop. Click on the Crop and move your mouse to move the Crop.
Freehand Rotation is possible when you move the mouse pointer a bit away from the corner of the Crop. The Crop icon automatically changes into the Freehand Rotation cursor.
Crop Ratio
The Crop tool comes with a list of predefined Crop Ratios or Aspect Ratios. You can add your own ratios with the Add Aspect Ratio… command.
You select or create a ratio in the Crop tool’s Ratio setting (drop-down list) or from the cursor tools on the Toolbar. On the Toolbar, click (and hold for a second) the small triangle next to the Crop cursor symbol to open the list.
At the top of the Ratio drop-down list, you’ll find three choices I will explain.
- Unconstrained
free cropping without a ratio between long and short edge being enforced - Original
the ratio of the original image is enforced; all images will automatically have the same ratio, whether or not they are cropped; images from different cameras with different ratios will have their images cropped to their respective original without the need to change crop ratio - Output
not the Crop tool but the size settings in the selected Process Recipe determine the crop ratio; best option to enforce a specific output format for prints or further processing; note that this assumes that Capture One up or downsizes the images during processing
To create your own crop ratio, select Add Aspect Ratio… from the drop-down list.
Note that it does not matter whether you fill in 1 x 3 or 3 x 1 in this example. All Aspect Ratios are for both landscape and portrait shaped crops as mentioned earlier.
Output Ratio And Image Size
The Output crop ratio is different from all other ratios in the list because it lets you establish a relation between your crop and image size in pixels.
As stated earlier, the crop ratio defines the relationship between the long and short edge of your image. Assuming your process or export your image to a fixed scale, the more you crop the fewer pixels there will be in the final image. In short: heavy cropping, small image.
The opposite is also possible. Say, you define the image size in pixels, mm, cm or inch in a Process Recipe. This can be either one edge or both. Next, you select the Output ratio in the crop tool. The cropping is now controlled by the selected Process Recipe.
Images that I create for this blog, like the one above, are 3000 px long edge. I have a Process Recipe for that. I always use ratio 3×4 when I crop the main image for the blog, which will automatically result in 2250 pixels short edge. For that reason, the units in the Crop tool are greyed out because the Process Recipe is in control.
While you crop you will notice from the size labels in the viewer that the value you define in the selected Process Recipe is enforced and maintained. In the background, Capture One either up or downscales the image on processing within a range of 1-250%. You can monitor this from the Scale value in the Process Summary tool.
Crop Outside Image
It is always good to think outside the box as a creative professional. The Crop Outside Image setting is the Capture One’s equivalent to that philosophy. This works on images that have an Angle Rotation or Keystone adjustment.
Parts of the image that are outside the image are painted mid grey. You can fill in these parts with other image editing software.
Note that this is an image related setting, not a setting of the tool that affects all images like Crop Ratio.
Apply Aspect Ratio
When you open the Crop tool’s action menu, you find the Apply Aspect Ratio setting (Windows: Apply Ratio). Note that it works only for constrained ratios.
This is a great feature when you change your Crop Ratio after you made the crop. Capture One will apply the newly selected ratio while maintaining the position of the Crop.
When you touch a cropped corner with your mouse cursor after you changed the Ratio the crop will apply the new ratio in one direction and not center around the original crop.
Please note that it works on the Primary Variant only, in case you have selected multiple images.
Shift-Crop
A power tip for easy cropping: keep the Shift-key pressed while you crop. So, with the Crop cursor tool selected and the mouse pointer in the image, you press Shift, next click and drag the crop. The advantage of the additional Shift-key is that you always can start cropping in an image.
This is normally not possible for uncropped images, you must start from and edge or corner. In addition, when you already have a crop, you can normally not create a new crop, only alter it.
The Shift-Crop option allows you to do both.
Crop Mask
The part of the image outside the crop is masked, typically with a half opaque black. When cropping dark images you can not see the crop properly, which is most inconvenient.
Fortunately, you can change this from the Preferences, Crop tab. You can find these Preferences quickly from the Crop tool’s action menu.
For a detailed explanation of the Crop Preferences please refer to the Capture One Preferences (part 3).
For a brief summary: the Opacity and Brightness settings of the Mask are what you are interested in when you can not see the Crop edges and corners.
Grid
When you crop you see a Grid of dotted lines, two horizontal, two verticals.
You can change that number from the Preferences, Crop tab or select a different pattern like Golden Ratio or Fibonacci Spiral from the Grid section, Type drop-down list.
Keystone Tool
A keystone is (among others) an architectural element (source: Wikipedia). In Capture One it has lent its name to a tool for perspective correction, the Keystone tool.
The Keystone tool offers two types of correction, Horizontal and Vertical, as well as a combination of both. Vertical correction is used most often. The stacked images below show an uncorrected image (left) and one with Vertical Keystone correction.

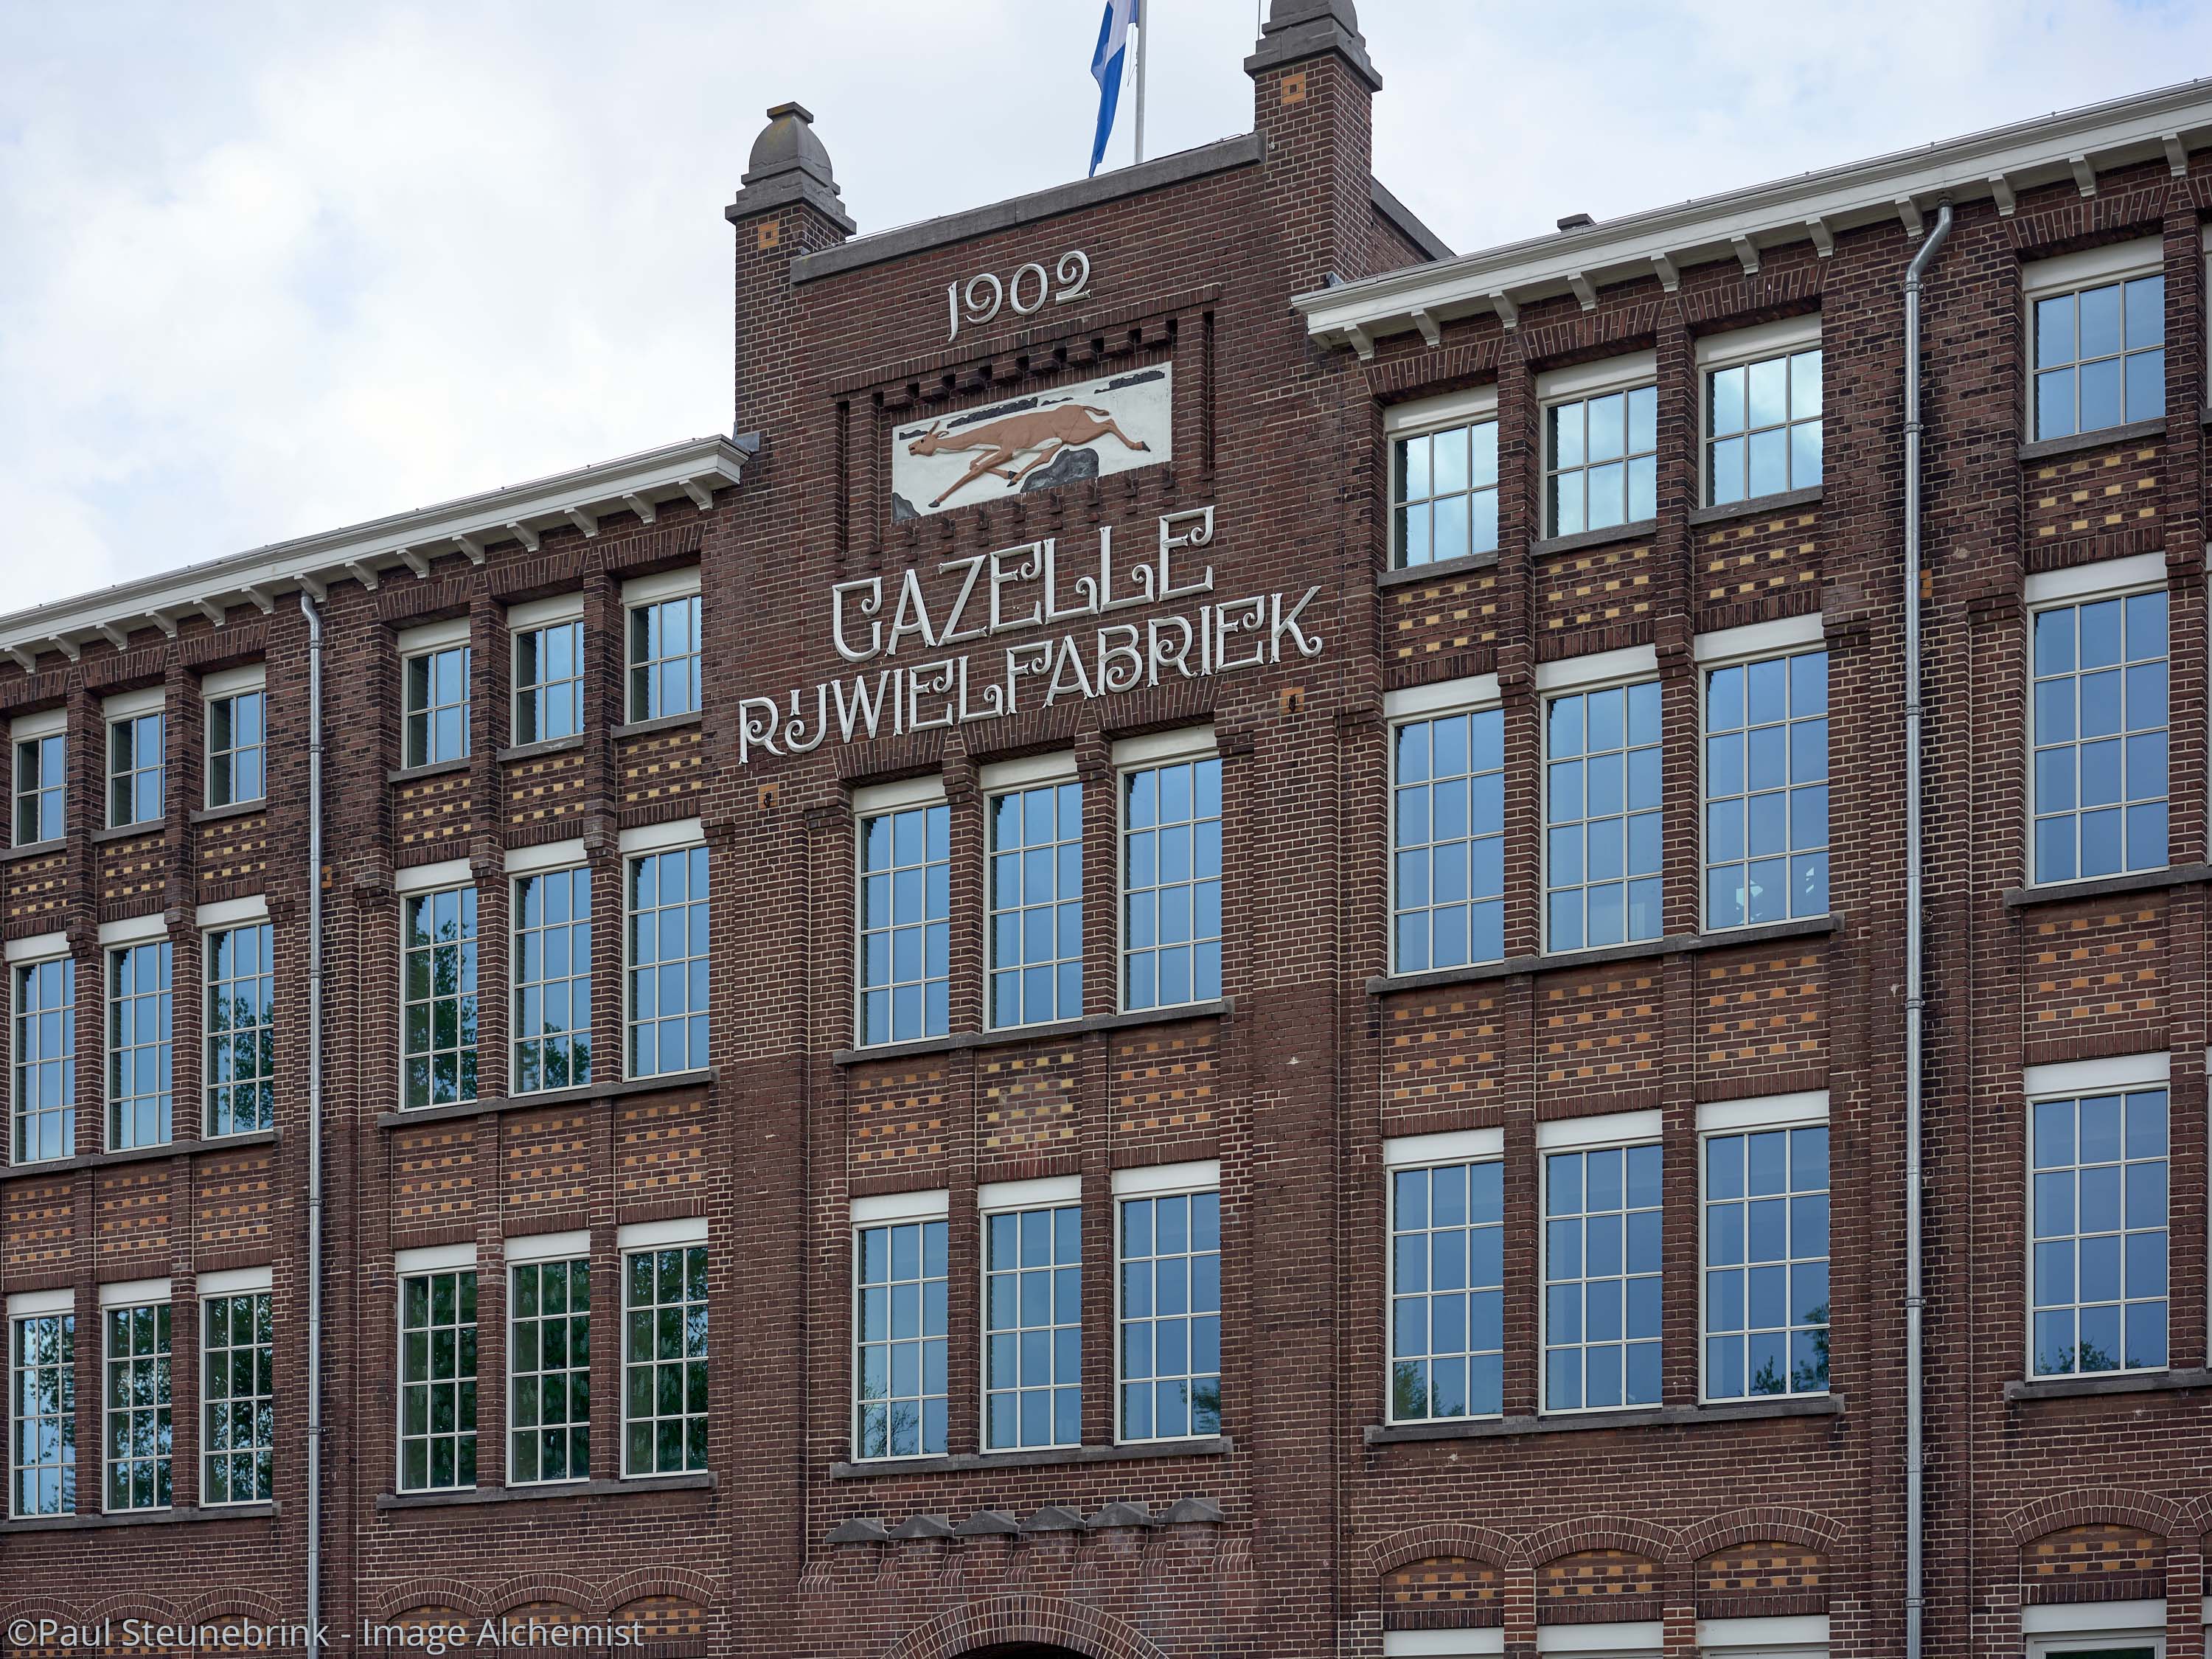
The Keystone tool comes with the accommodating cursor tools that you can select from the Toolbar or the tool itself.
Using Keystone Tool
There are two ways to use the Keystone tool:
- with guidelines in the Viewer
this is the option used most - adjusting the four sliders of the tool
this is best for additional adjustments
Of course, you can use a combination of both methods.
Please note that a Keystone correction almost always makes an Angle Rotation. So, in case you reset a Keystone adjustment, you have to manually reset the Rotation as well.
Make a Keystone correction with the guidelines of the tool in the Viewer in a view steps.
- select the type of Keystone correction, typically Keystone Vertical;
two vertical lines with two times two circles appear - with the mouse, adjust the two lines with the aid of the circles along vertical lines in the image;
an Apply button appears - click on the Apply button, the image’s perspective is corrected according to the lines you adjusted
Notice in the Viewer that the image is cropped and rotated. Check the settings in the corresponding tools.
Fine-Tuning Keystone
In most cases the adjustment as described above is sufficient, but in a number of cases, I make additional adjustments with the sliders or through Presets.
With Vertical Keystone Capture One corrects up to 80% by default. Notice the Amount slider after an adjustment. This is on purpose because an up to 100% corrected images often look a bit overdone. Personally I prefer an Amount of 90-95% in most cases.
Occasionally I also adapt the Aspect setting. In particular, after strong Vertical Keystone corrections, the height-width relation is distorted. The building is stretched a bit. A minor Aspect adjustment brings this back into shape.
Please note that I have a set of Keystone Presets that controls all four sliders independently or combined. Presets have the advantage of adjustment history and adjusting multiple images simultaneously.
Guide Lines
Another help for creating a composition is the Guide Lines or Guides. These are either vertical and horizontal lines that you place anywhere you like in any number you like.
You can add, clear, and lock Guides from the View menu. There you can also toggle between Show/Hide Grid and Guides.
Thank You
For reading. Please feel free to leave a comment. Like us on Facebook or subscribe to stay informed about new blogs.
Best Regards,
Image Alchemist







“each crop ratio works for both landscape as well as portrait oriented crops; you control this with the mouse while you crop”
for the love of god, HOW??? I’ve spent an hour trying to figure out how to crop my landscape photo to portrait
Hi Alan,
Take one the corner of the crop, for example, the bottom right corner, and drag it into the direction of the opposite corner, the bottom left corner. As if you want to squeeze the crop. It will switch from landscape to portrait. The reverse, stretch instead of squeeze, will change the orientation back to landscape.
Best, Paul Steunebrink / Image Alchemist