Capture One Curve (part 1)
You can create the right atmosphere in your images with the Capture One Curve tool. But you need to know where to fit Curve adjustments in your workflow. Here I will learn you how and when to use this tool, and how make it easy with presets.
Capture One Curve
Although there are undeniable Curve tool lovers around here, a large group of users is pretty shy of this tool and I think that is for two reasons.
First, the benefit is not clear. What is the Curve tool for anyway? I will show you several different examples in this post.
I start with a high contrast image with dark shadows. A Luma Curve adjustment brightened the shadows to make it more pleasing. Please find more examples below.
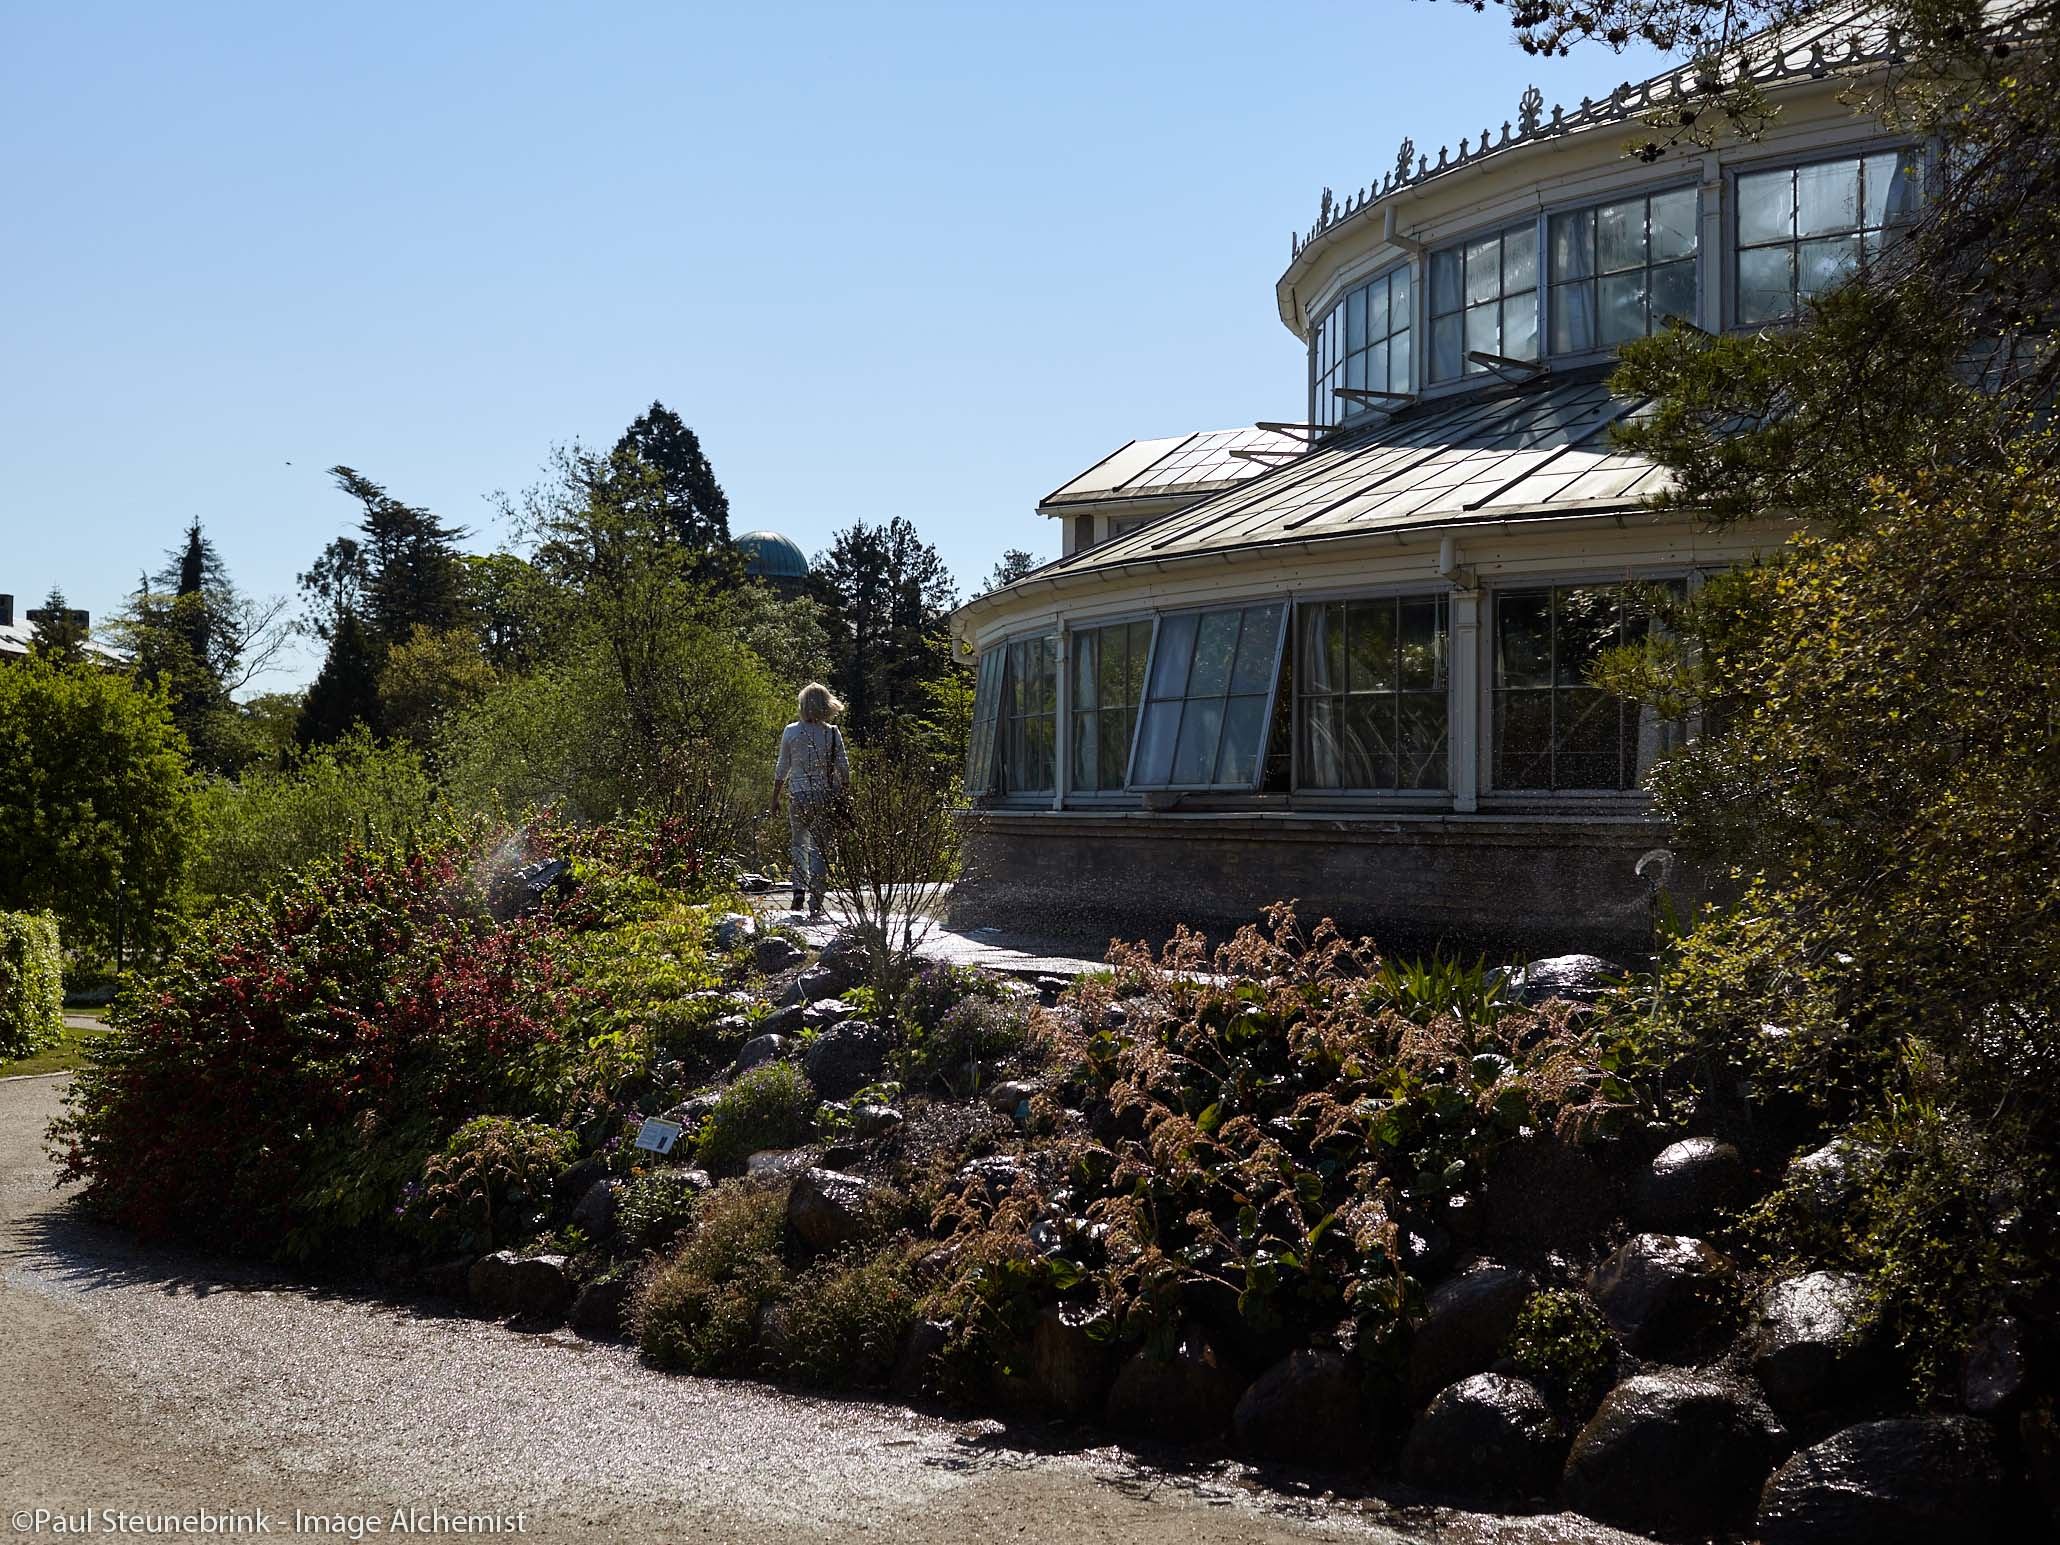
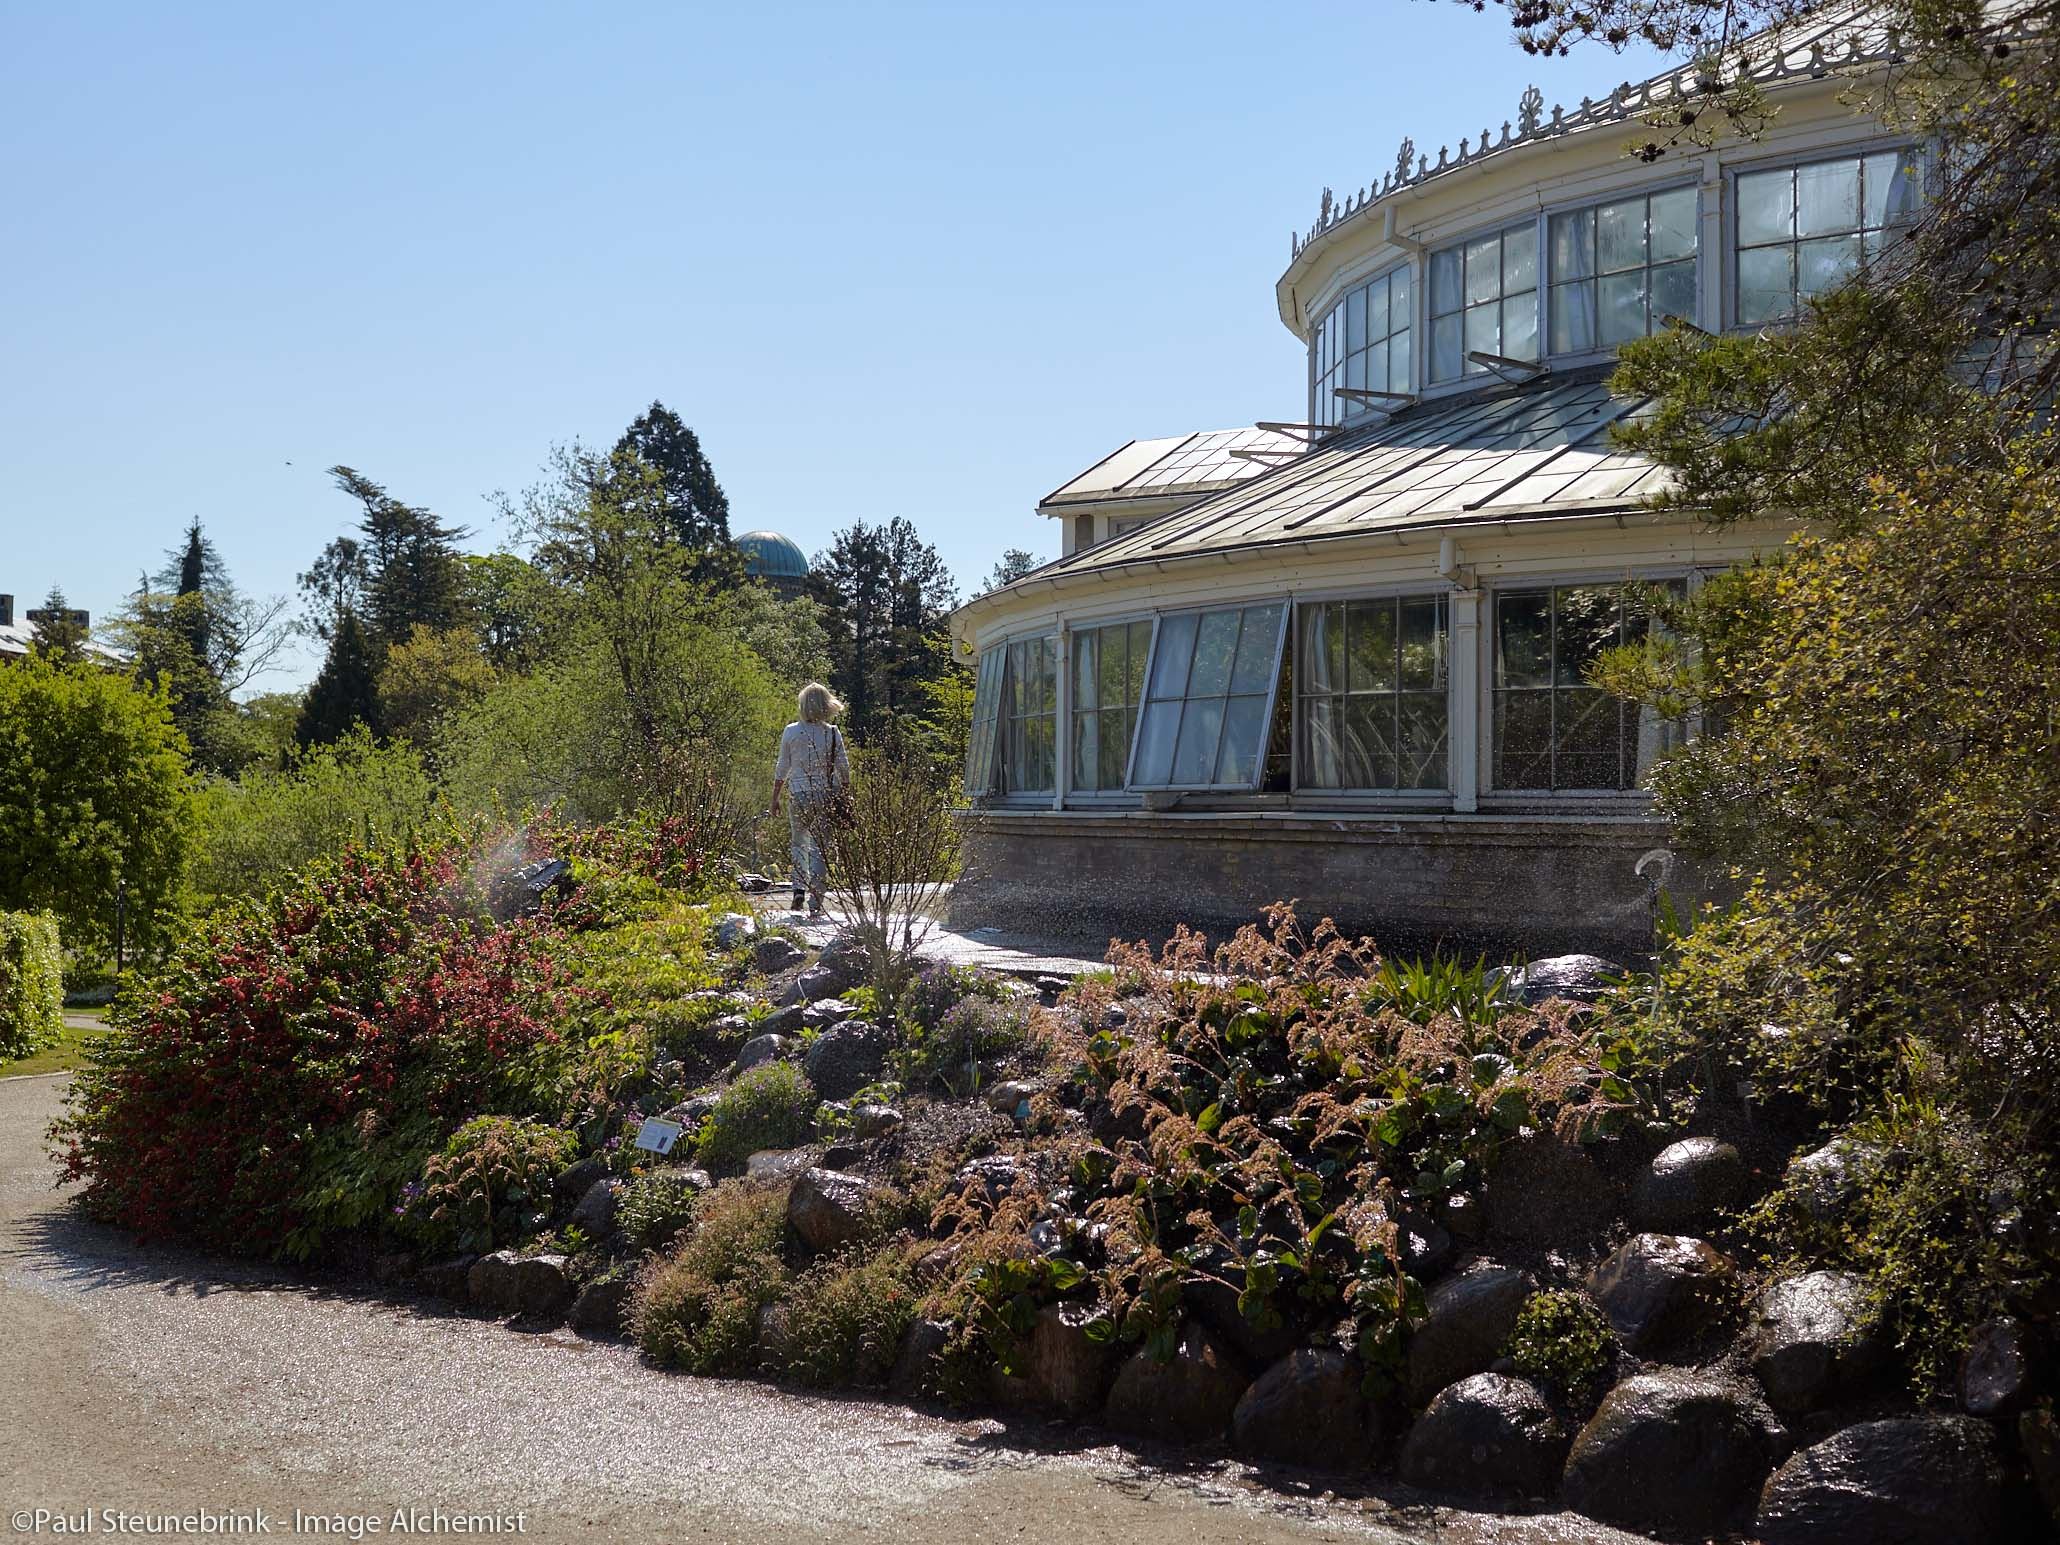
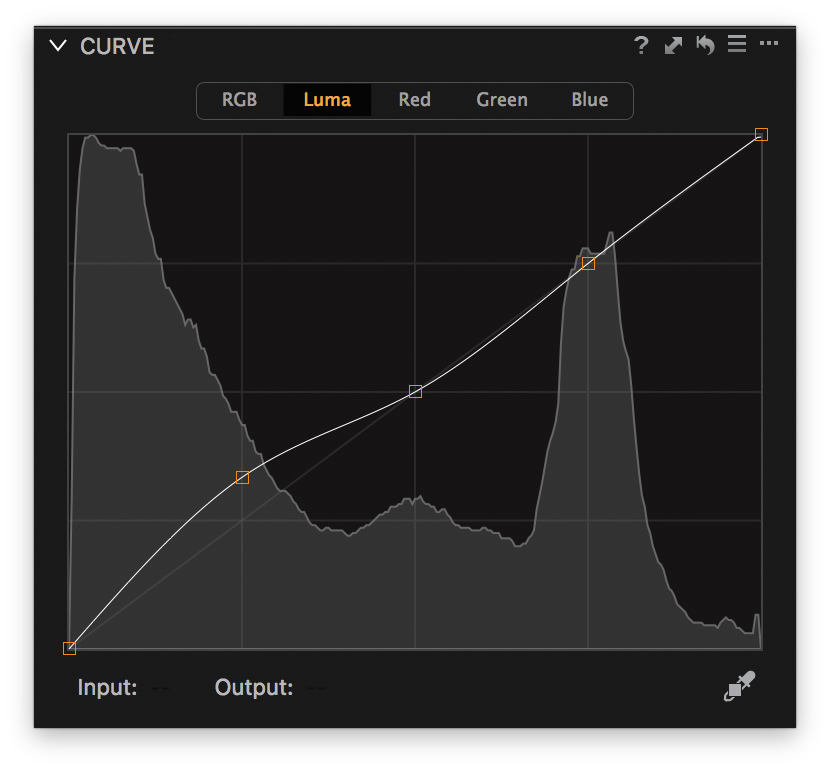 Second, the tool seems complicated and slowing down your workflow. To address this I will look where it does fit best in your workflow. I will also look at the benefit and whether it is worth the effort?
I like to address both issues in an attempt to make you a Curve addict. But foremost I attempt to help you deliver better images in less time.
Workflow With Curve
Besides being the photographer I am also the cook in the house (my wife loves me for that)! To explain the use of the Curve tool in my workflow, I present you with the Cooking Metaphor.
When cooking I prepare the food first, like cleaning and cutting. Make sure all is there and ready to make a meal. It is called the ‘mise en place’ in French or putting in place.
When adjusting images I start with Exposure and High Dynamic Range. Make sure all is within range. No clipping, unless you explicitly want to.
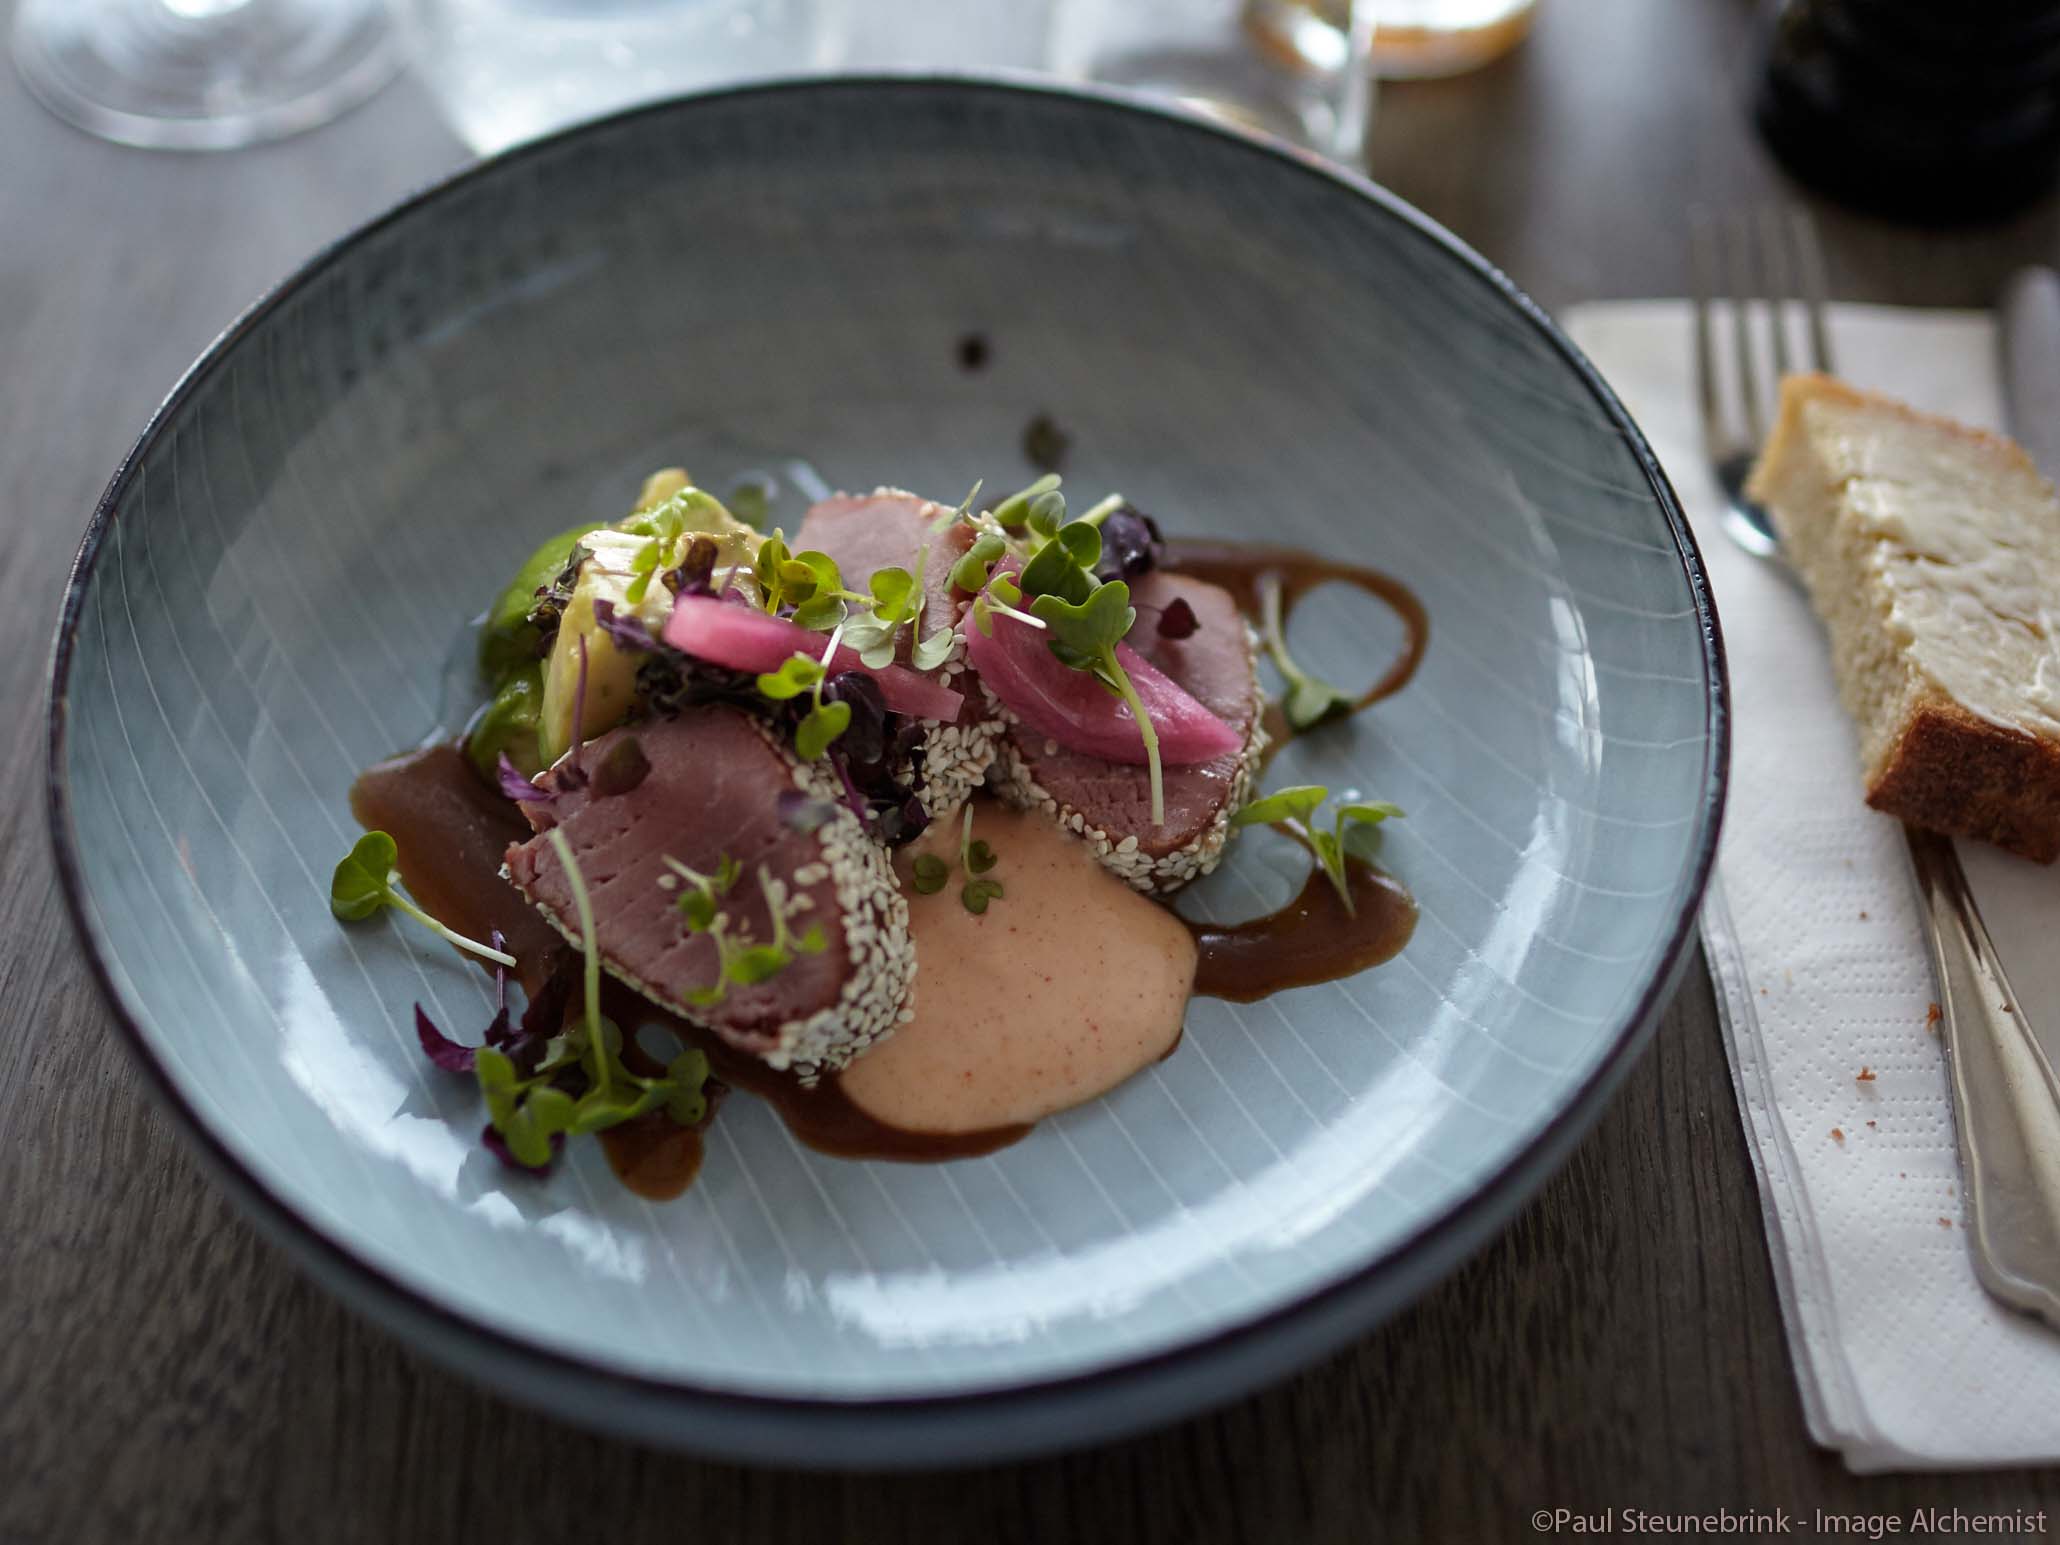
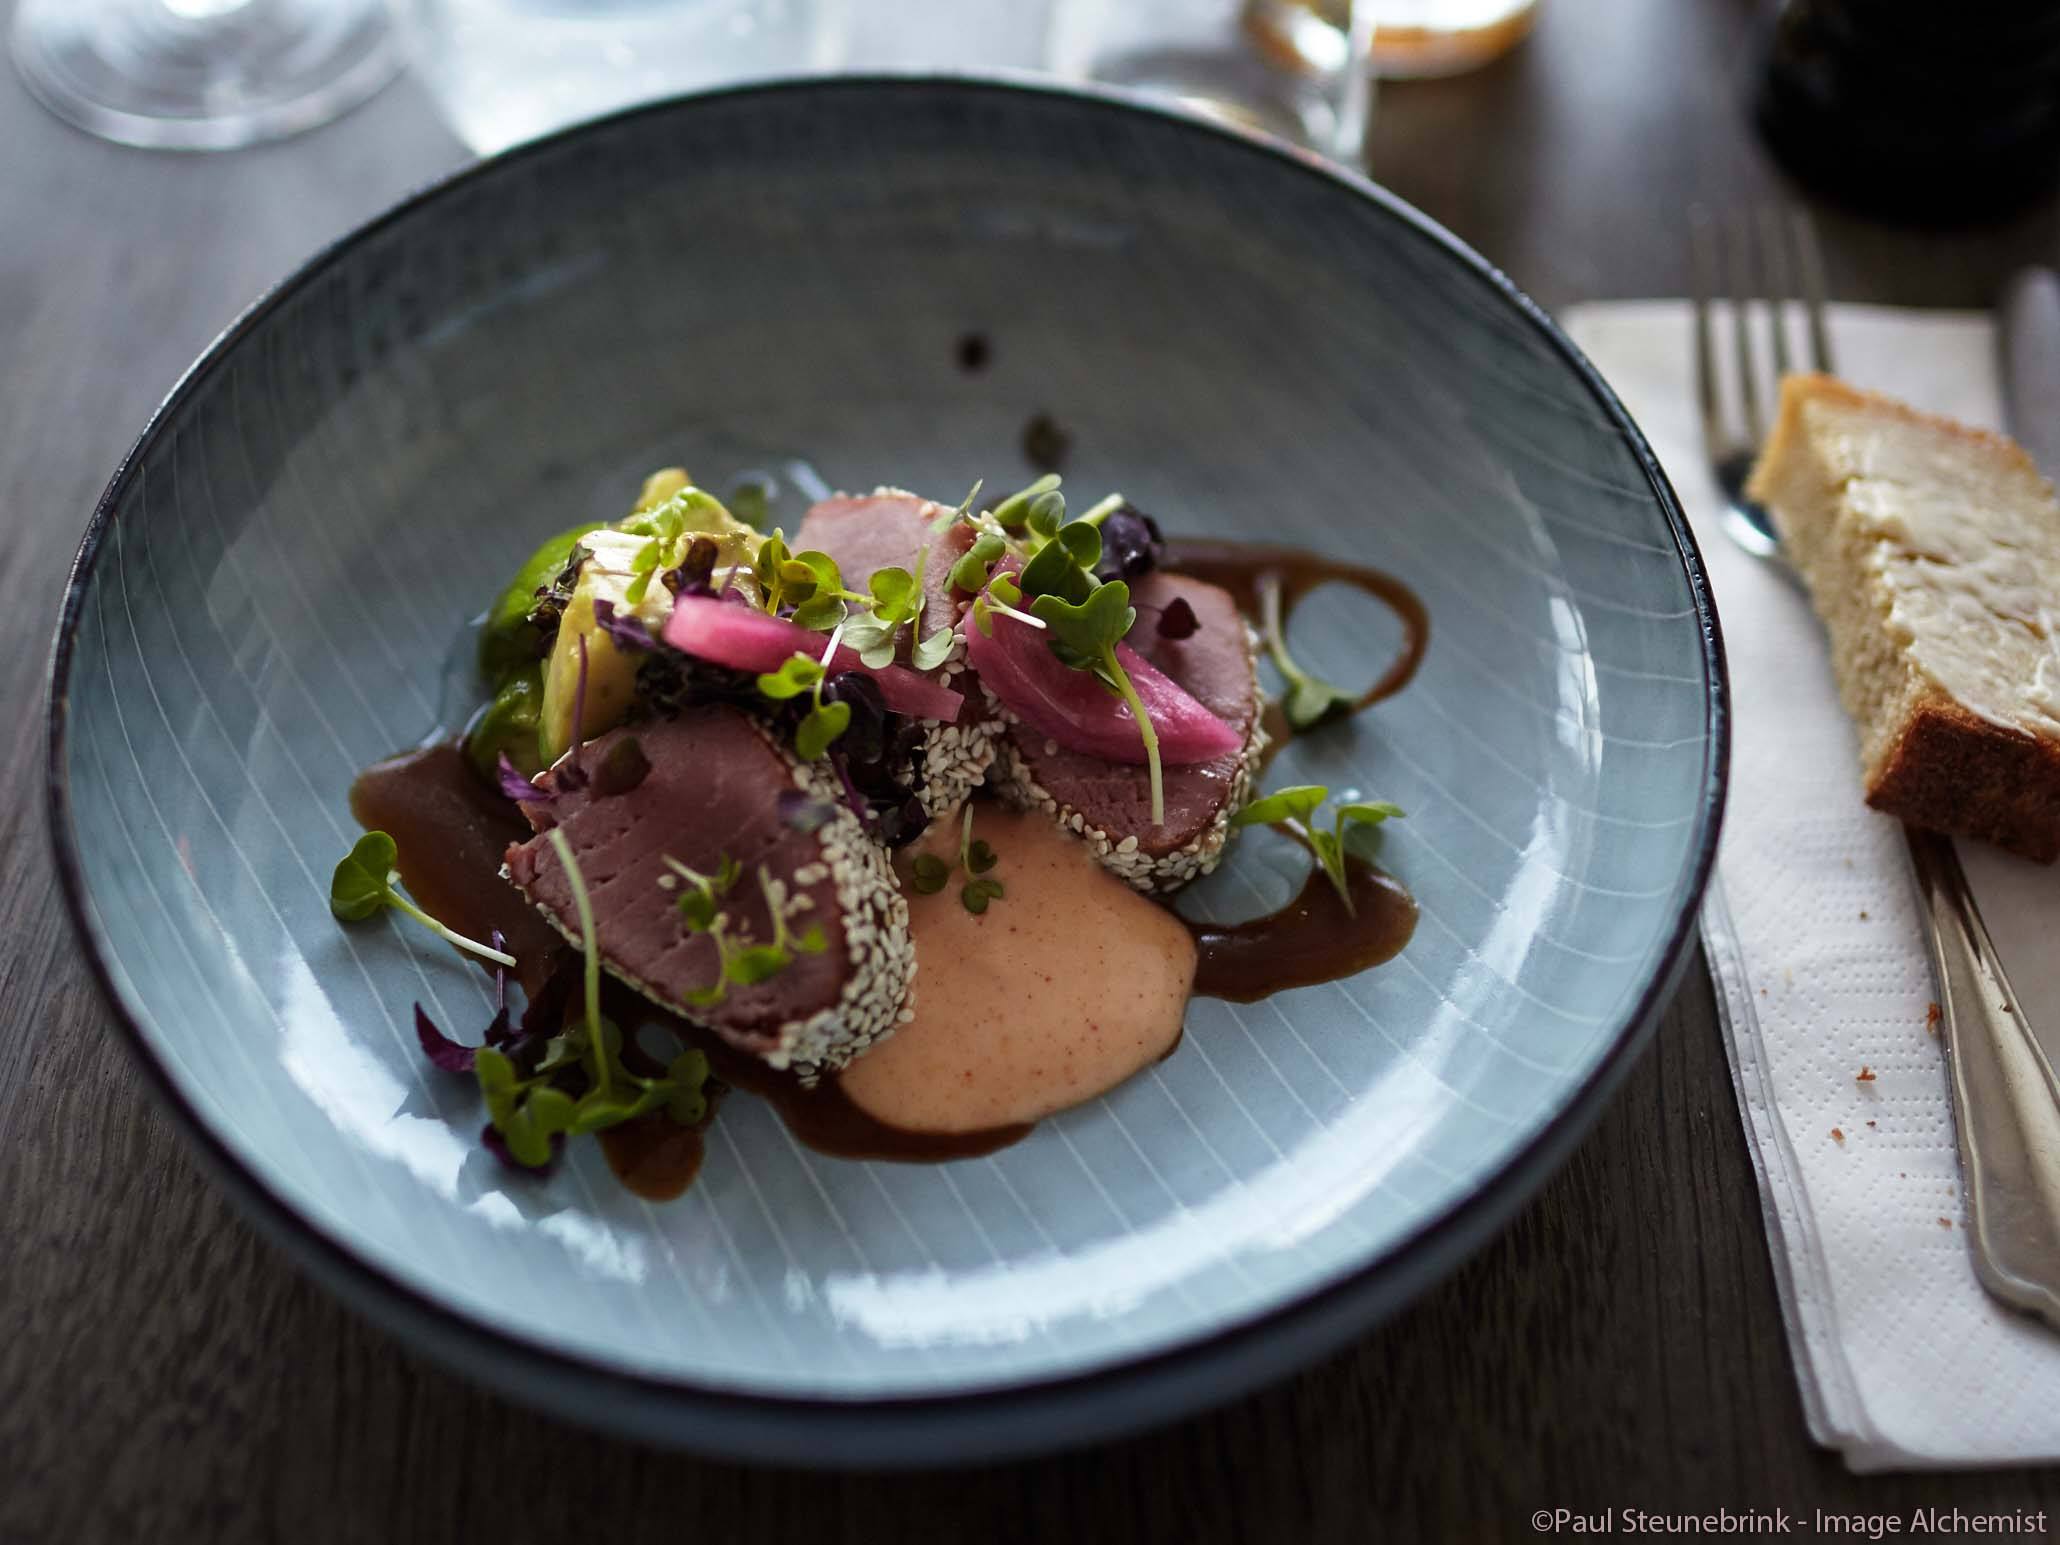
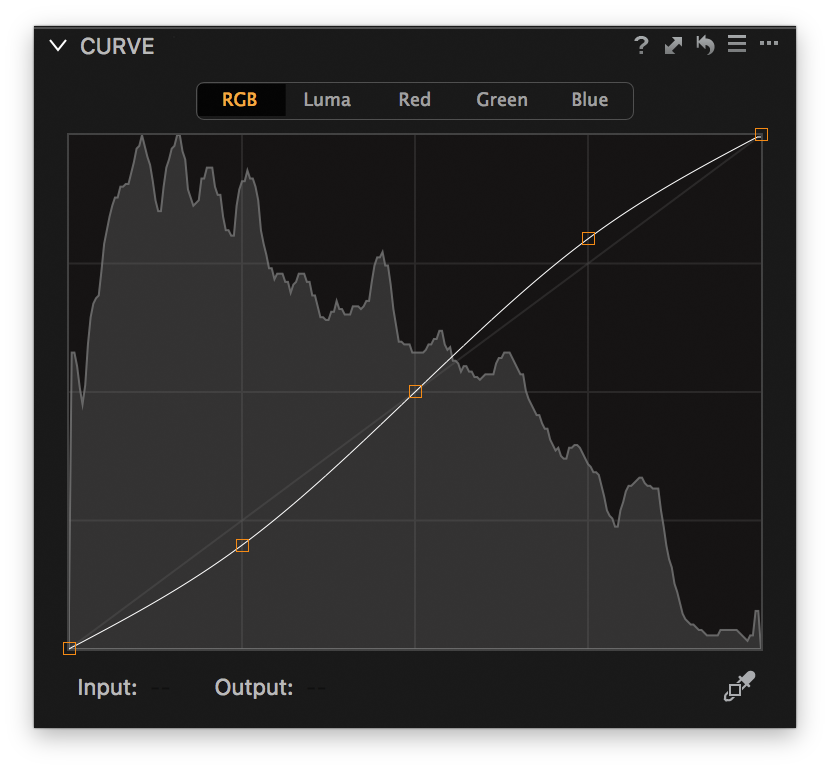
Intermezzo: the image below of the starter dish in a lovely restaurant in Copenhagen gets more punch by increasing the contrast with an RGB curve. Note that the color contrast or saturation increases too because of the RGB curve instead of the Luma curve.
When cooking, my next step is to cook the different ingredients and mix the salad with oil, vinegar, spices and more. Everything will be ready soon.
When adjusting I set my Levels and Target Levels properly. Add some Clarity and Vignetting. Technically I am fine and almost ready.
When cooking, I need to add some flavor as the finishing touch. Salt, pepper or spices. Used the right way, it really makes the difference between good and delicious.
When adjusting, I adjust for the right atmosphere. How bright or dark do I make the respective tones in my image? I use the Curve tool for that. It makes the difference between fine or excellent.
Bonne Appétit!
Workflow
Where does the Curve tool fits best in your workflow? In general after the Levels tool. In a brief overview, the preferred order of adjustments is Exposure, High Dynamic Range, Levels, Curve. This is because the previous tool influences the values the next tool is working with. Note that this is just a rule of thumb. Deviate at your own will.
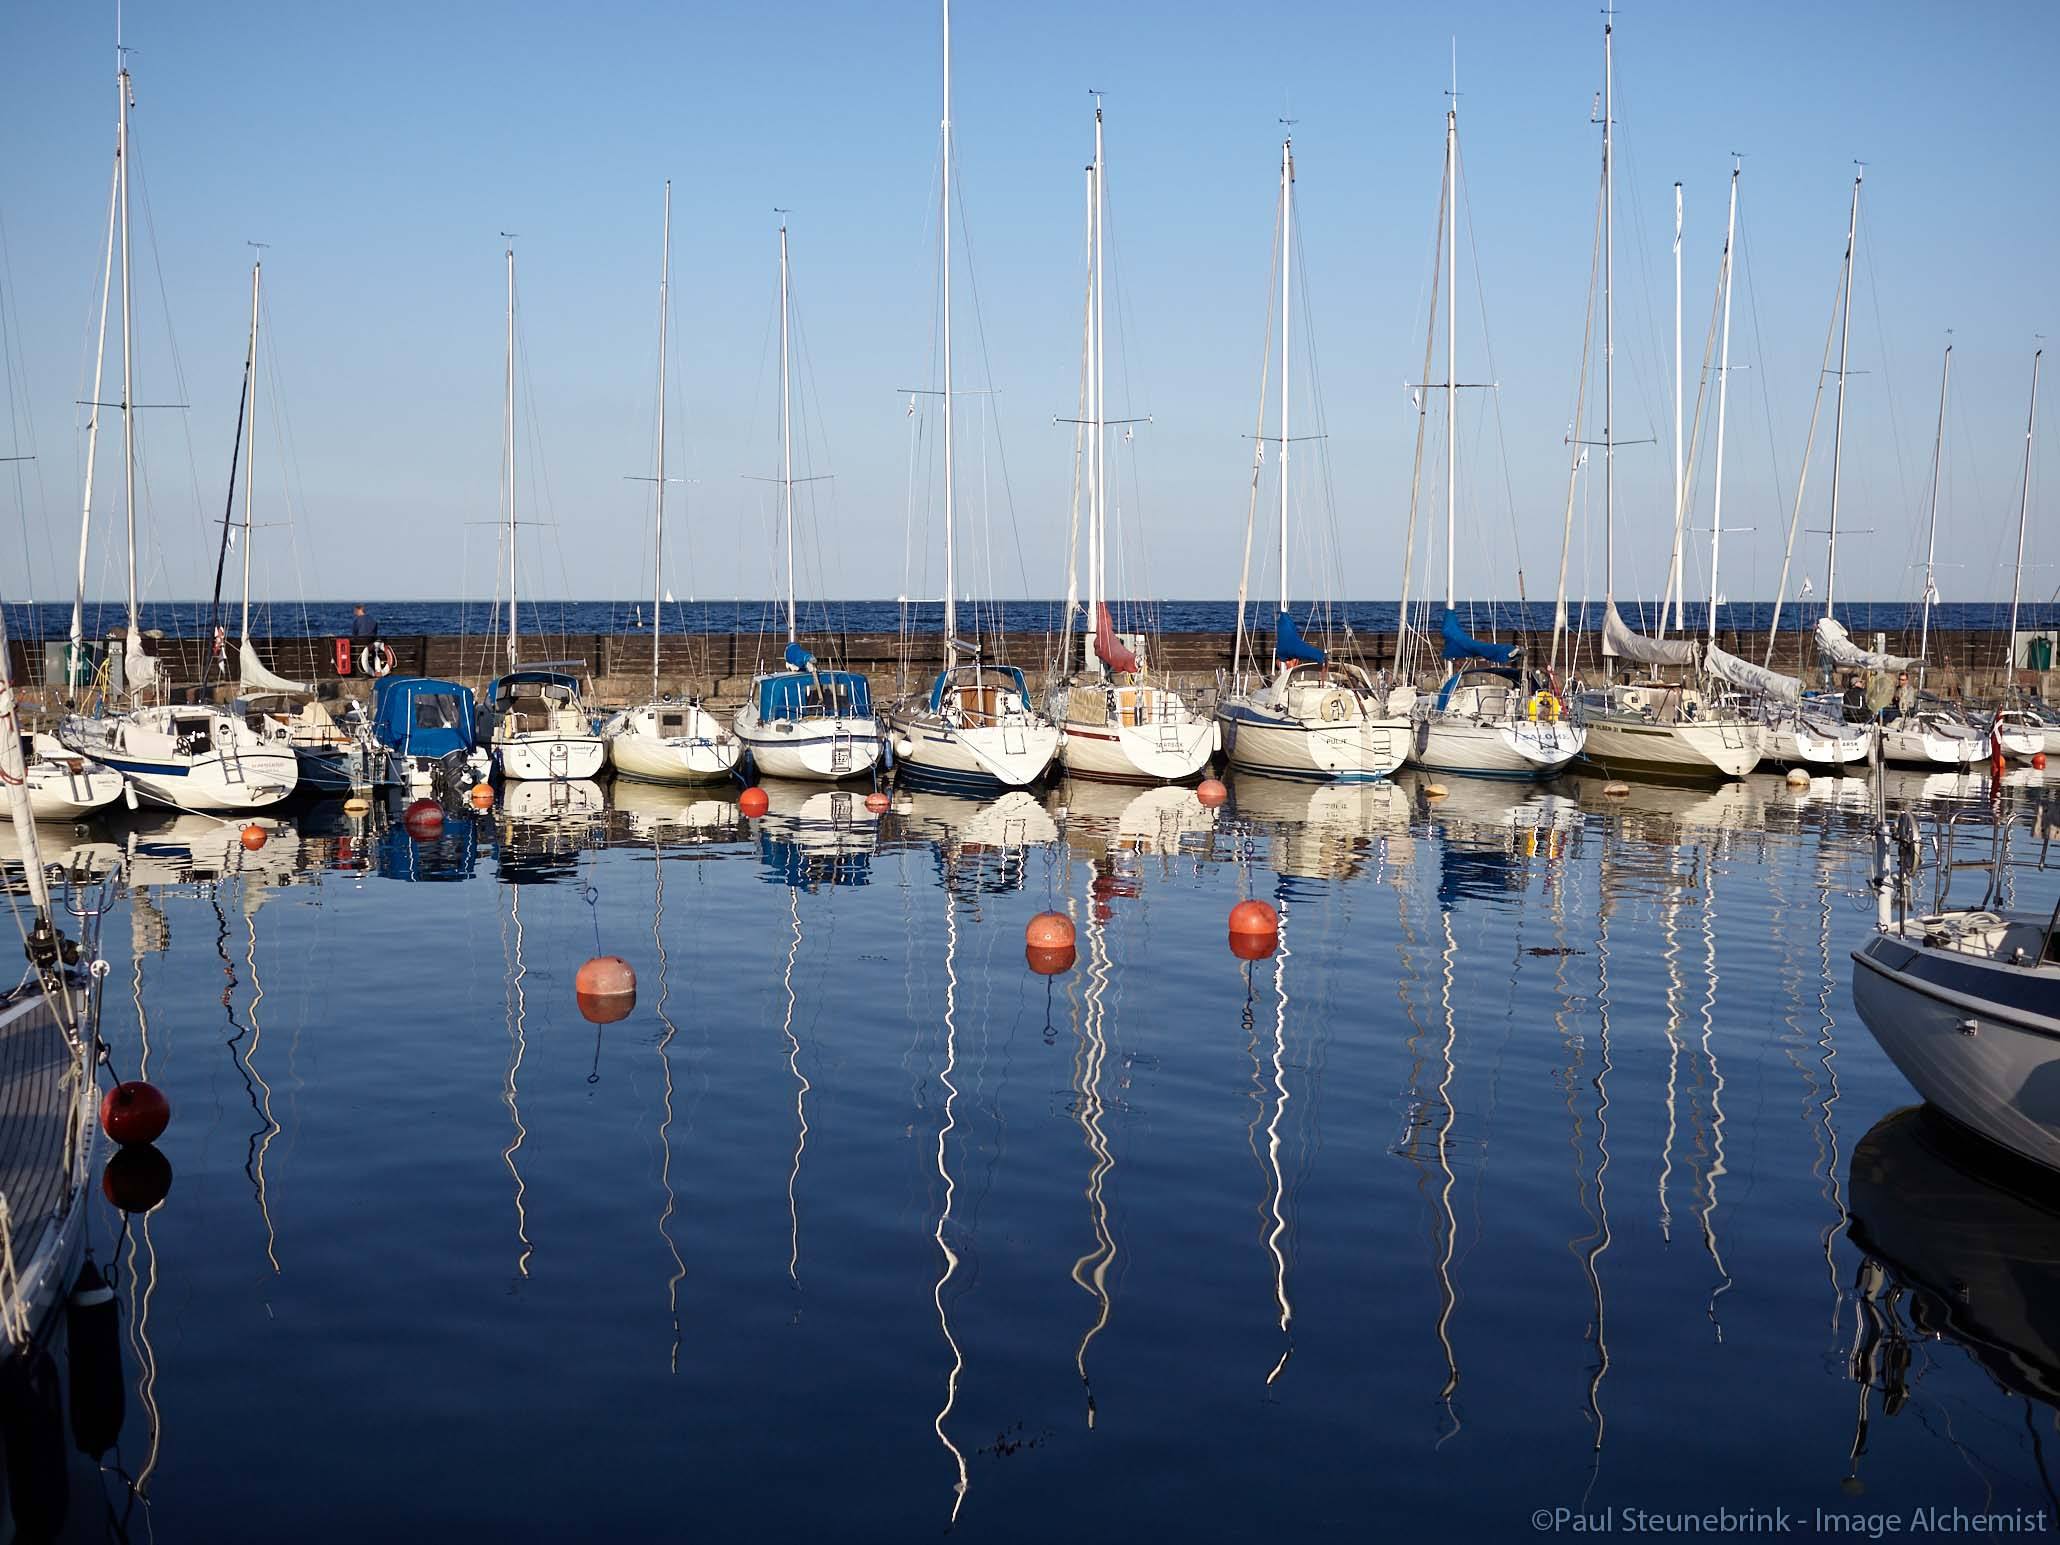
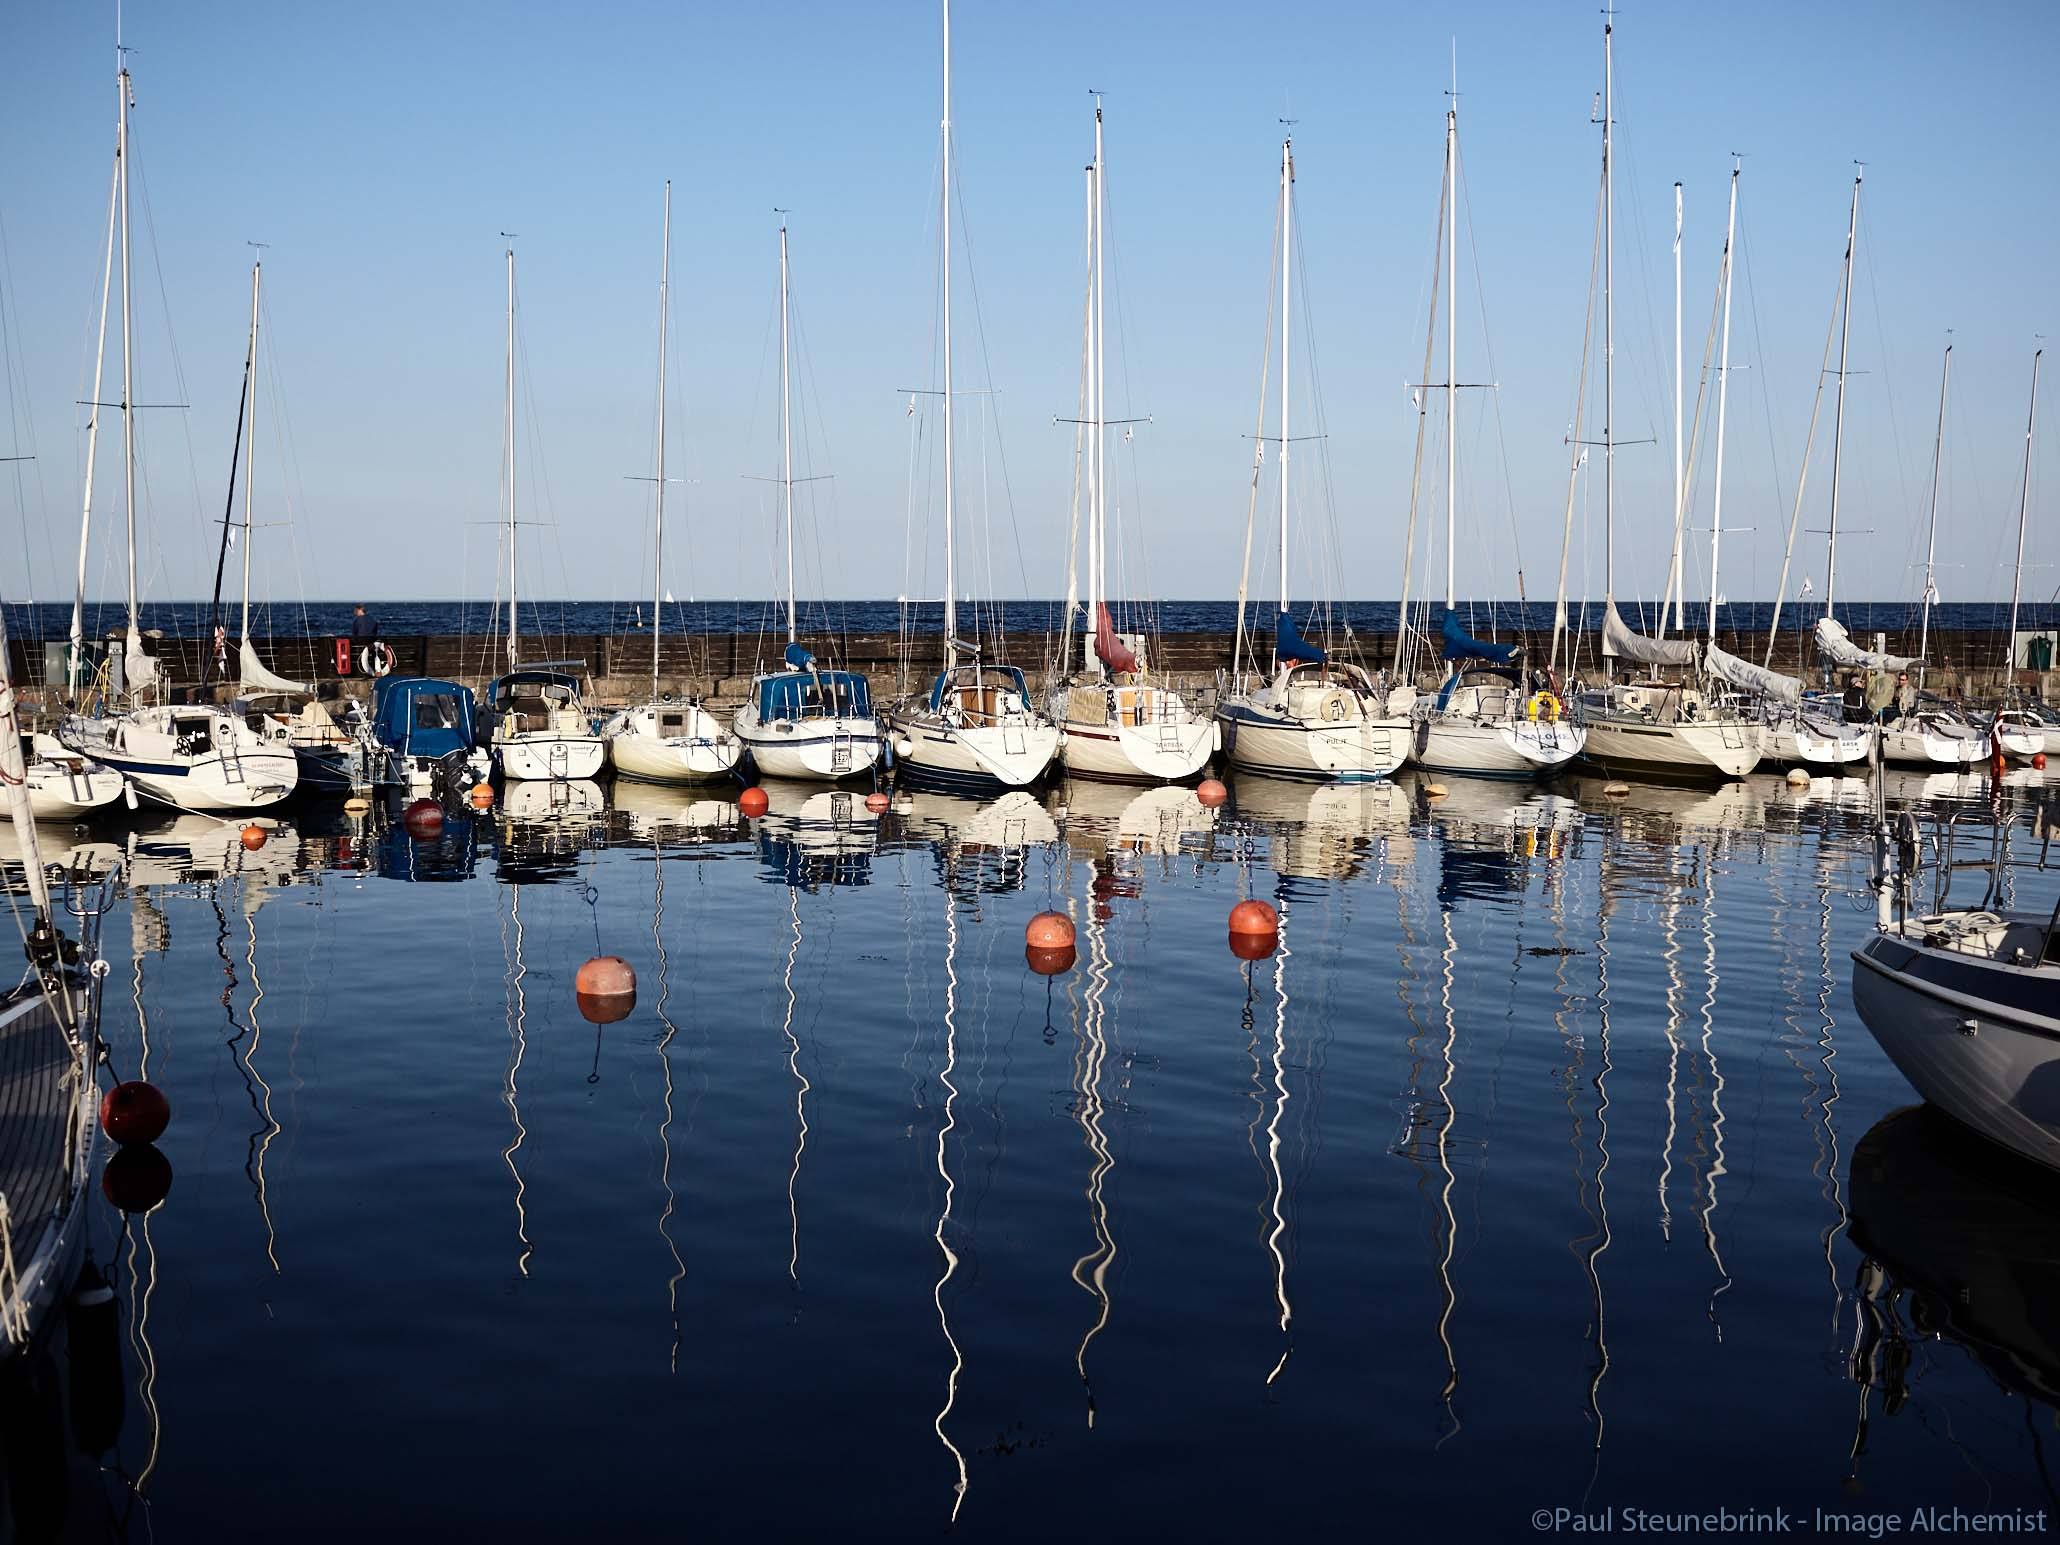
In the image below I wanted to dark the shadows to make a more dramatic effect. A simple Luma curve did the trick.
Please note that cropping should be taken into account as well. The Crop tool does not adjust the brightness or contrast of the image, but it sure affects the Histogram you are working on when adjusting brightness and contrast.
Using the Curve tool at the right moment in your workflow will prevent double work and save you valuable time.
Curve Tool Made Easy
If you are on Capture One Pro 8 or earlier, start with the RGB channel. If you already moved to Capture One Pro 9, you could start with the Luma channel. The Luma channel works similar to the RGB channel but affects only the brightness without affecting colors and is my new default Curve channel since its introduction in Capture One Pro 9. You can read the review here.
Next, download and install the free trial of RGB-Luma Curve presets and also have a look at the built-in presets that came with Capture One. Both give you an instant idea of what the tool can do: adjusting contrast or brightness in shadows, mid-tones or highlights.
You can darken an image without losing details in shadows due to clipping. The same is true for highlights. Or you darken highlights without lowering exposure. You have control over which parts of the tonal scale you like to darken or brighten.
Once you get the taste of it your images will become much more interesting and older images will look dull and way too obvious in comparison.
You will also discover that using presets makes for a fast workflow. You might realize that you have been trying to use other tools to create the effect for which the Curve tool was made. Either way, you find and select the right preset and you’re set, or you use it as a starting point and make some finer tweaks by hand for the finishing touch.
This way you always balance between result and effort.
Curve Versus Other Tools
With the Curve tool, you can change the contrast of an image or adjust the brightness of the shadows, mid-tones or highlights. The Contrast and Brightness sliders of the Exposure tool, the Mid Tone control of the Levels tool, and both the sliders of the High Dynamic Range can achieve a similar result and are considered easier. Right?
Yes. No. But first an image without Curve adjustments…
Yes, there are similarities.
No, they do not achieve the same result as what you can achieve with the Curve tool. Each has its strengths, none is better than the other.
Next, you see the previous images with low contrast and high contrast RGB curve.
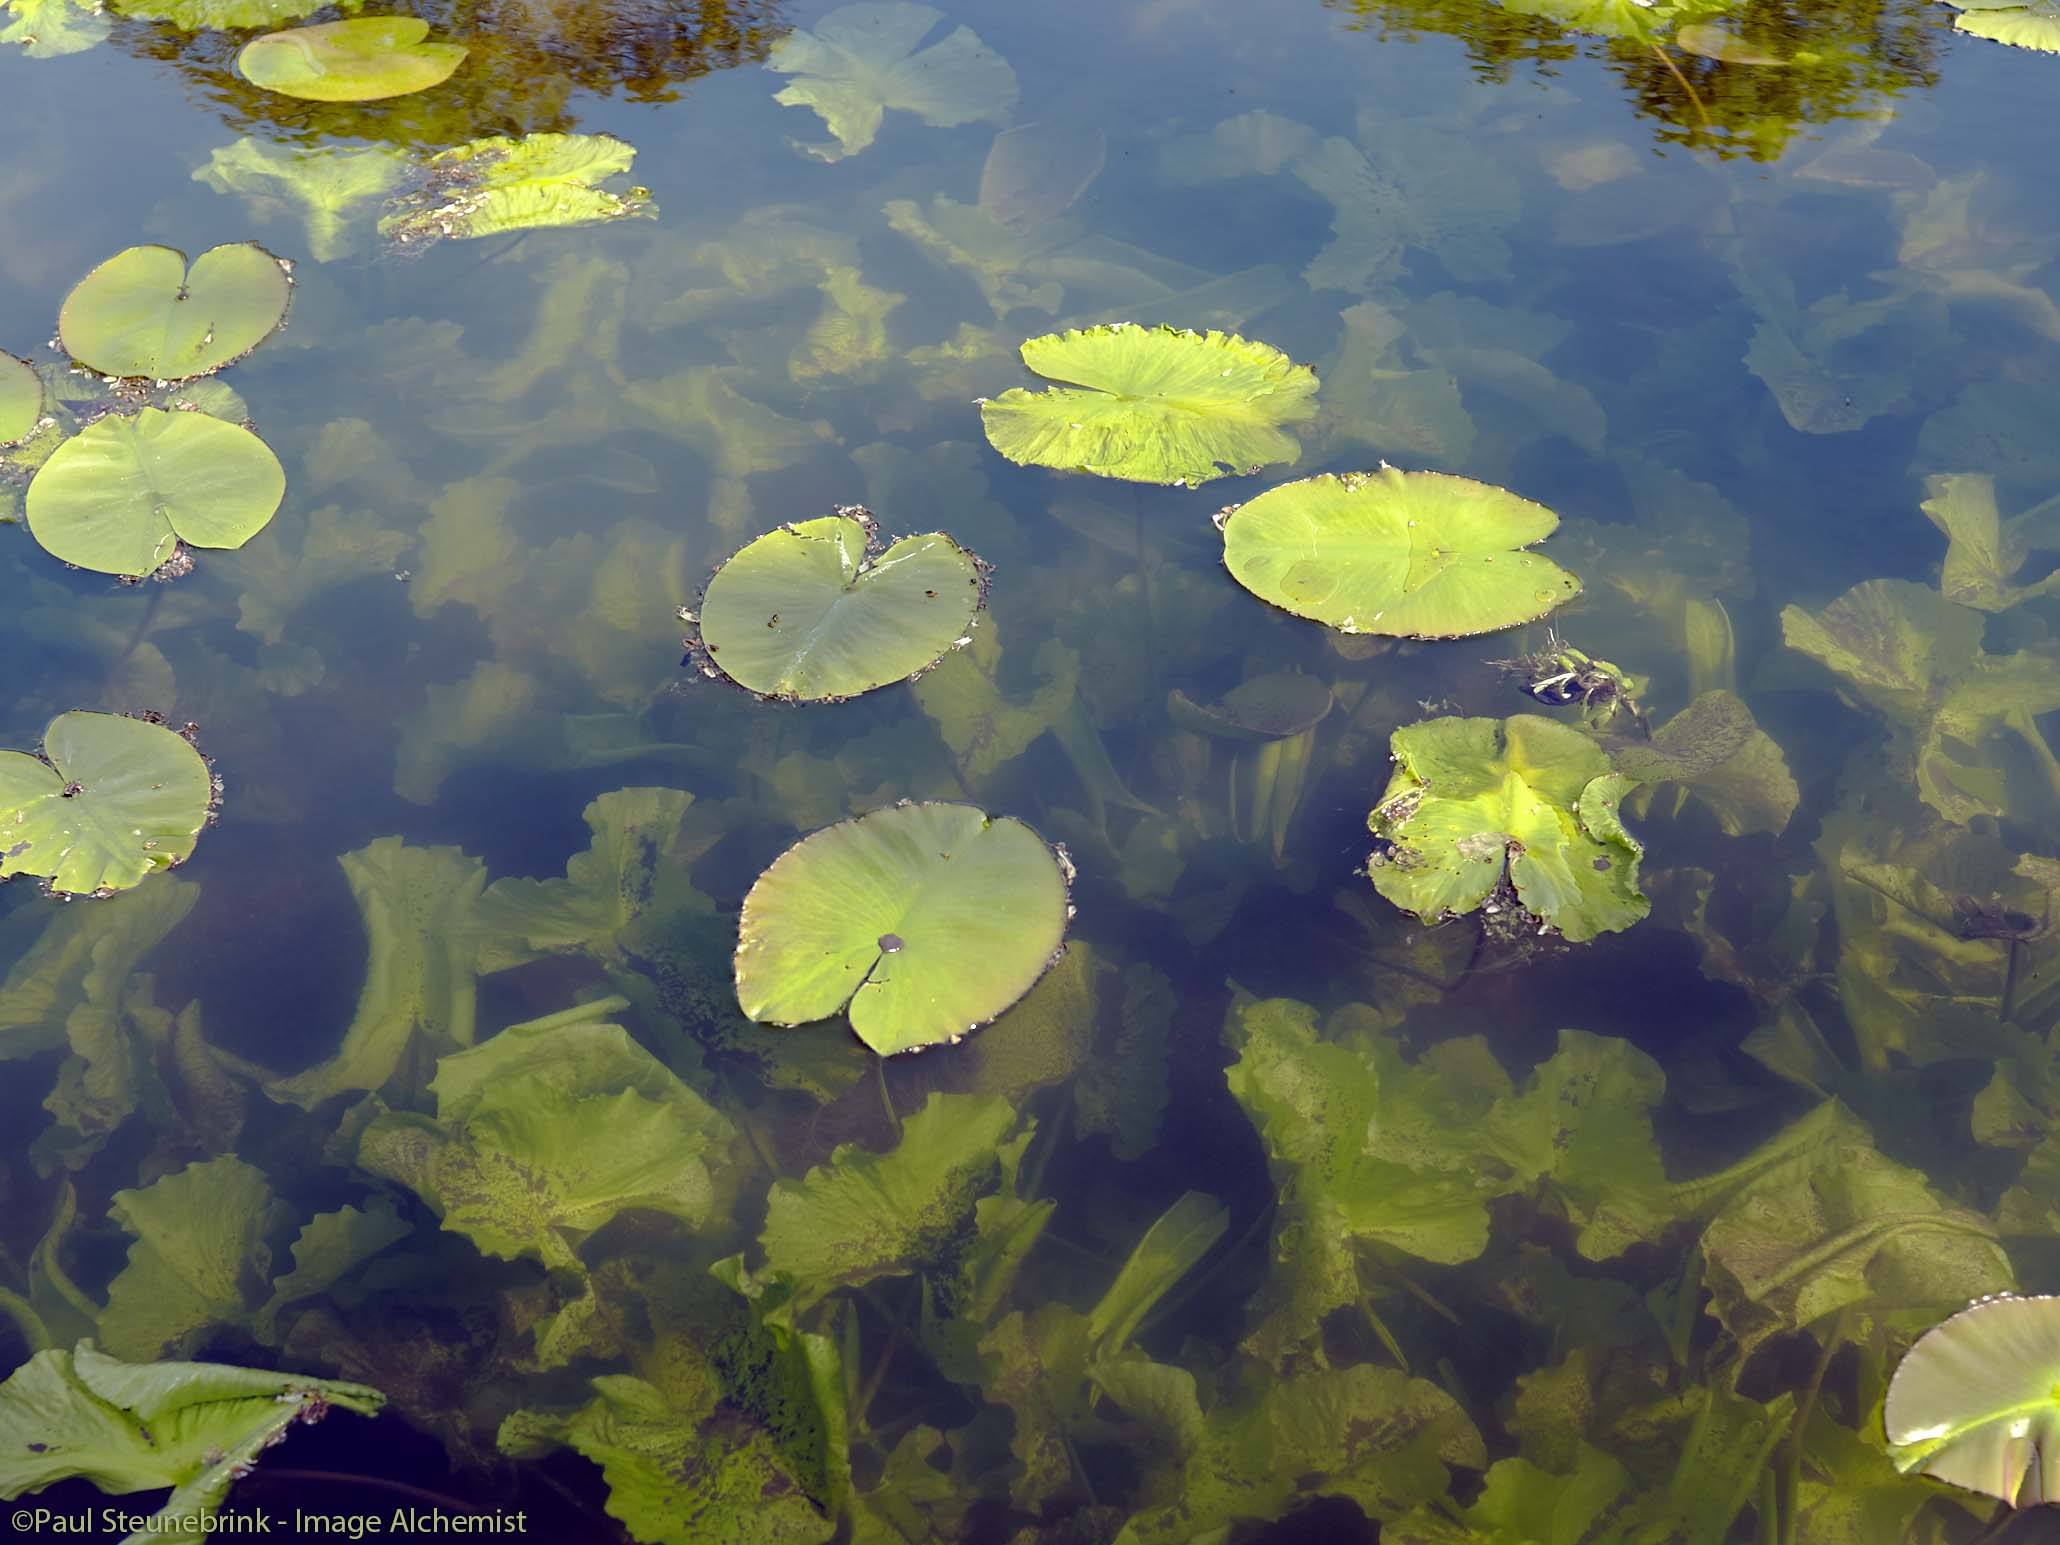
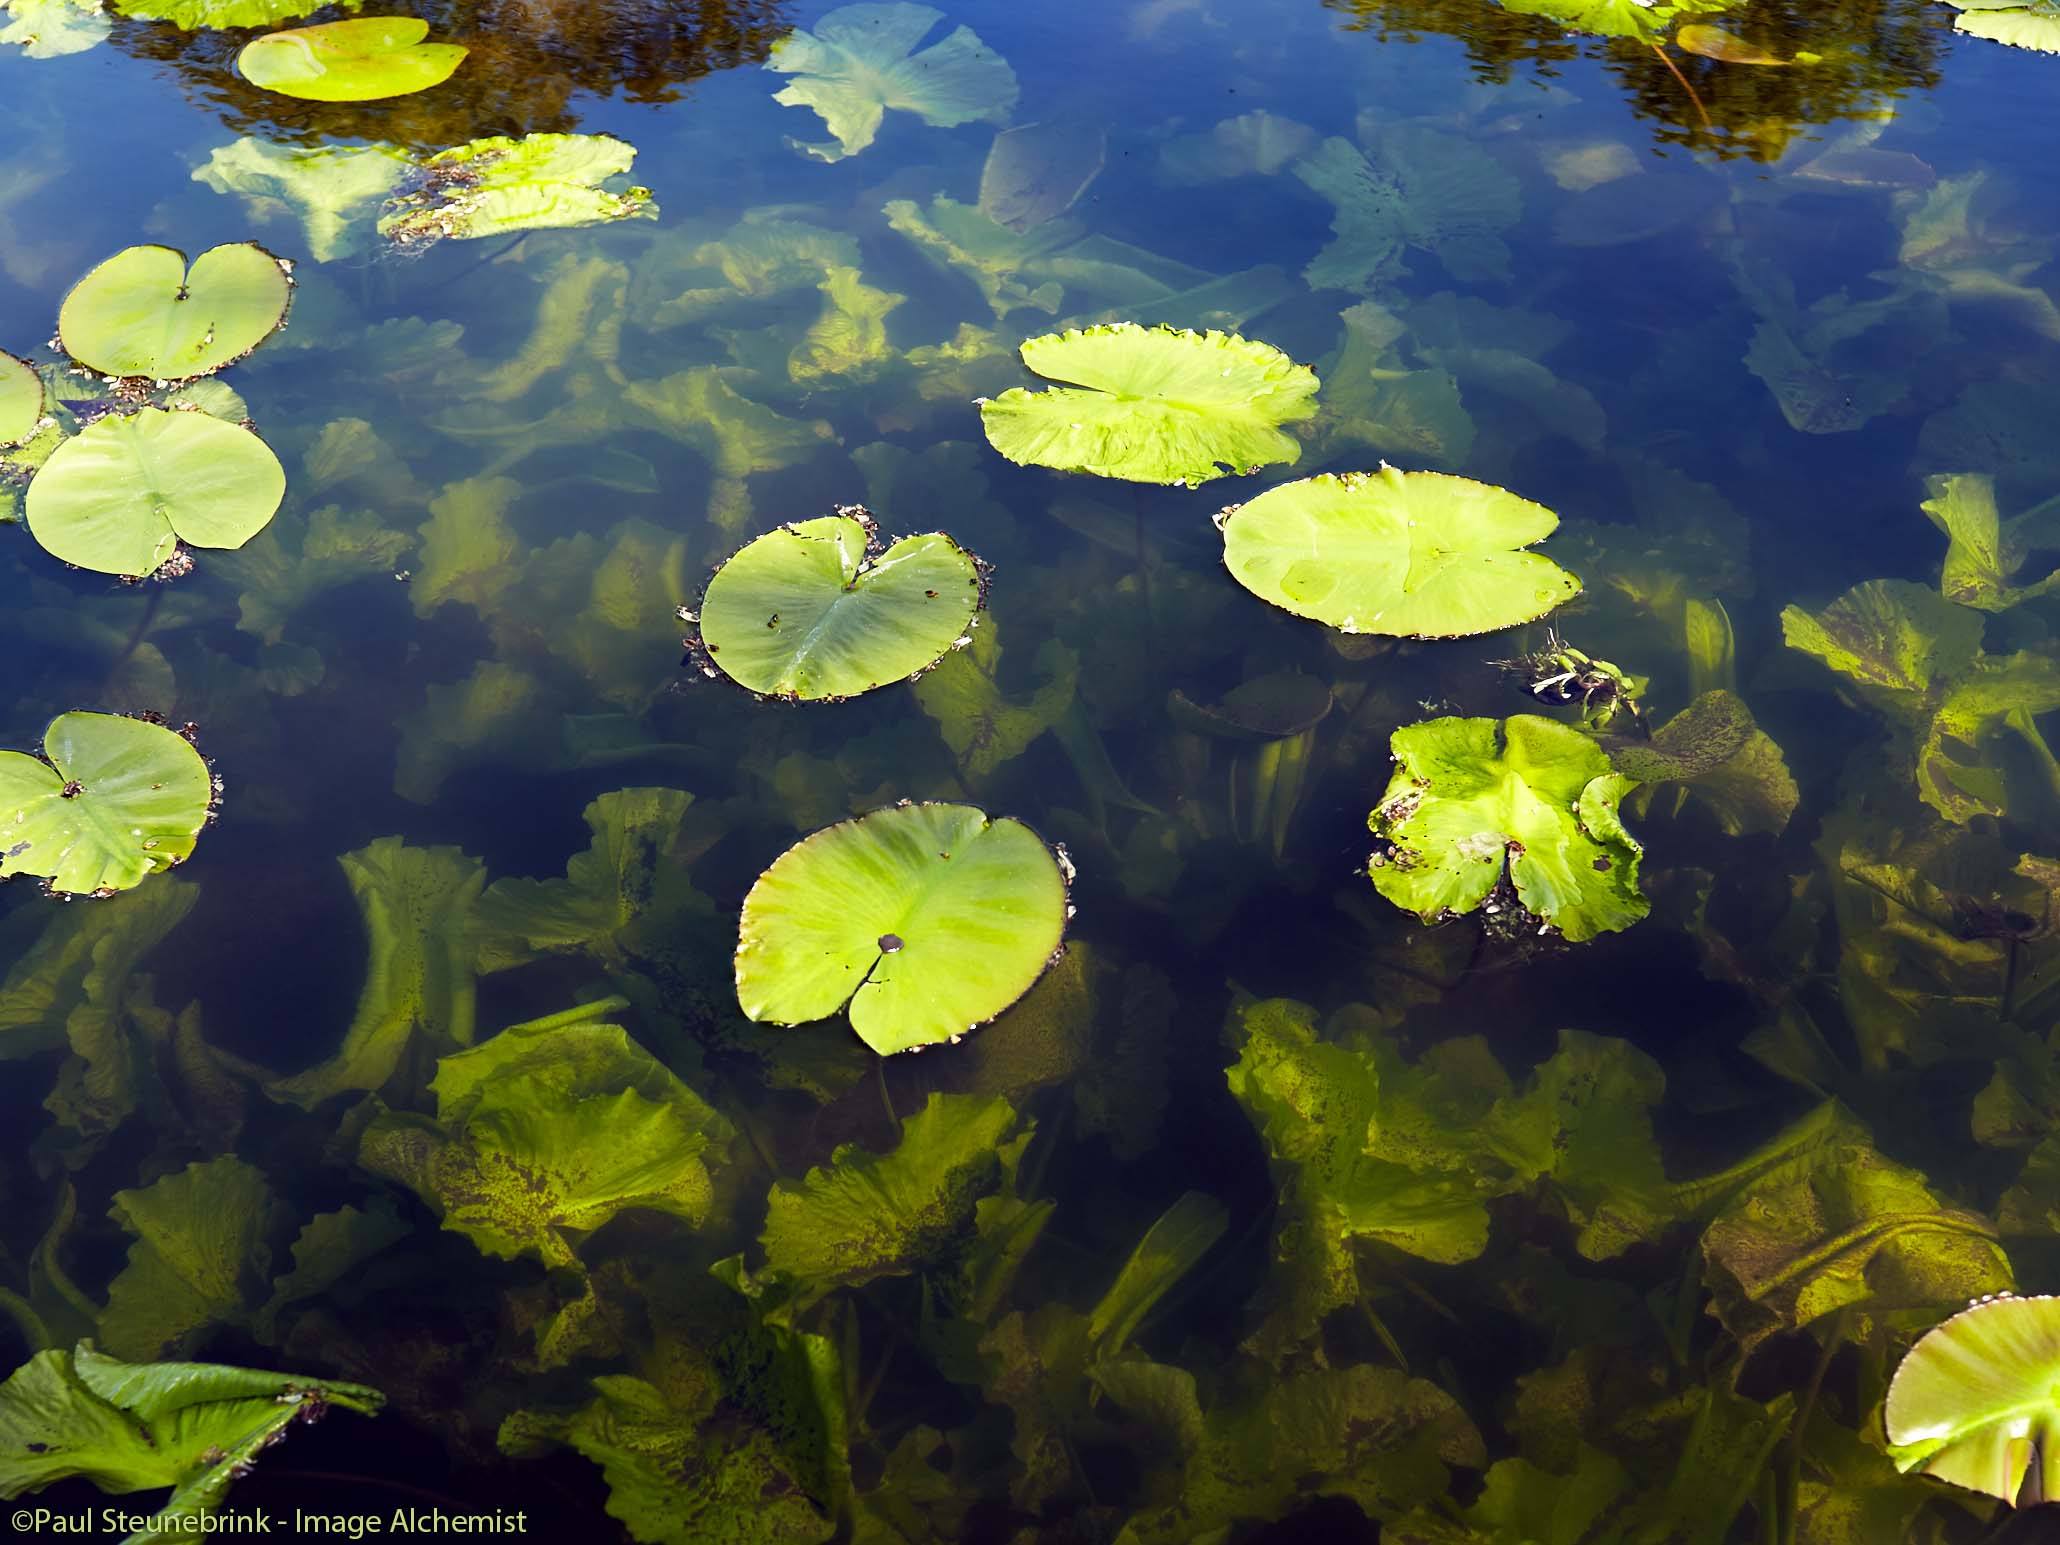
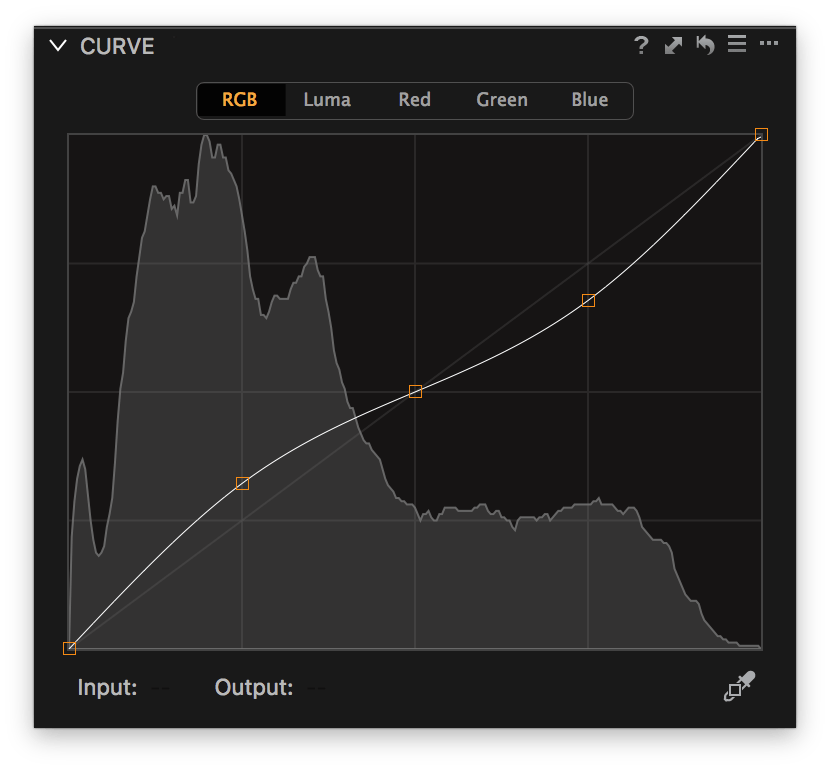
This is what the low contrast RGB curve looks like:
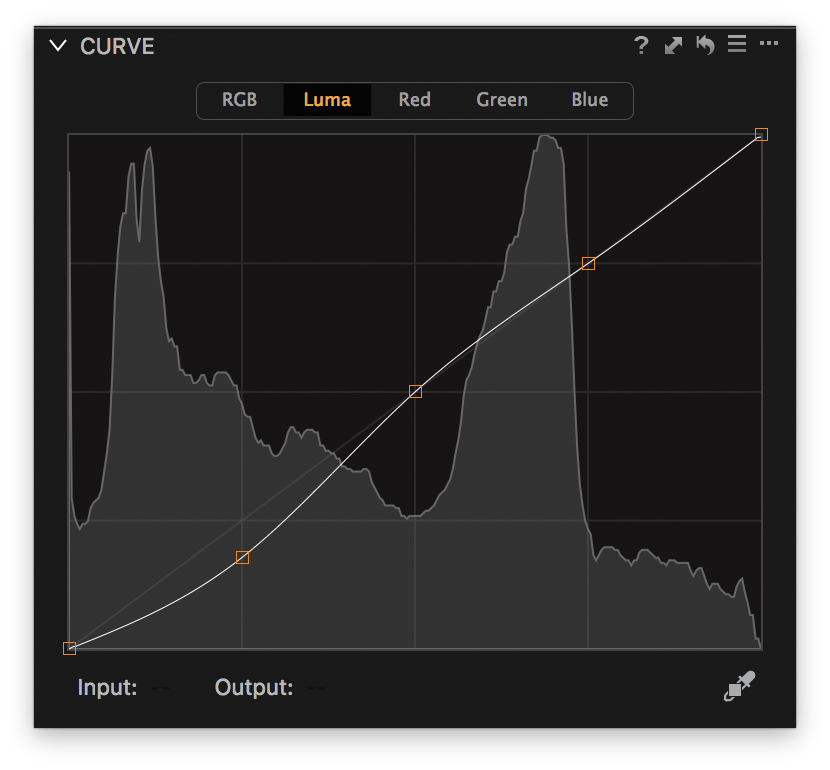
 The High Dynamic Range tool is primarily a set of exposure sliders affecting the darkest/brightest end the most. I use them primarily to bring the endpoints of the Histogram within range. With Curve, you can control the slope of the entire range of tones from dark to bright.
The Curve tool does not change the endpoints of the histogram like the Contrast and Highlight/Shadow sliders of the tools mentioned here.
Curve Presets
All images in this tutorial are adjusted with Curve presets from an extensive set of presets in the Webshop. Of all presets you can find there, the Curve presets are certainly one favorite. If there is one tool that deserves a big pile of presets, it is the Curve tool.
Channels
The Image Alchemist’s Curve presets work per channel. This is unique and not how it is working by default. As a result a preset for one channel will not override a preset for another channel, assuming stacking is enabled for the Curve tool.
Each preset is individually edited to achieve that. Note however that this advanced feature is only available on Mac. On Windows, each preset will reset any setting in other channels. As long as you use a preset in only one channel, this does not affect your image workflow.
There are two sets of Curve presets, one for the RGB and Luma channels, and one for the Red, Green, and Blue channels. I will discuss the use of color channel curves in an upcoming tutorial Capture One Curve (part 2).
RGB or Luma?
When changing contrast or changing the brightness (darken/brighten) specific tones, you might or might not want to affect the color contrast or saturation.
The RGB curve affects colors too. More contrast means also more color contrast. Brightening highlights and darkening shadows in the image means also more color saturation for the colors.
However, a low contrast curve desaturates colors, as does darkening highlights and brightening shadows.
With the Luma curve, you do not affect color contrast or saturation. The may be desirable in some images but not in others. You can choose now with Capture One Pro 9.
Thank you
For reading. Please feel free to leave a comment. Like us on Facebook or subscribe to our newsletter to stay informed about new blogs.
Best Regards,
Image Alchemist








Thanks very much for all the great tutorials, they are really helping me get up to speed fast. I am a new user, for about one month now, and I am really enjoying Capture One Pro 9. Some of my friends use C1 and I always like their images, very punchy. After using Adobe Lightroom and Photoshop for a few years I thought it was time for a change, and I can you tell it’s for the better. I am very happy with Capture One. Thanks again….
Thanks Philip for your kind comments and taking time to respond. Glad it helps you.
Best regards, Paul Steunebrink / Image Alchemist