Capture One Layers In-Depth (part 1)
In Capture One Layers In-Depth (part 1) you read about the interesting but not so obvious features like Auto Masking, copying Layers, and Clone and Heal Layers. It does not end there because it continues in part 2 with even more awesomeness before you reach the finish.

Capture One Layers In-Depth
Now that I covered the basics of Layers in Layers Explained and a lot of dirty details in Layers Continued it is time to get to the bottom of this matter. This last episode is cut into two parts to prevent an overload.
Capture One Layers In-Dept (part 1) starts with:
- Auto Masking
- ways to let Capture One create the Mask
- how to improve Mask edges
- copying Layers between images
- options, limitations, and workarounds
- Clone and Heal layers
- use of and the difference between Clone and Heal Layers
- changing Layer type
- understanding Source and Destination Points
Capture One Layers In-Dept (part 2) continues with:
- using Presets and Styles with Layers
- use the right tool; filled Layer; Layer Opacity
- Style with adjustments not for Layer
- apply Style to multiple images with Layer
- understanding Selection Points
- their purpose and use
- workflow with Layers
- Capture One, Photoshop, or both?
Okay, let’s get started.
Auto Masking
Every automatic function in software gives me that double feeling: it is easy but is it good? This includes automatic masking as well.
You might already have discovered the Auto Mask checkbox in the Brush settings. This is one of two ways to let Capture One help you to create the Mask and its edges.
The second way is with the Color Editor. I will explain both options below.
To improve the result of Auto Mask Capture One Pro 11 has two new features, Feather Mask and Refine Mask. In particular, the latter option is worthwhile when using a form of automatic masking.
Note that the Auto Mask feature is significantly improved over the years since its introduction in Capture One Pro 7. In addition, it now supports almost all raw file formats including FujiFilm X-Trans type sensors and reduced RAW file formats.
Auto Mask Setting
In the Brush settings, you enable the Auto Mask feature with a checkbox (see screenshot above). When checked the Brush gets a third small third circle in the center (image below). This is the area Capture One uses for a reference regarding the image brightness.
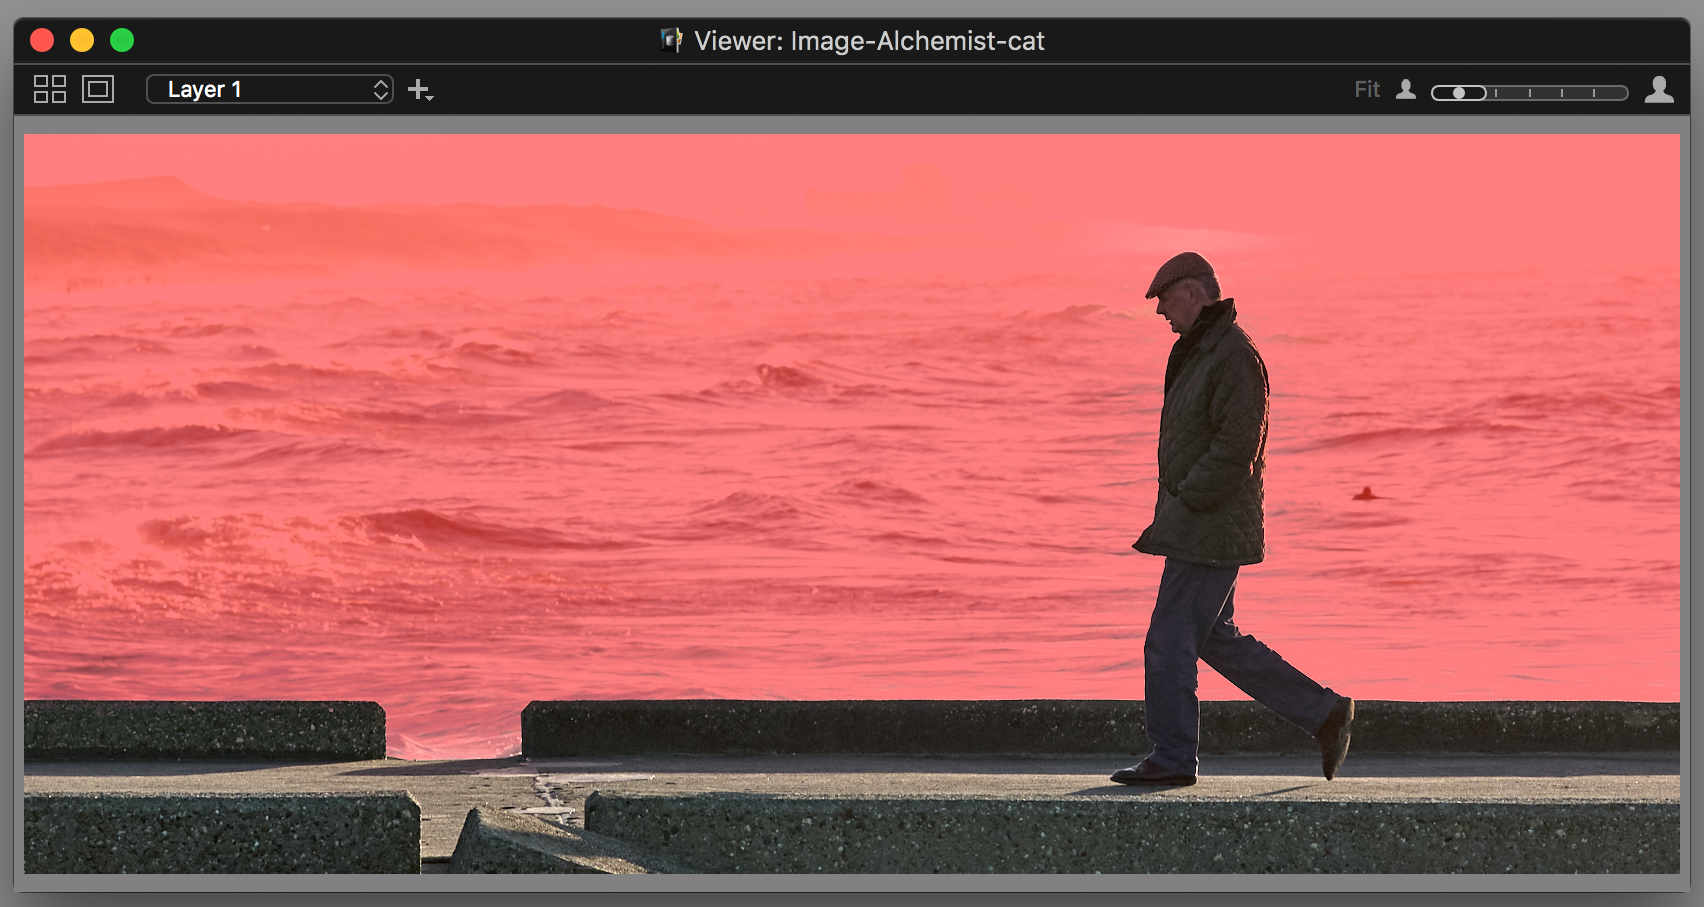
In my sample image of a man on the port head, I like to separate the dark person in the foreground from the bright background to enhance the image. Different settings for Exposure and White Balance are all I need for this task.
I need to mask either the foreground or background of the image. With a few clicks, I determine that Auto Mask works best on the bright background.
I brush with a soft Brush with Auto Mask enabled along with the port head and the man. I make sure the inner circle does not hit the dark areas. Each time I release the mouse the Auto Mask kicks in and retracts the Mask from the dark areas that I accidentally covered.
This all works great but when I zoom in or make strong adjustments the transition between the masked and non-masked area is not nice.
Refine Mask
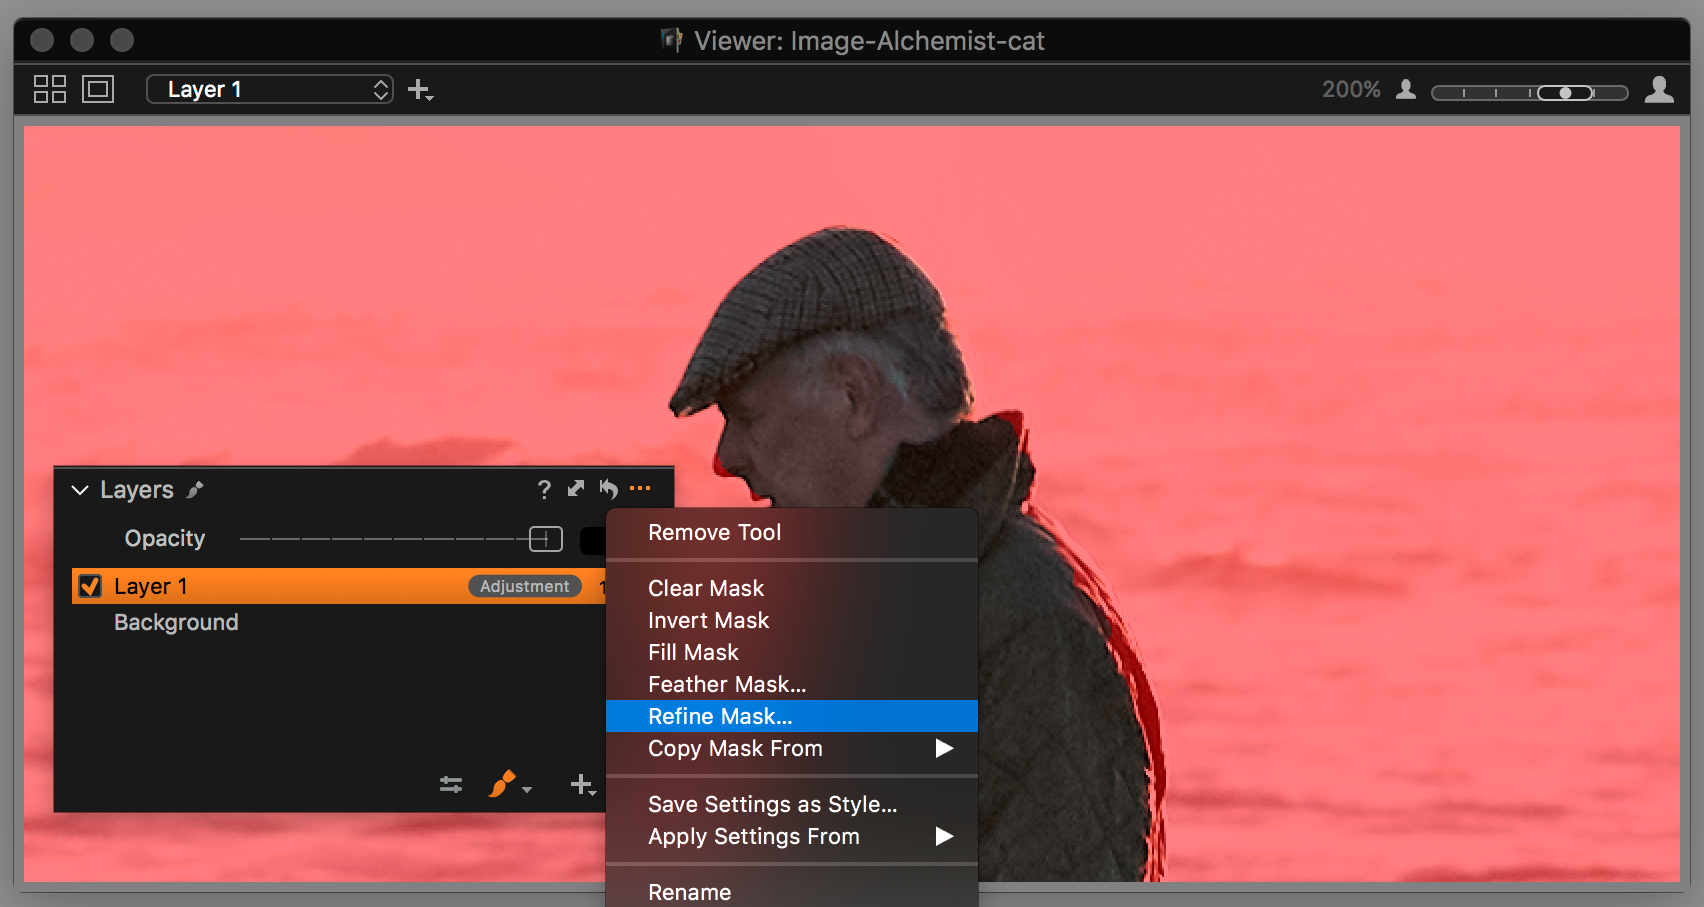
Enter the Refine Mask feature of Capture One Pro 11. You find this in the Layers tool, action menu.
I use the Refine Mask feature because you can see below that the Auto Mask did a fine job, but left something to be desired. The nose of the man and the backside of his jacket is not very nice.
In the before/after stack below you see what the Refine Mask does to solve this.
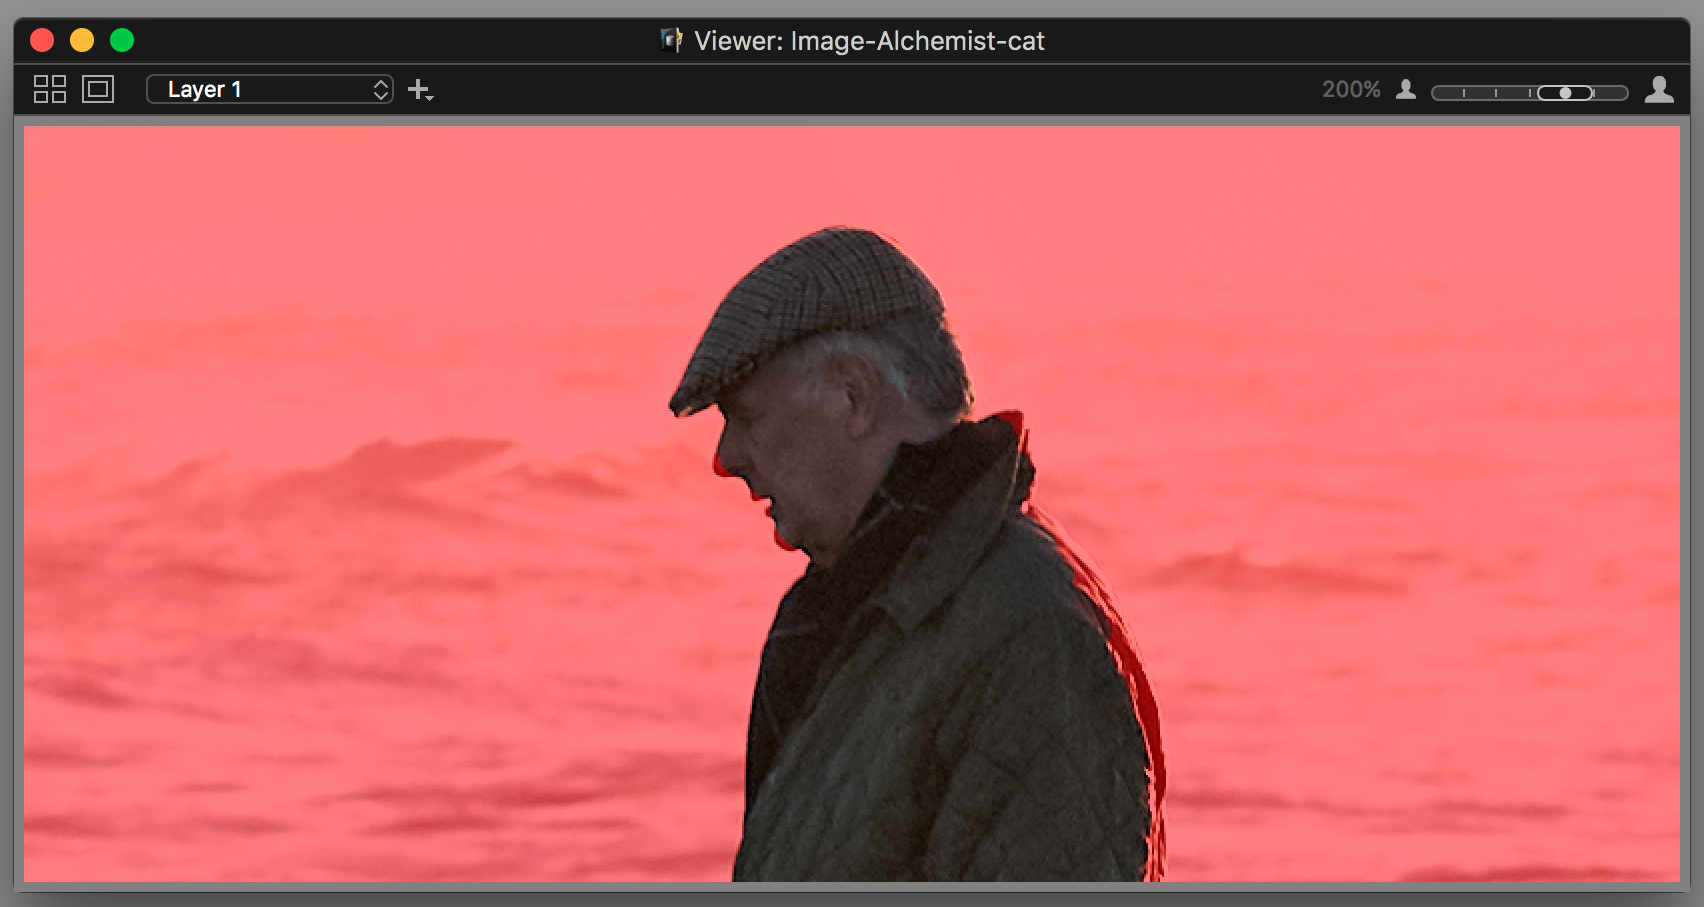
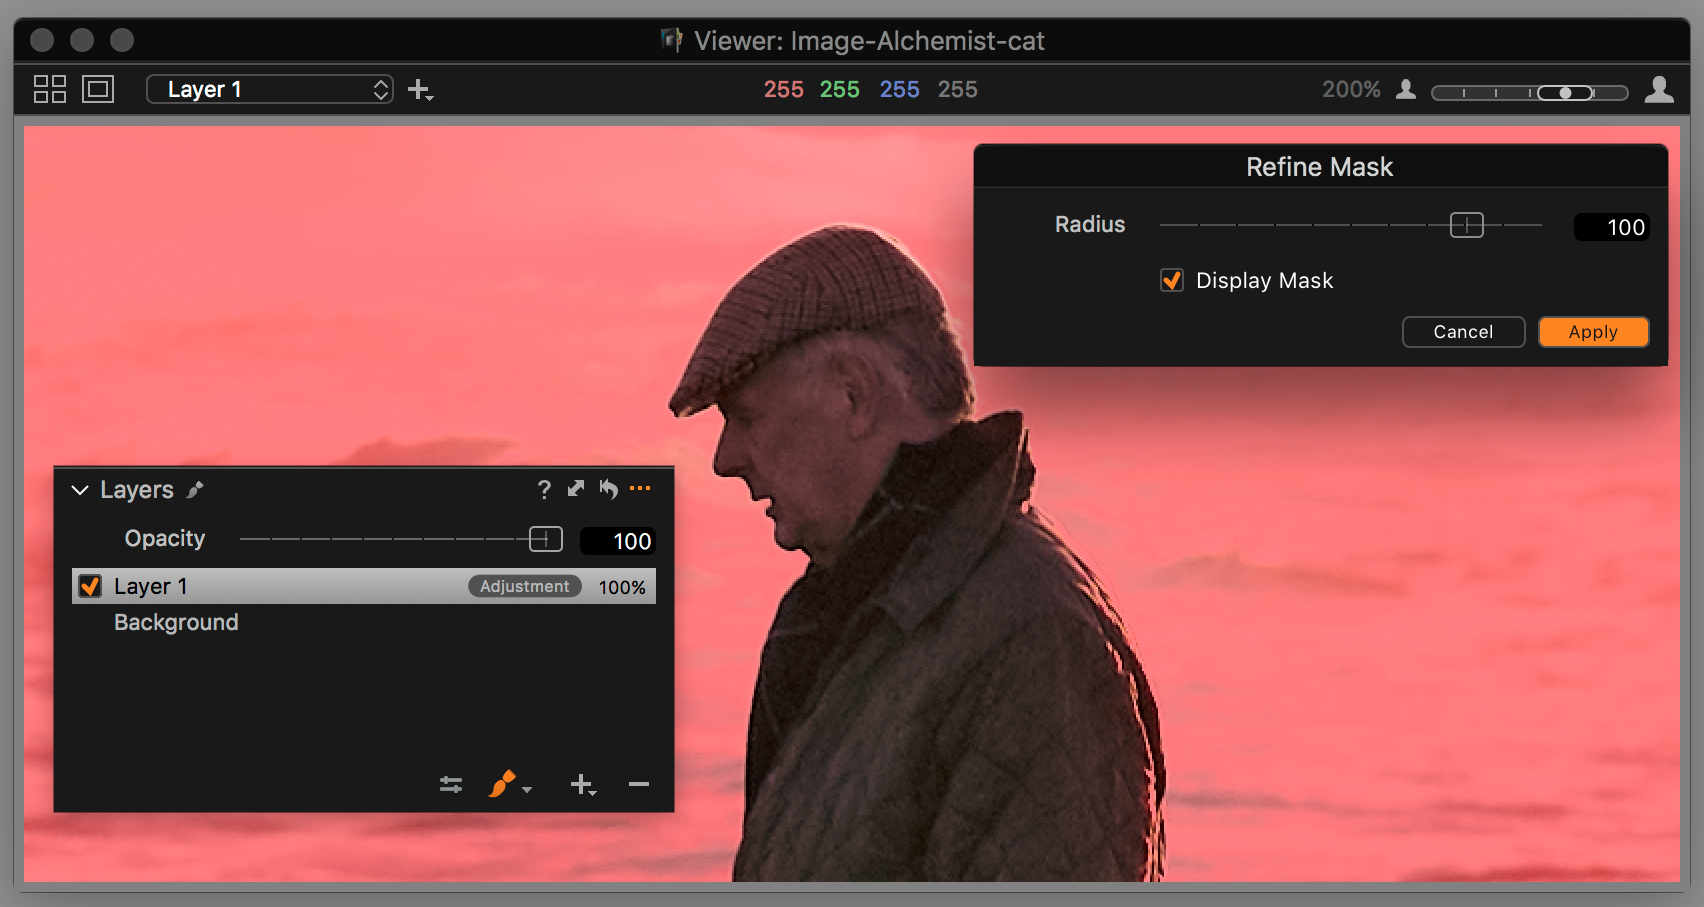
Set the Radius to your taste and click OK. If you do not like the result and need a bigger or smaller Radius, immediately undo the change and try again. The transition is now smooth and eye-pleasing.
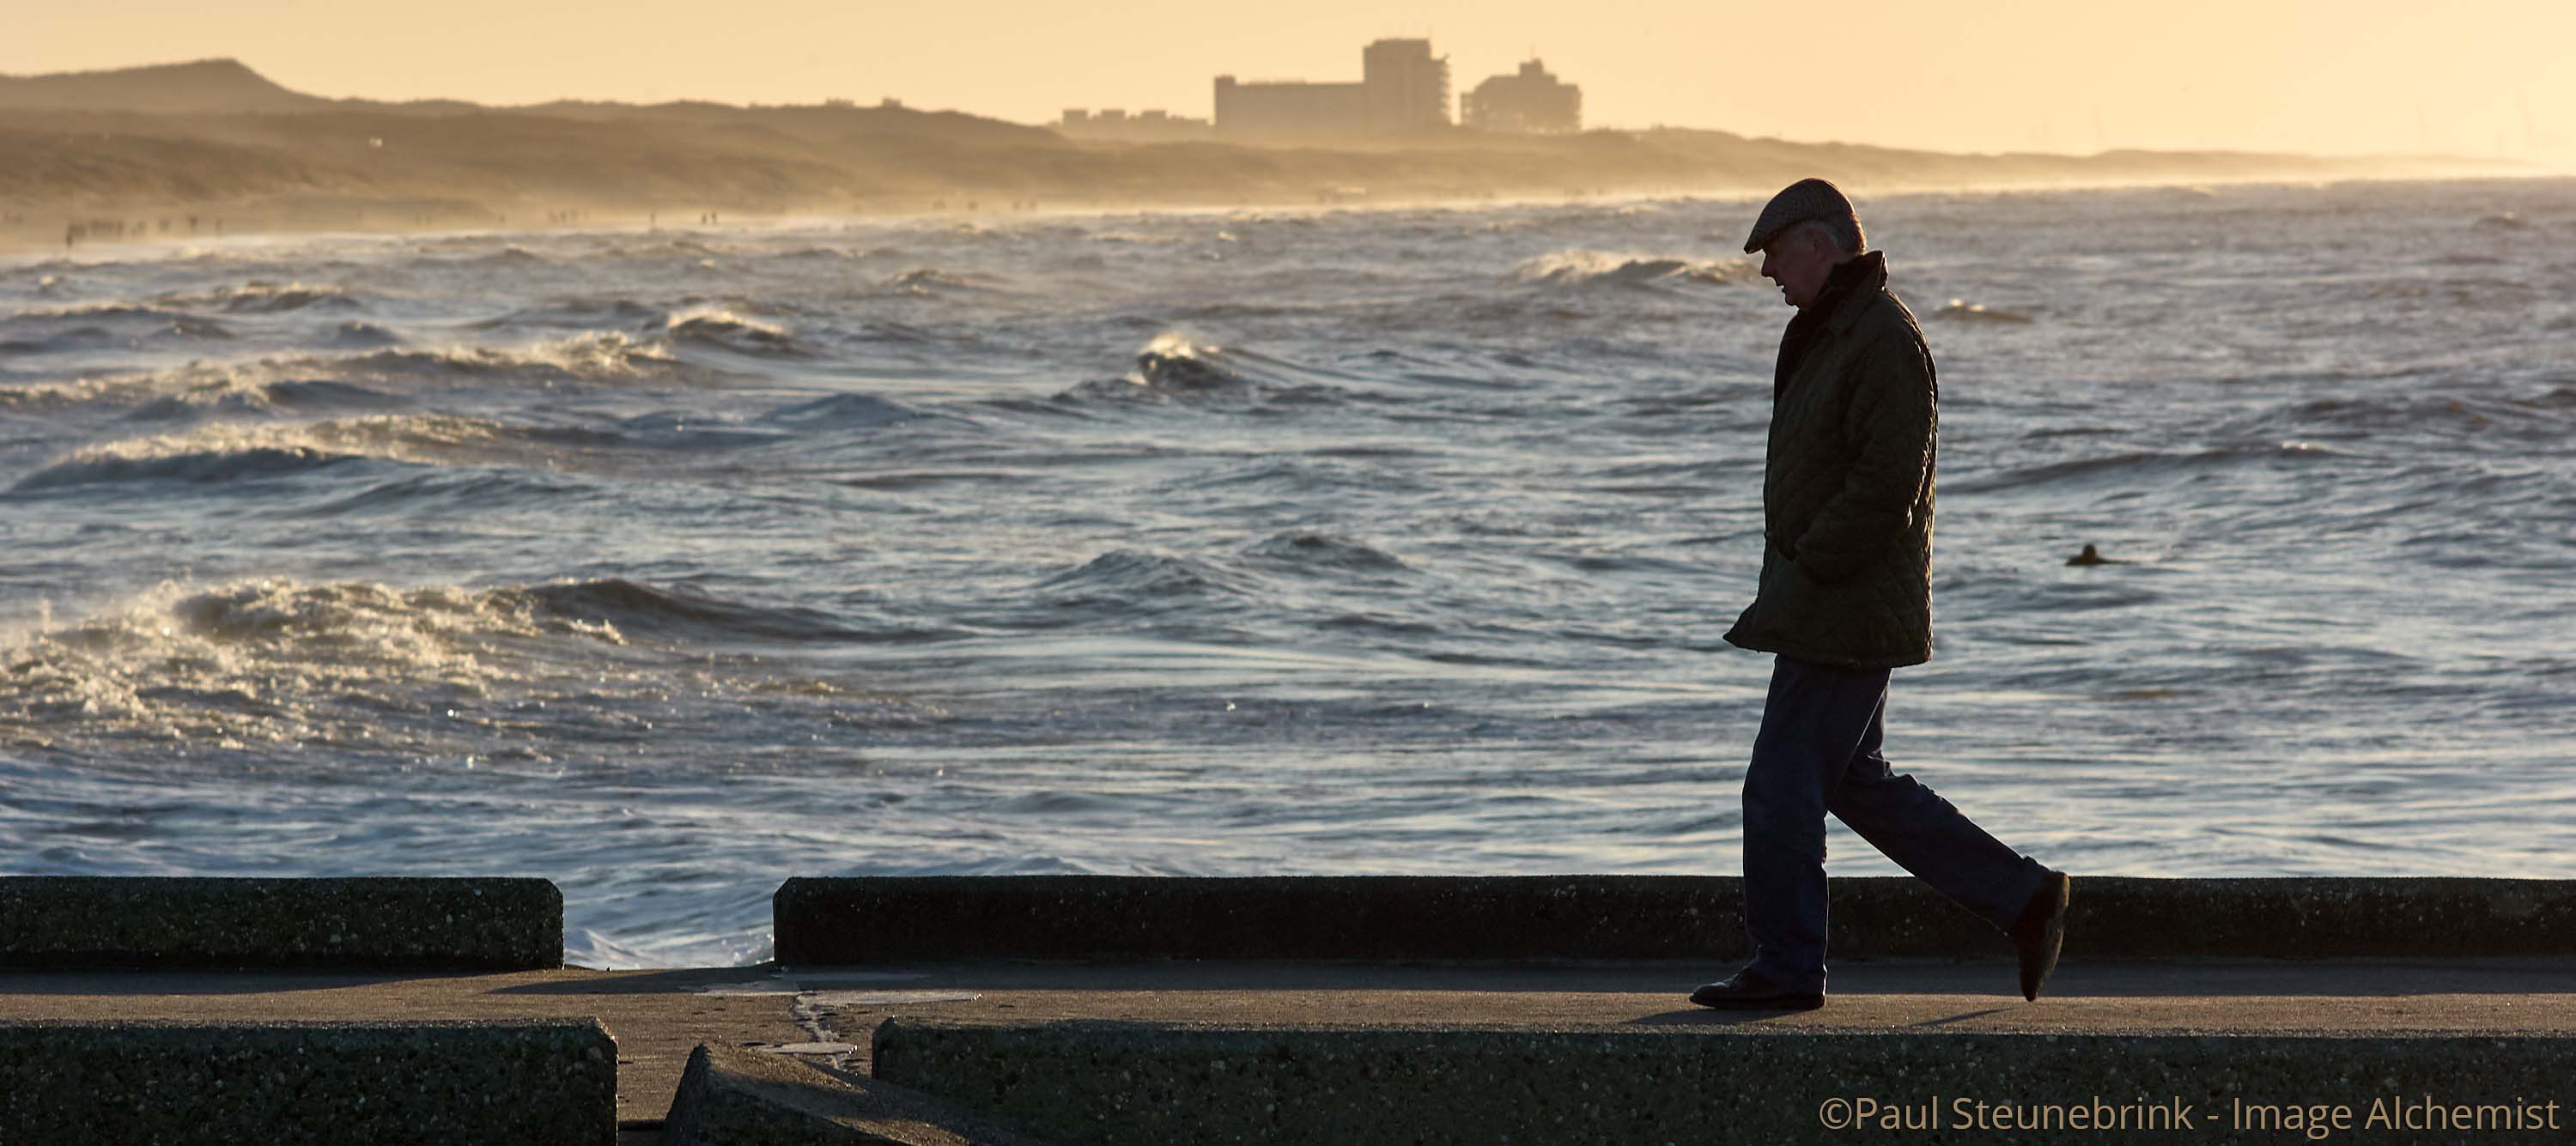
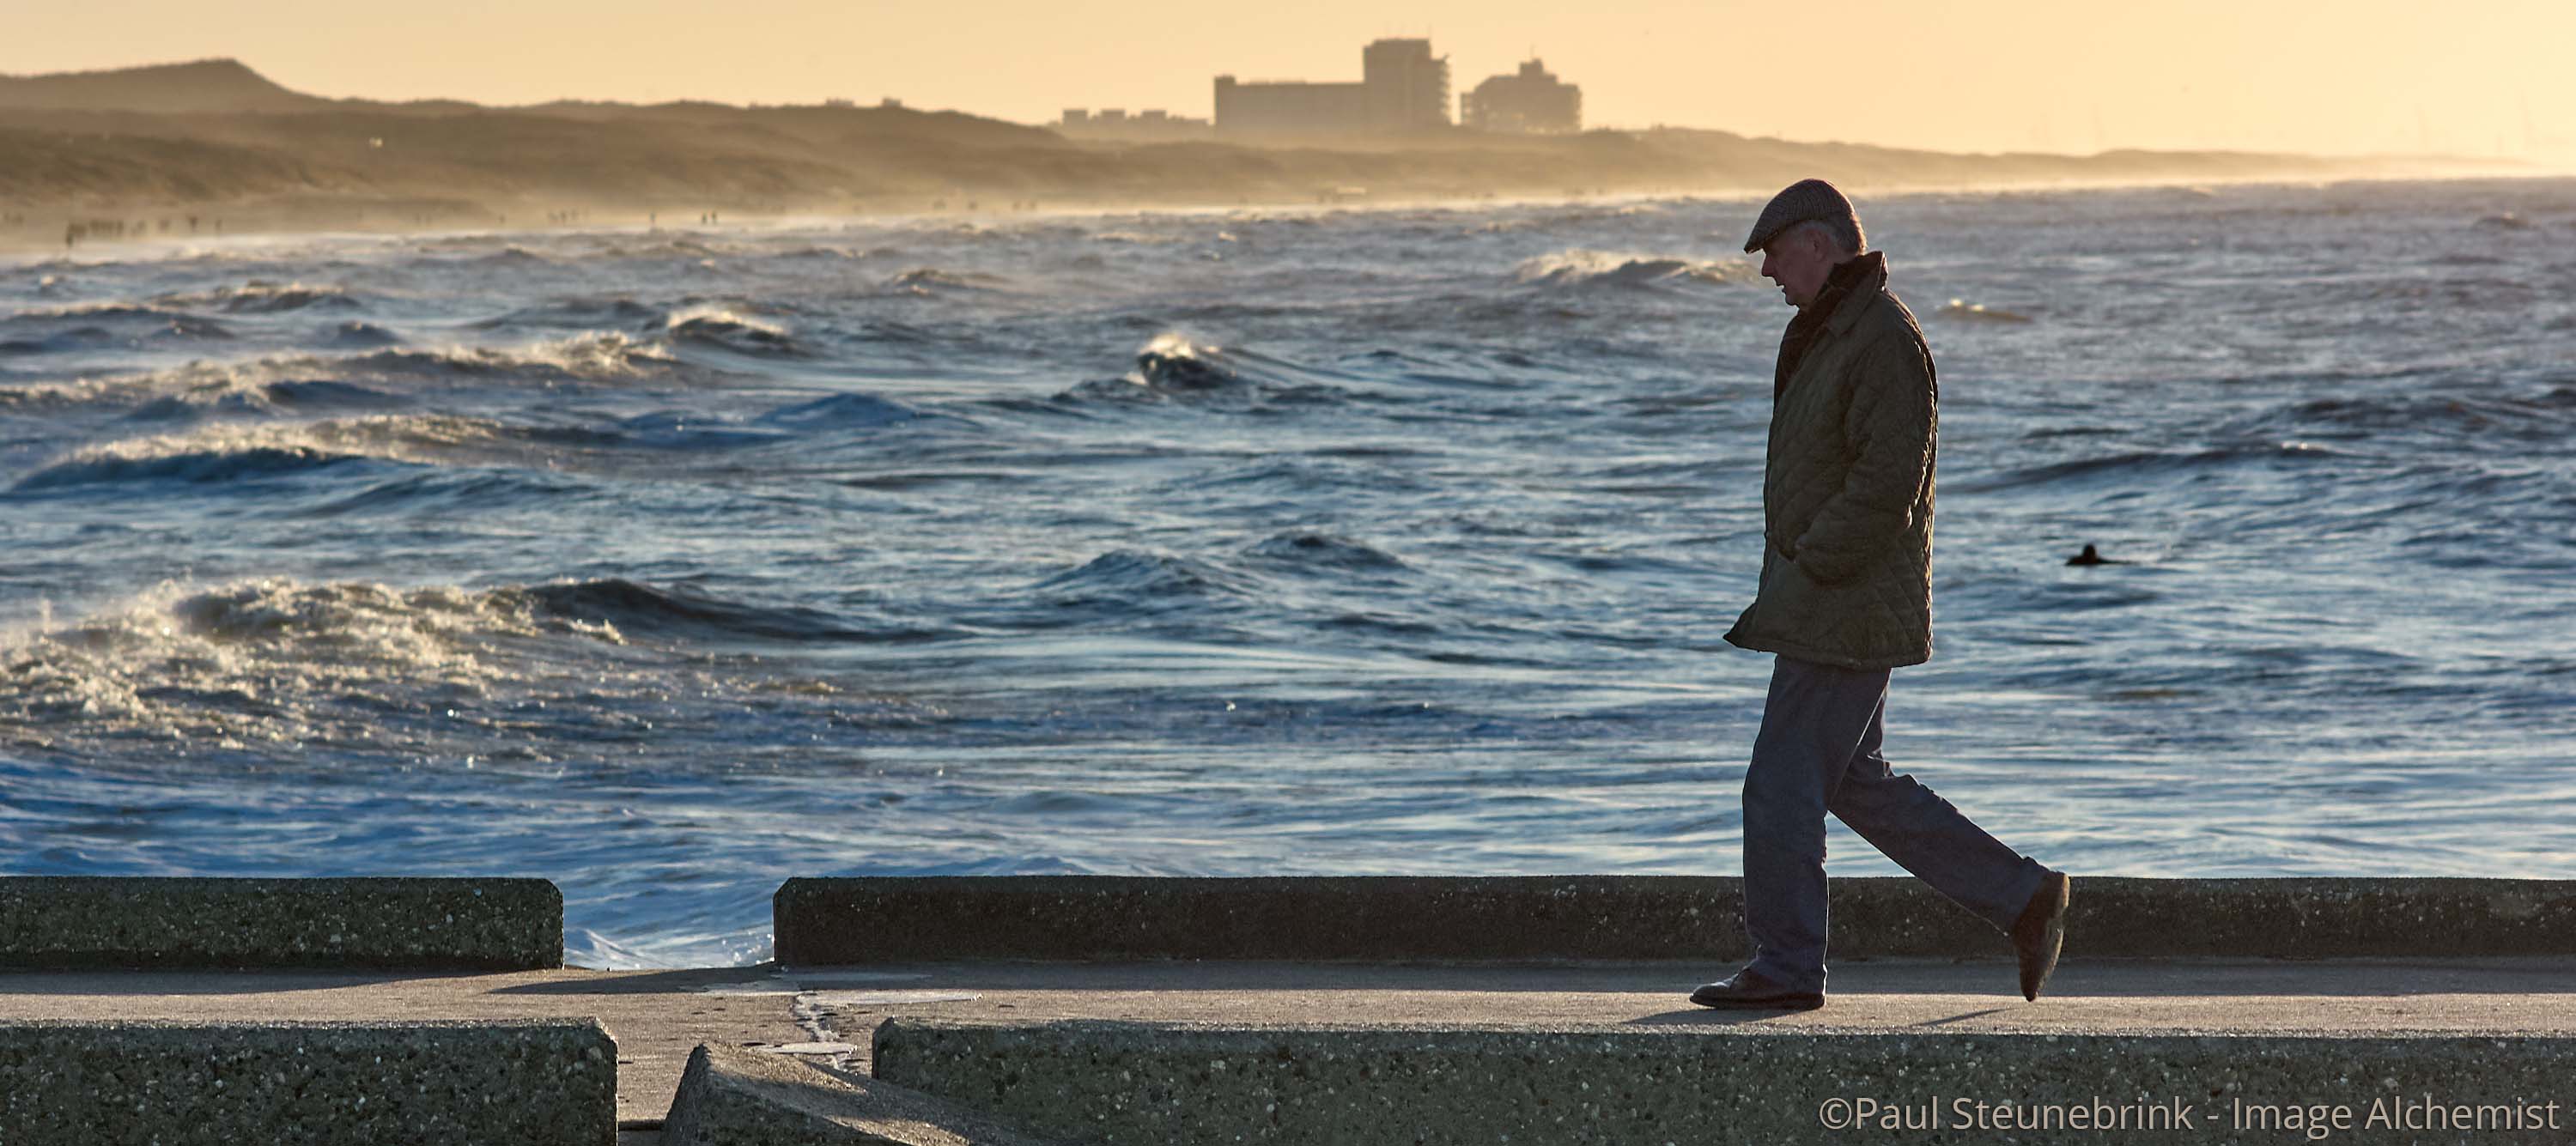
And this is the end result, in a before/after stack. I intended to maintain the warm glow of the February sun but the cold temperature as well.
The Feather Mask feature is a simpler version and not as smart as Refine Mask. It just rounds the edges of your Mask.
Create Masked Layer From Selection
As I mentioned in the introduction Capture One offers another and absolutely unique way of computer-aided masking. This time you use the Color Editor. The Color Editor is an unprecedented tool for editing color, and you can read all about it in Capture One Color Editor.
In addition to color editing, the tool can help you create a Mask from a color! I rephrase:
When an area to mask has a distinct color, you can use the Color Editor to select that color and make a Mask out of it. Next, with that Mask on a new Layer, you can optional edit the Mask, and edit the image with any tool that is allowed on a Layer.
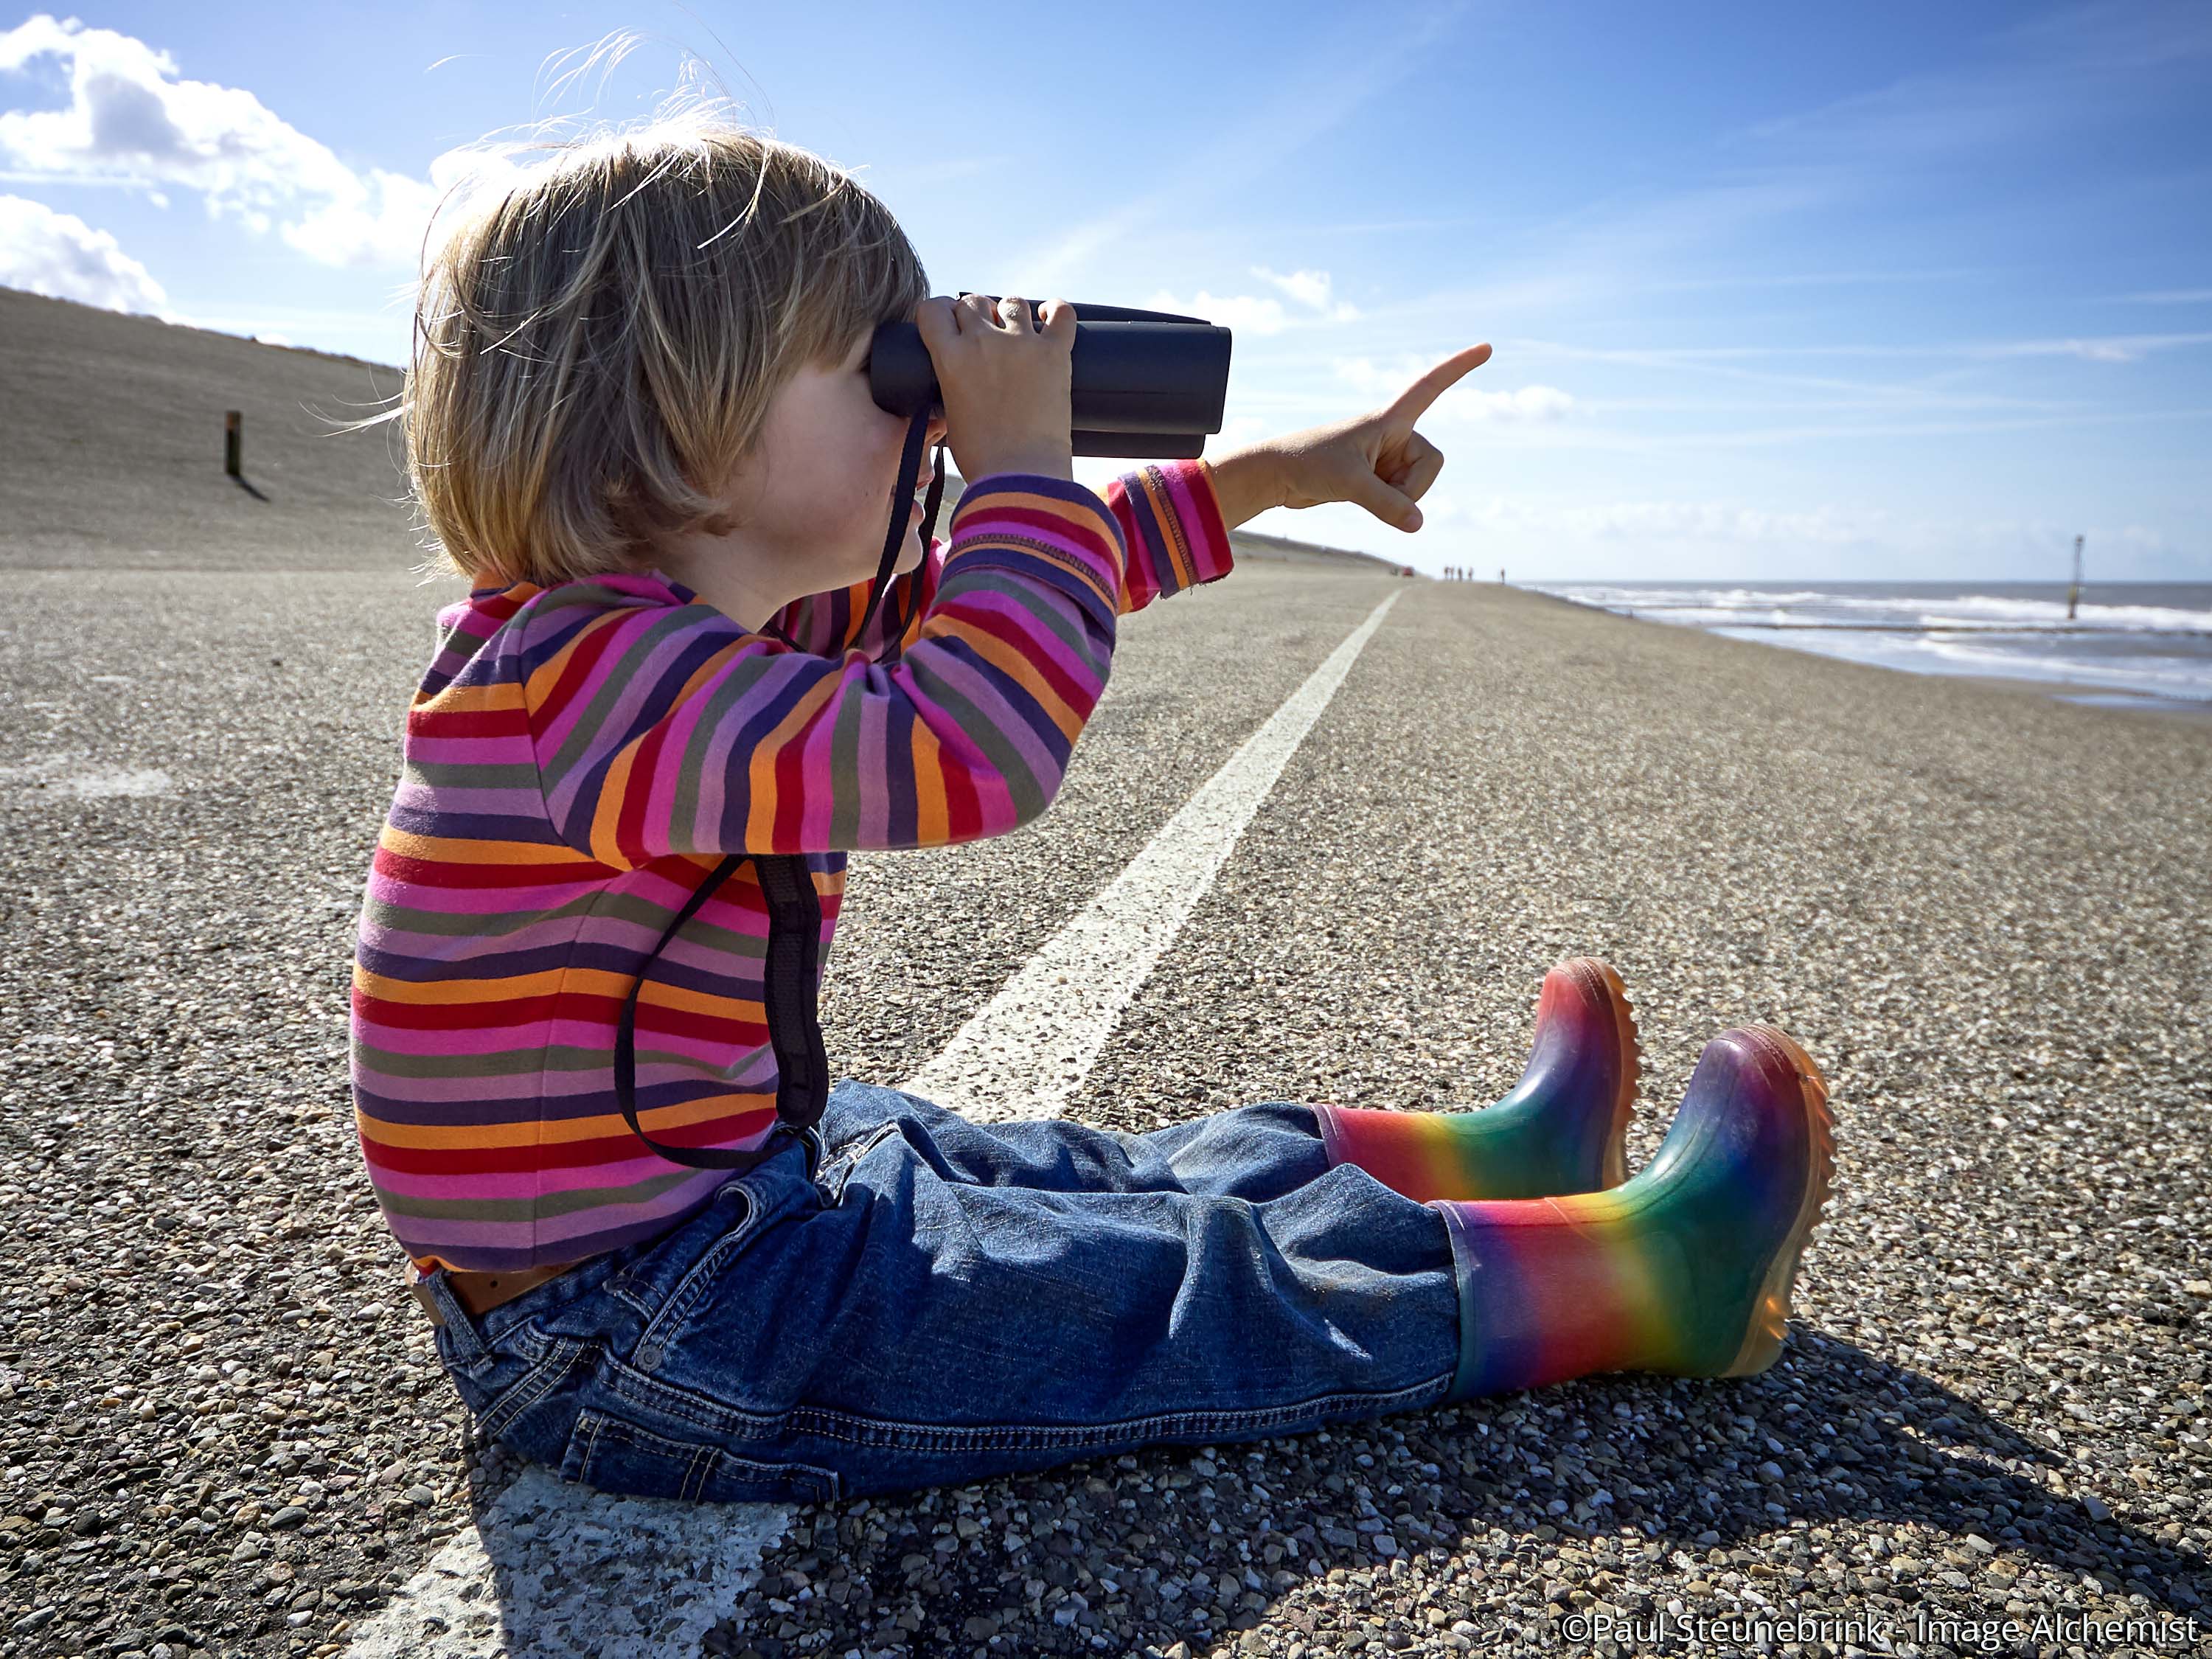
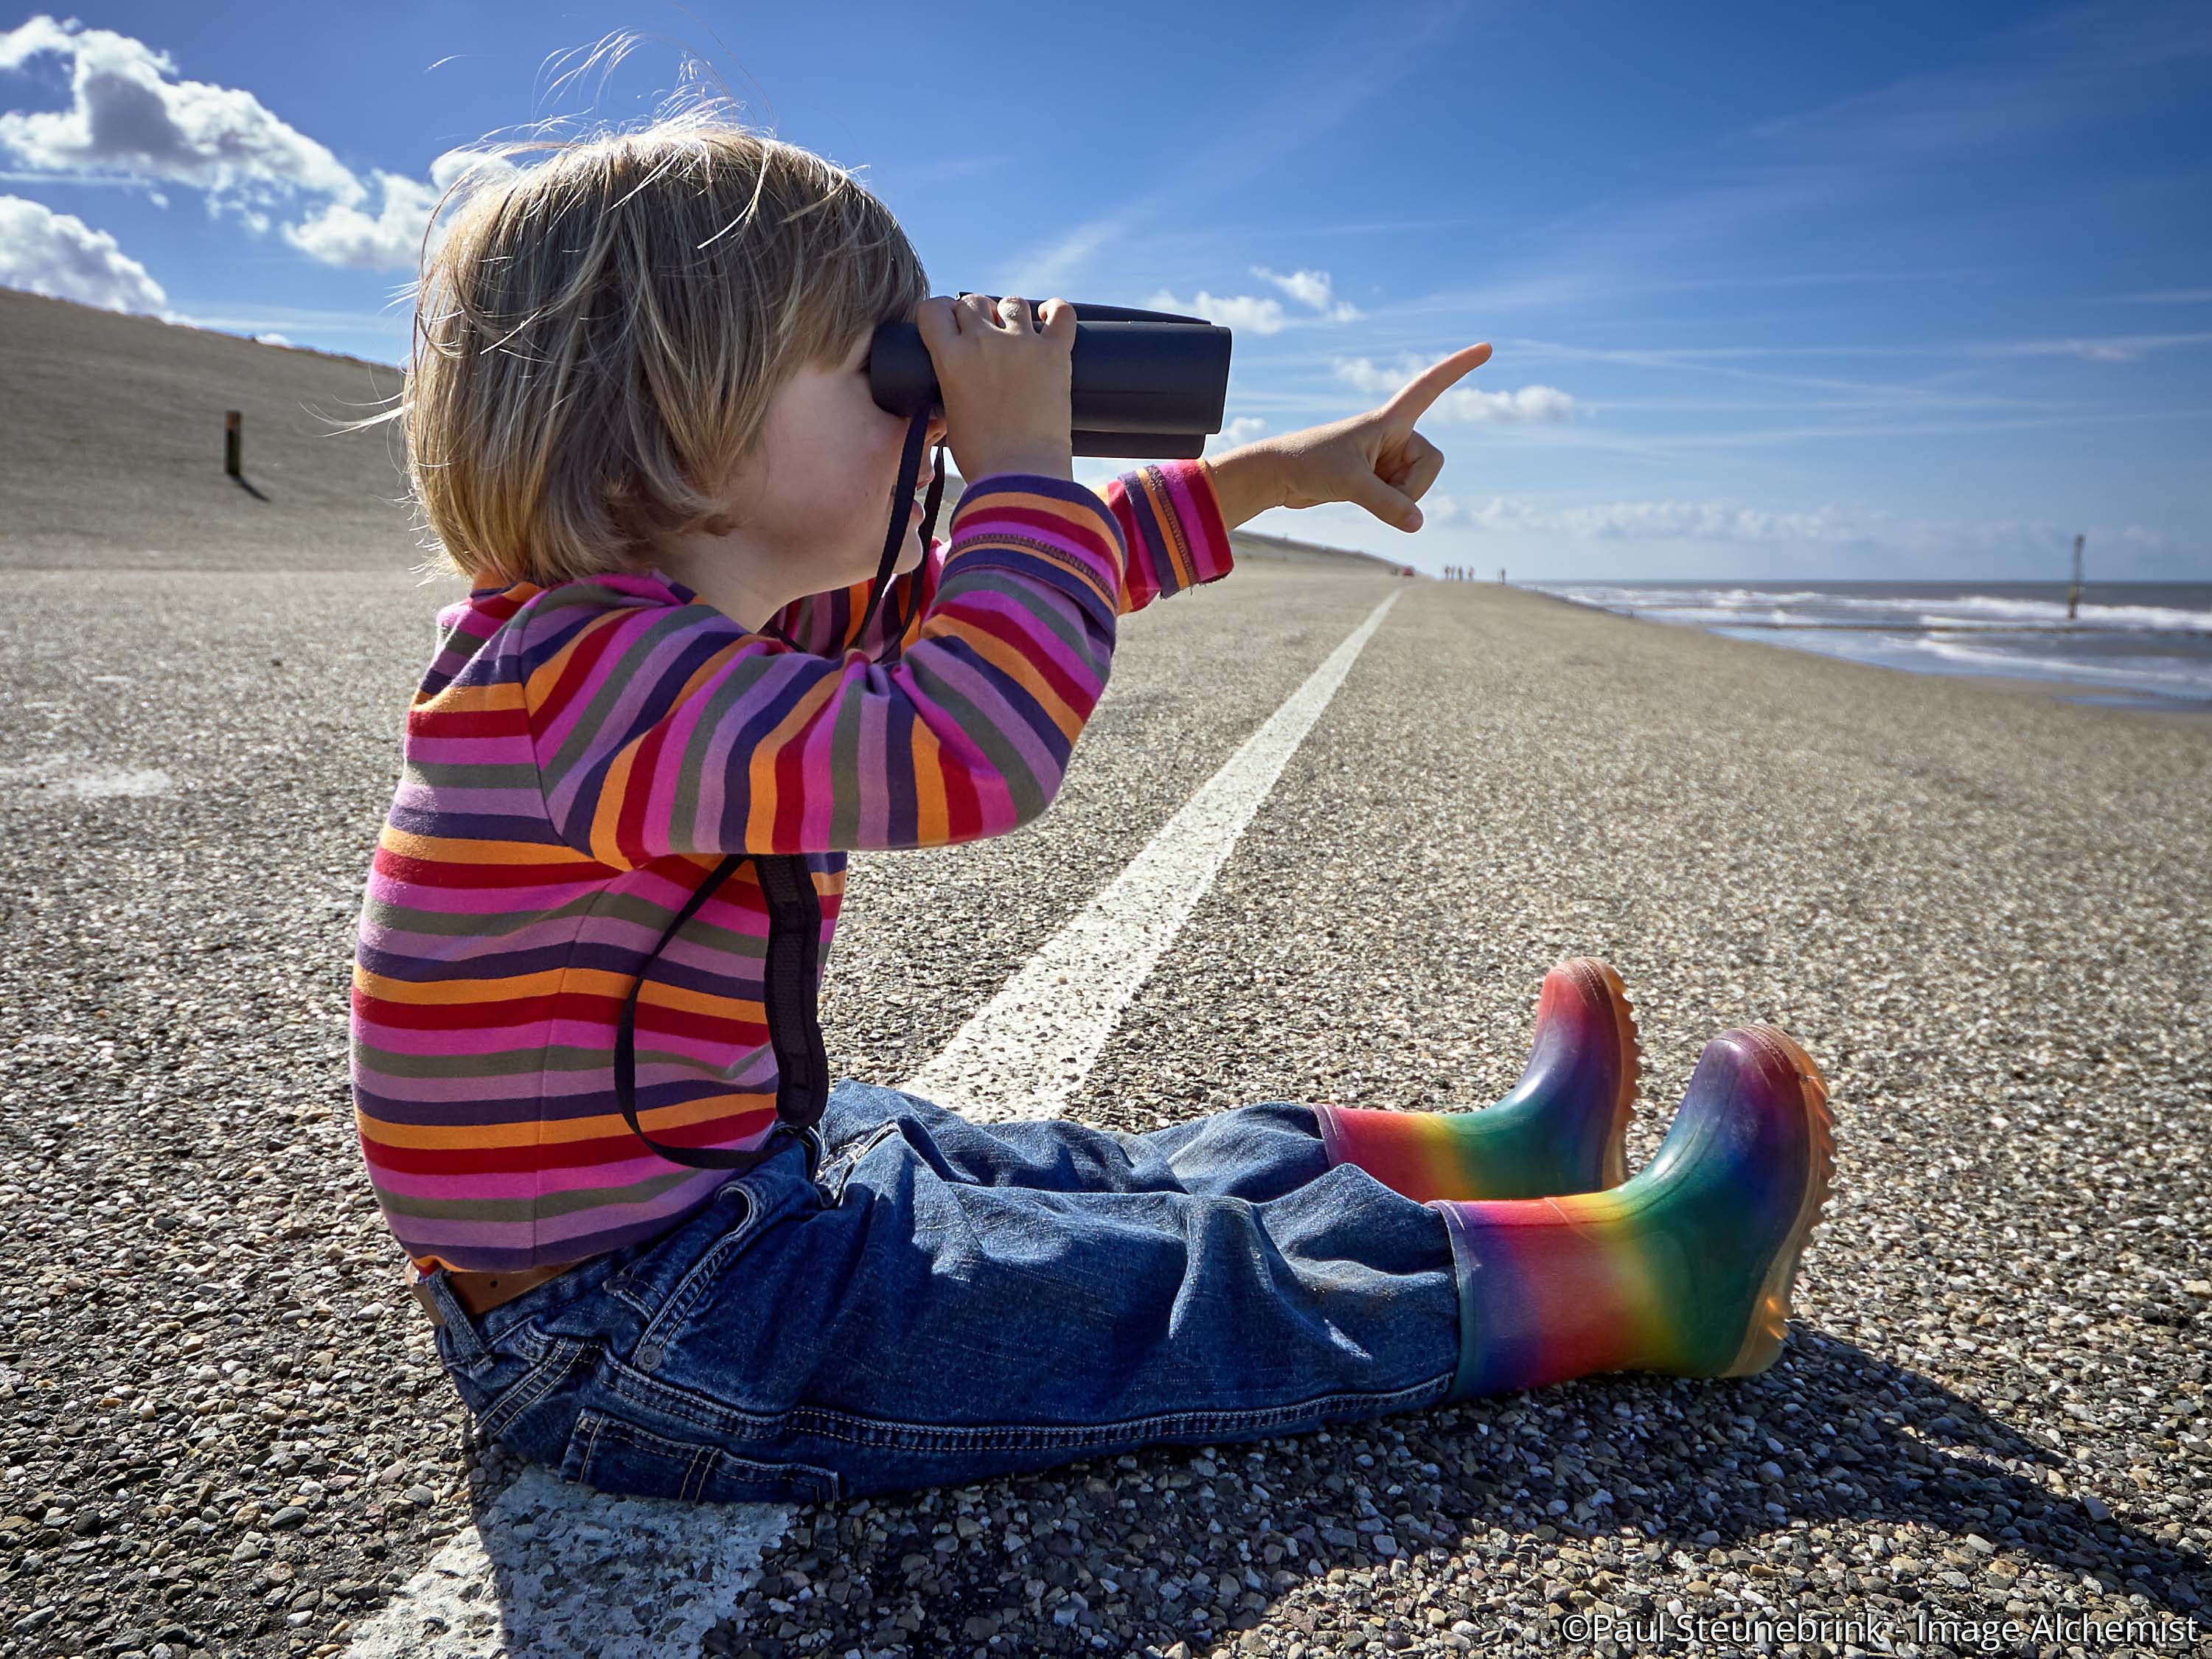
In the sample image above of the girl sitting on a dike, I wanted to darken the sky and water. I took the Advanced Color Editor and selected the blue sky. Next, in the tool’s action menu, I clicked on Create Masked Layer from Selection.
A Layer with Mask is created. It is a start, not ready yet. Next, I used the Brush with Auto Mask to include the clouds and the Eraser to exclude the clothes (jeans, boots) from the Mask.
Last, I used the Refine Mask for smooth edges. The Layer with Mask is ready now. Adjustments with Exposure, High Dynamic Range (Highlight) and Color Editor (saturation) finished the task.
Copying Layers
A Layer with Mask and adjustments is a tailor-made package that you might want to copy to other similar images, just like you copy Crop, White Balance or Exposure adjustments. This is, with some limitations, possible.
Clipboard
When you copy Layers from a source image to one or more selected target images, the following happens:
- all Layers, their Masks, and adjustments are copied and applied
- any Layers on the target image are replaced
This is not different from how other adjustments are copied and applied. However, this is perhaps not always what you want.
Please note that for a thorough explanation of the many ways to copy and apply adjustments in Capture One I advise you to look at a series on Adjustments, starting with Adjustments Explained.
You can not copy just one specific Layer with Mask to another image in Capture One Pro 11.0 (maybe later?). However, there are some workarounds I like to share with you.
Copy Workarounds
The first workaround of selectively copying Layers is that you copy and apply all Layers to the target image and delete the Layers that you do not want. The main disadvantage is that you can not prevent any Layer on the target image is lost. When there are no Layers yet, this is a feasible solution.
The second workaround is that you create a Layer and Mask on the target image, and bring over the adjustments from a Layer of the source image via a Style. I discuss the use, both save and apply, of Styles and Presets in part of this post. Note that in this workaround the Mask is not transferred.
Clone And Heal Layers
So far we have only discussed a single type of Layer, the Adjustment Layer. In addition Capture One also offers two other and rather similar types of Layers:
- Clone Layer
- Heal Layer
Like the Adjustment Layer, the Clone/Heal Layer has a Mask that controls the affected area of the image.
Unlike the Adjustment Layer, the Clone/Heal Layer does not apply adjustments from tools. In contrast, it replaces pixels from one area in the image to another. The Mask designates the area that gets replaced.
The underlying method that determines how pixels are replaced differs slightly between the two types, hence their name Clone and Heal.
The Clone Layer creates exact copy pixels regardless of the structure of the original pixels. The Heal Layer takes the structure of the original pixels into account. Depending on the image and the result you attempt to achieve, you determine which one is best.
Fortunately, as we will see in a minute, it is easy to switch between both types after the fact.
Creating Clone Or Heal Layer
It is easy to create a new Clone or Heal Layer. In the Layers tool press and hold the (+) sign to create a new Layer.
A drop-down list opens. Select New Clone Layer or New Heal Layer.
Changing Layer Type
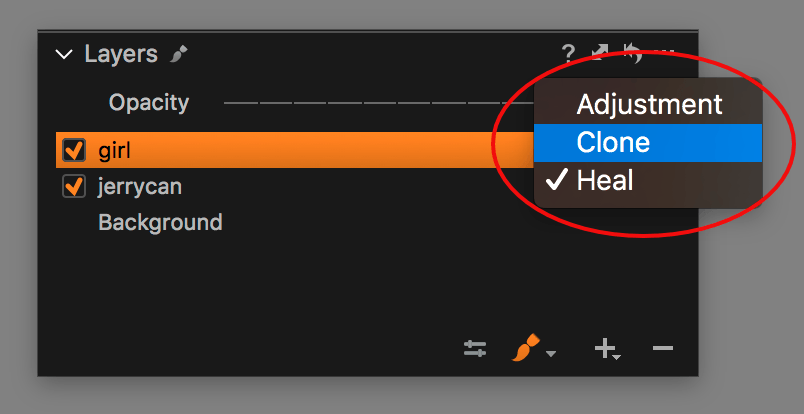
You might want to change a Clone Layer into a Heal Layer, or vice versa, or even into an Adjustment Layer. Whichever way you like to change, just click on the Layer Type label of the Layer in the Layers tool.
Next, choose the Layer type: Adjustment, Clone, or Heal.
Footsteps In The Snow
I like this image of the young woman entering the beach in winter, with snow. For the sake of demonstration, I removed her and the jerrycan on the right.
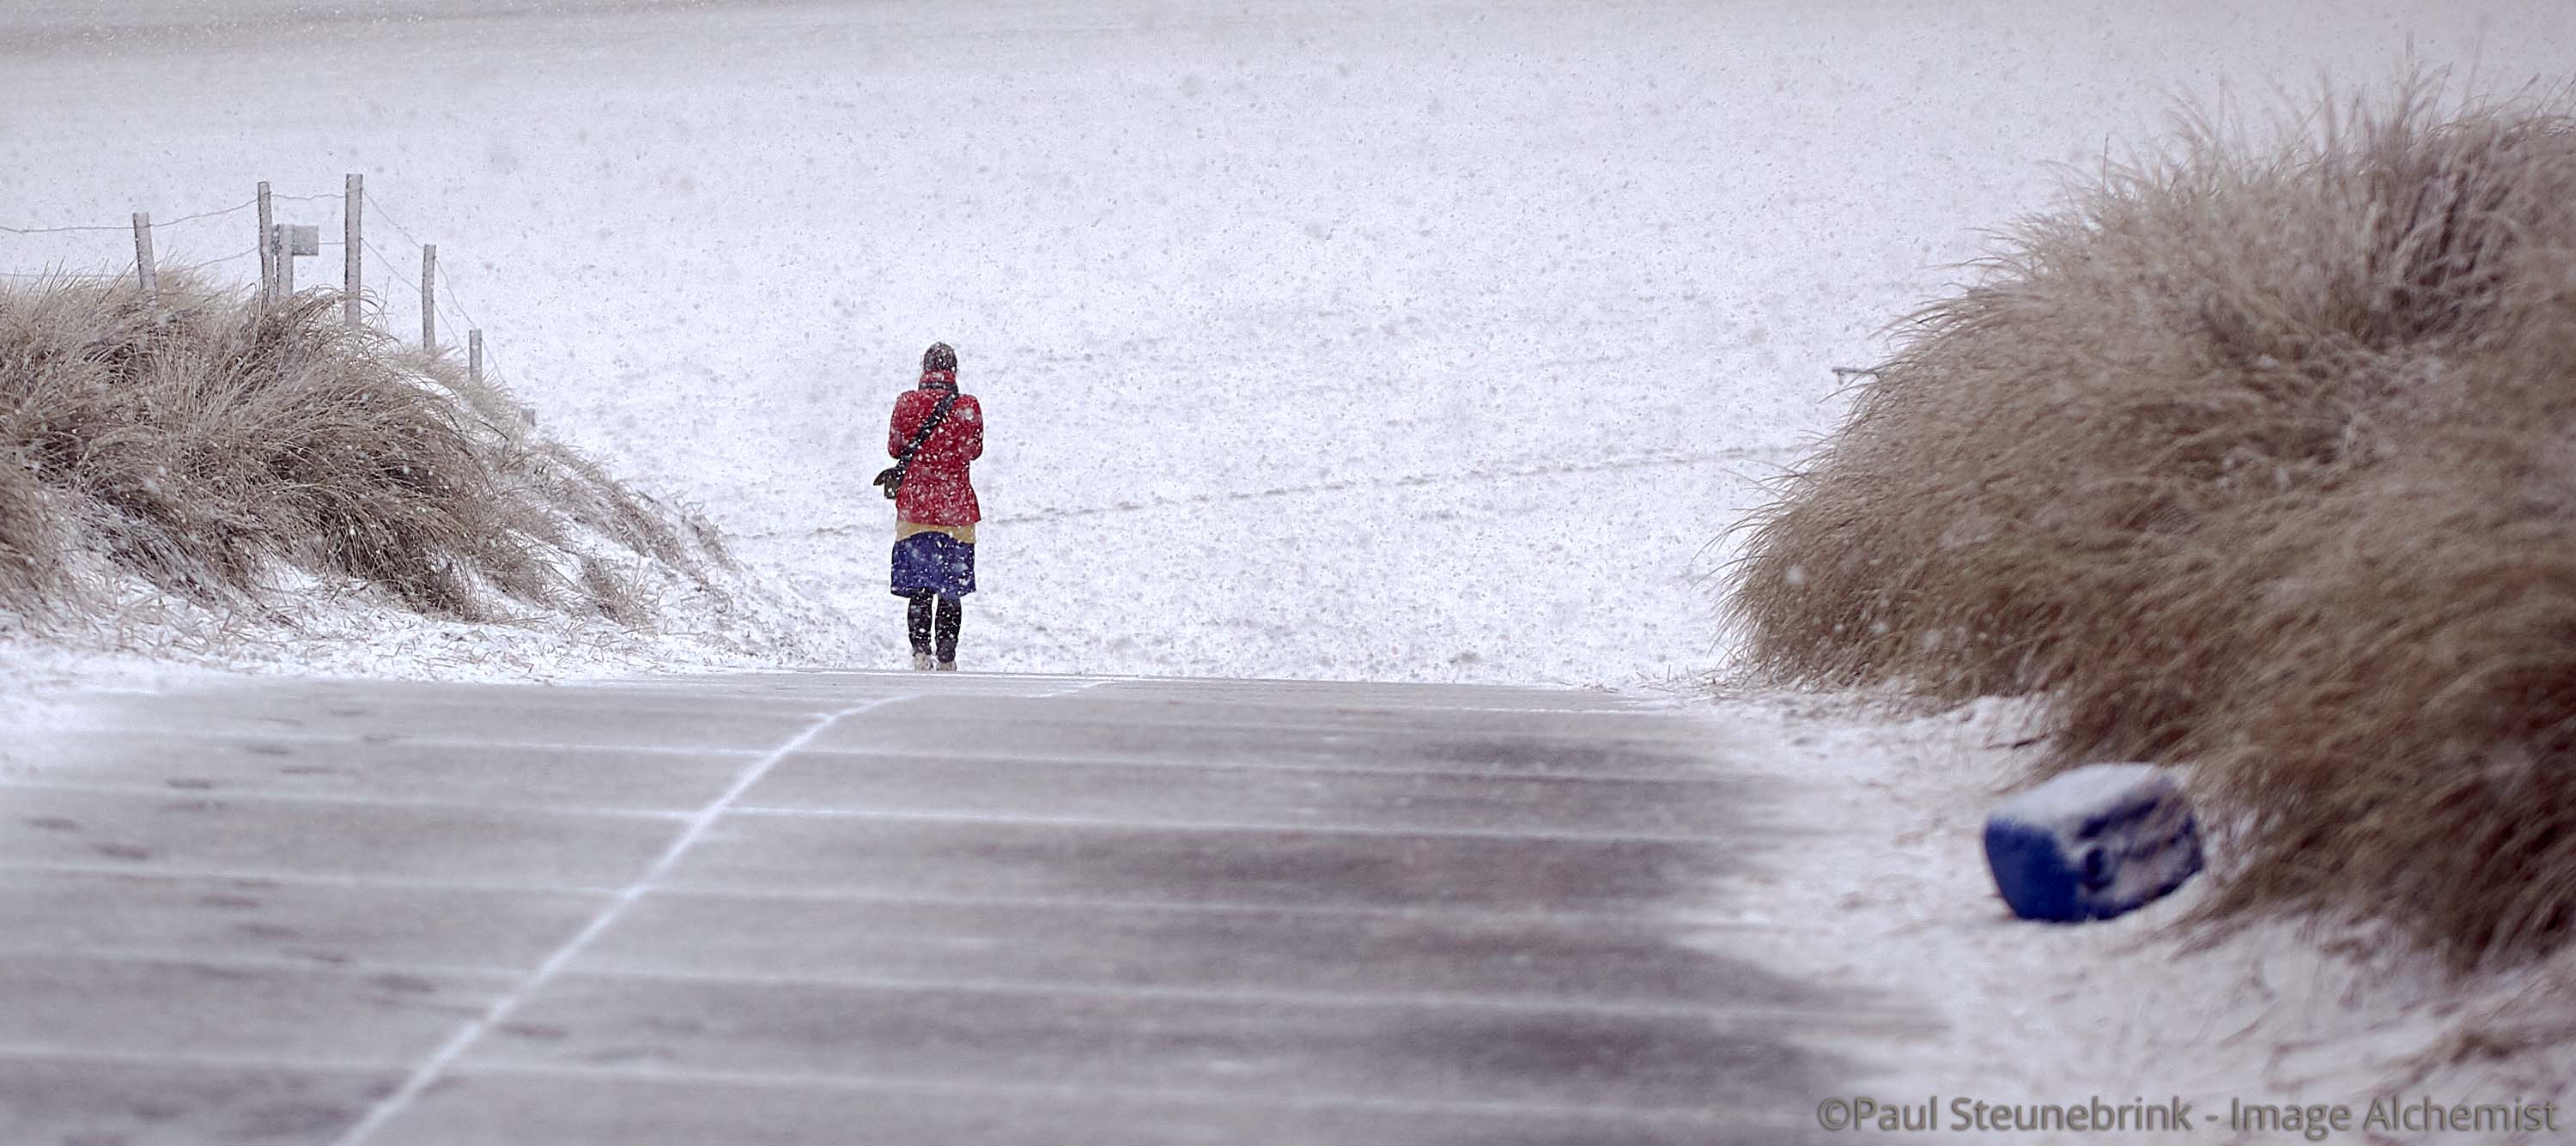
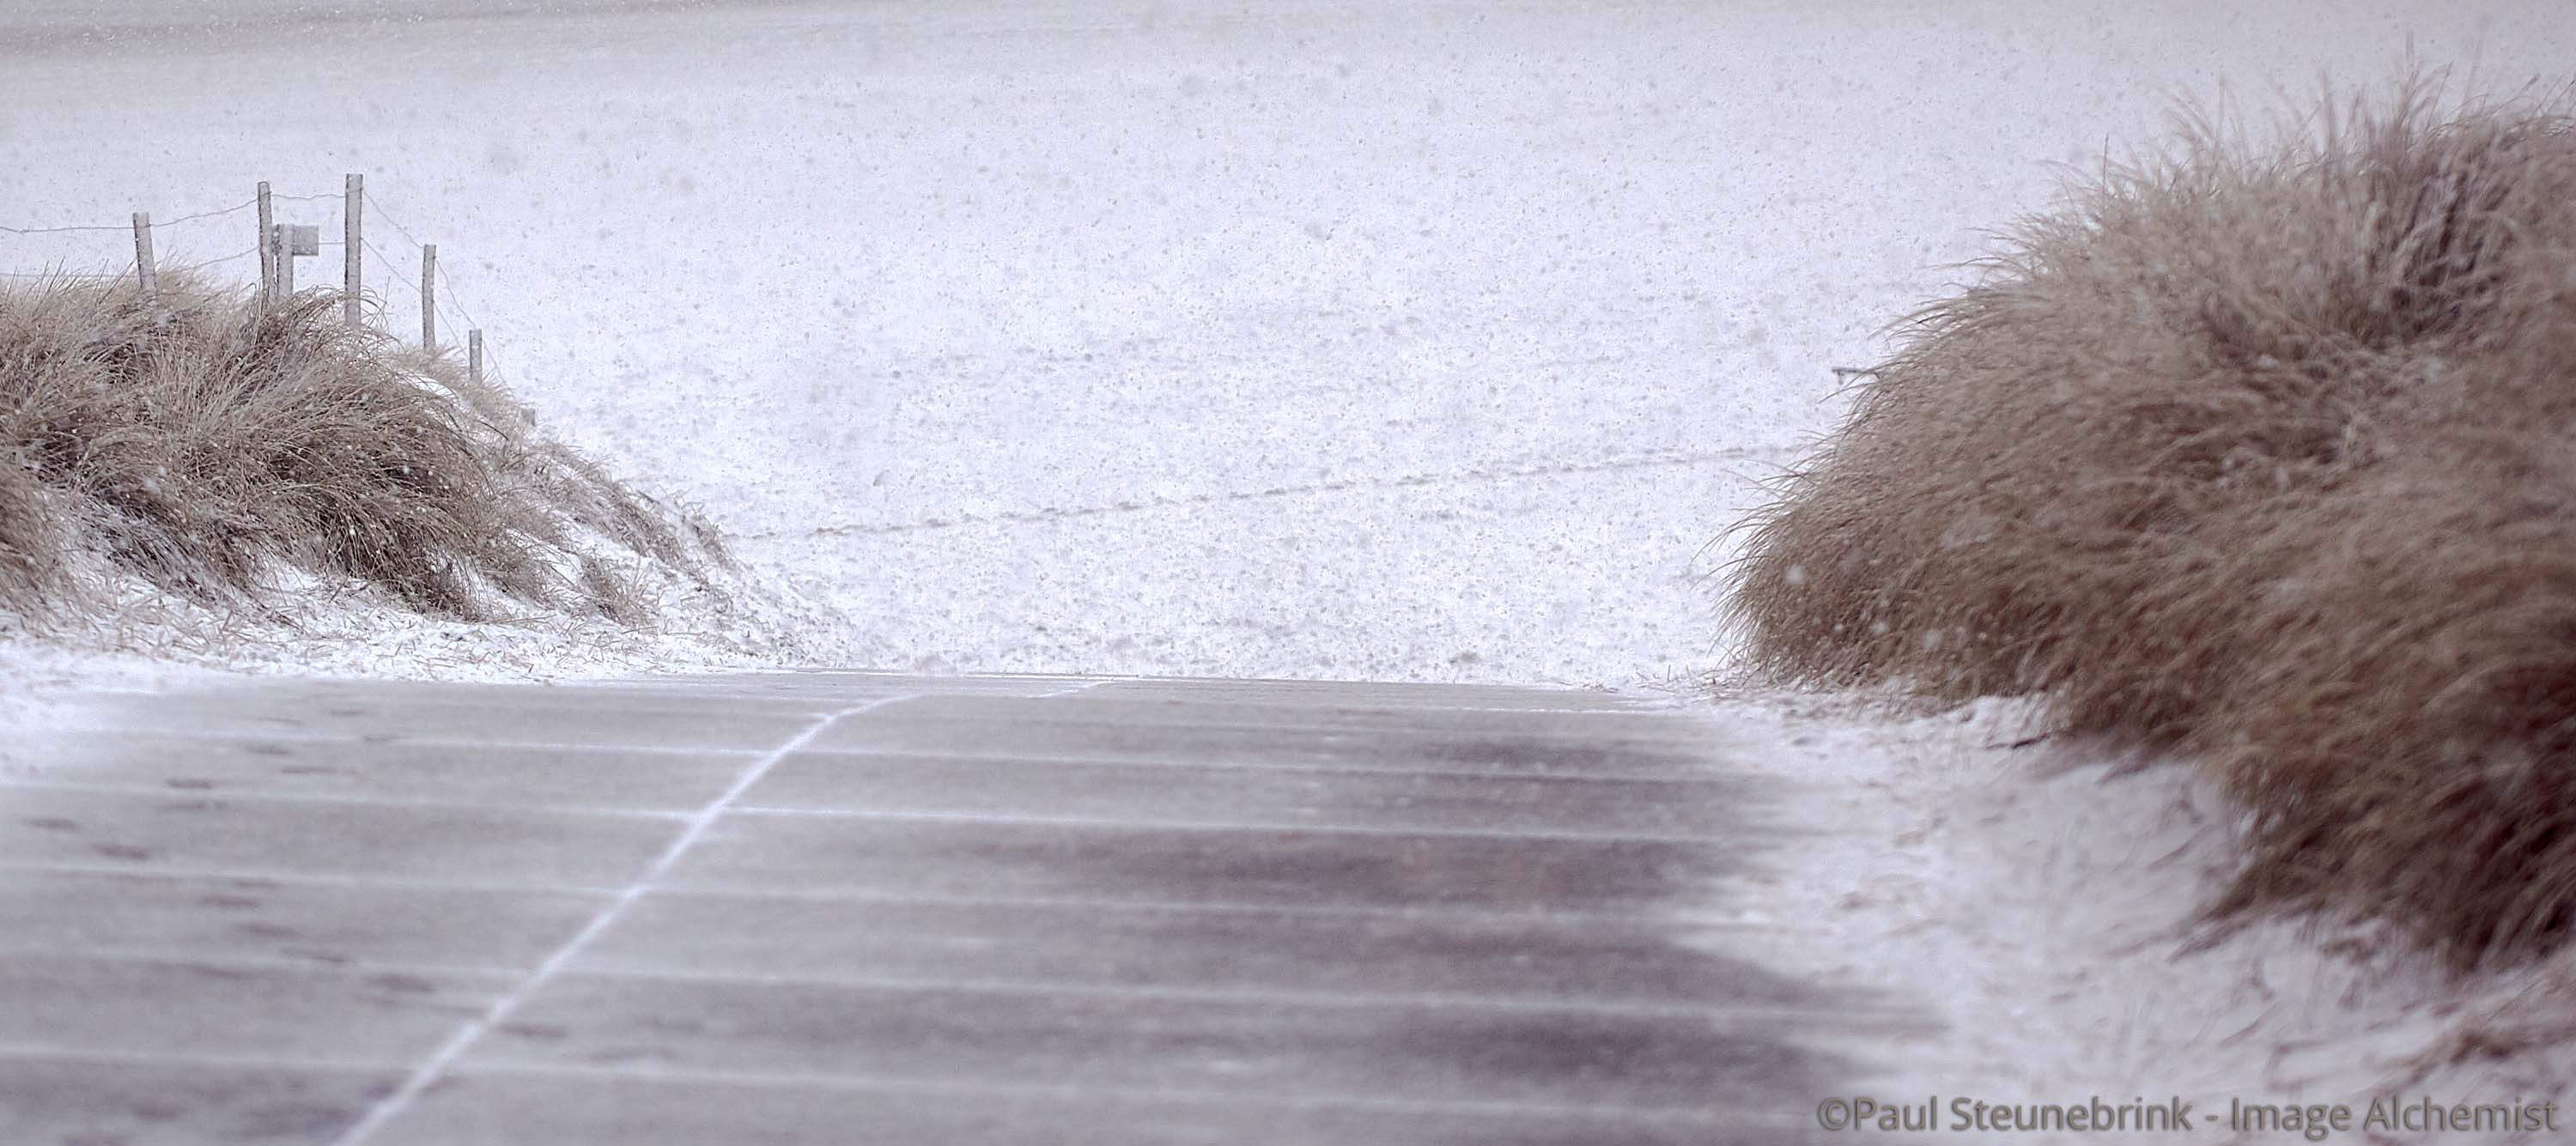
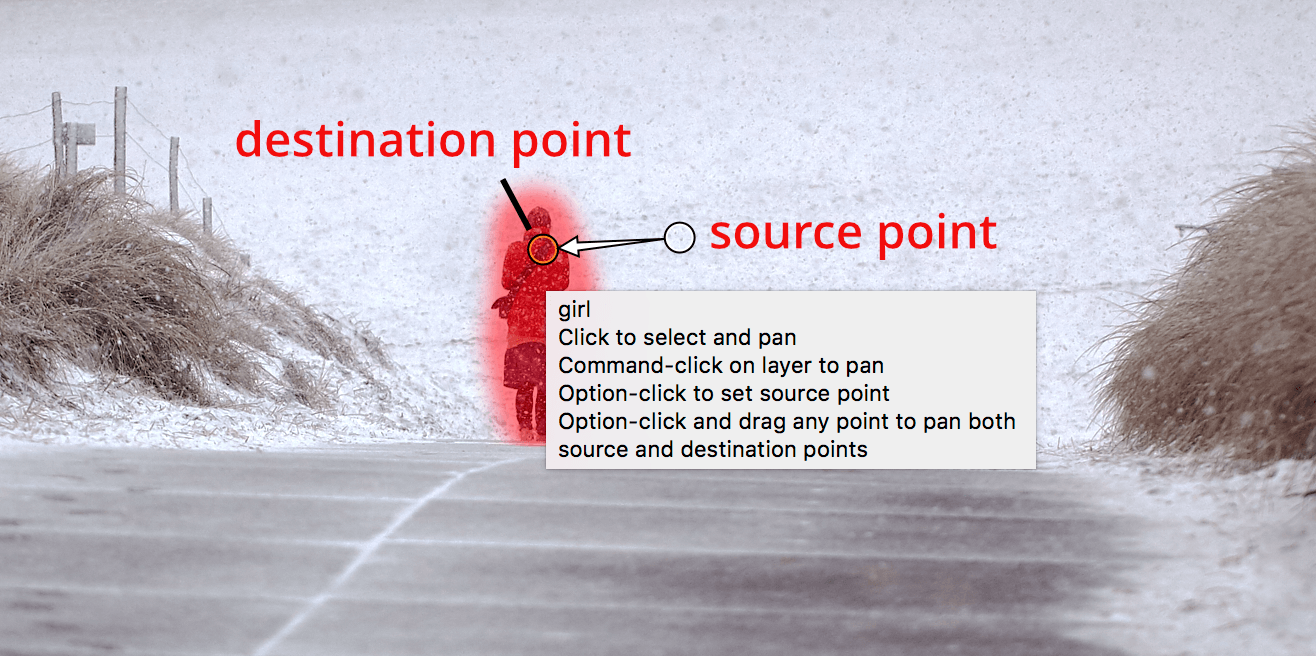
I created a Layer for each. I made the clone while paying attention to the footsteps in the show. In the screenshot below you see the Mask, the Source and Destination Point.
As the tooltip explains, you can move both Points independently. Note that the Destination Point is connected to the Mask, so moving that Point moves the Mask.
I do not use the Clone/Heal Layer feature much, but it comes in handy when I do. For removing an electric wire in the sky it works great. You might prefer your pixel editor like Photoshop or Affinity Photo for more complex dodge and burn.
To Be Continued
This third post on Layers is cut into two parts. This is part 1 and it continues in Layers In-Depth part 2. Have fun!
Thank You
For reading. Please feel free to leave a comment. Like us on Facebook or subscribe to stay informed about new blogs.
Best Regards,
Image Alchemist








Well done!
I am curious if the “Refine Mask” tool is a little like a luminosity mask???
I would be interested in knowing more about how it works and when to use it.
JBD
Hi James,
Glad you liked it. You could say the the Refine Mask takes the brightness or luminosity of the image into account. Not totally sure yet. You can use it to make edges of your mask smoother is all kind of circumstances.
Best, Paul Steunebrink / Image Alchemist
Hi There
I have capture one 11 and would like to know if it possible to have or delete background and have a transparent background
Thanks
Hi Claud,
This is not possible in Capture One Pro 11. You currently need a pixel editor for that.
Best, Paul Steunebrink / Image Alchemist
Hello,
I accidentally copied an adjustment layer to all my images (in some early step)
How do I remove all additional layers from all images?
Hi George,
You can select a layer and remove it by pressing the minus (-) sign in the bottom right corner of the Layers tool. This is a per image action.
When you reset the Layers tool (curved arrow) you remove all layers from the selected images.
Best, Paul Steunebrink / Image Alchemist
You are spot-on and fast. Thanks a bunch!