Capture One Levels (part 3)
The Capture One Levels tool is your next stop in your adjustments workflow after you have set exposure and contrast. But what does the Levels tool actually do and why is it so important to use this tool in Capture One? We started with part 1 and continued with part 2. Now in this last part we look at the Levels channels Red, Green, and Blue. Read on.
Color Channels Of Capture One Levels
If you would ask me what are color channels for in the Levels tool, I would say it is for optimizing colors. Optimizing here means:
- removing a color cast
- adding a color cast, also known as toning
- creating intense colors
I am aware that the Color Balance tool is great for toning as well too, in particular since its make-over in Capture One Pro 8.2. Some great resources that cover toning with Levels are a blog from the Phase One Image Quality Professor about toning in Levels by Tomasz & Krzysztof and my blog The Secret, yet Powerful, Color Editing Tool.
Intense Colors
I regularly get positive remarks on the look of my images and I believe that Capture One deserves much credit for that in terms of adjusting and processing. It is obviously an awesome tool but how do you use it for the best? Today, I am now going to share one of my Capture One secrets with you.
Since Capture One Pro 8.0 you can use the Levels’ Auto Adjust not only for the RGB channel, but for the respective Red, Green, and Blue channels as well. I was really happy with this addition as I used this feature manually for some time in Capture One Pro 7. As I explained in part 2 of this series on Levels, you can set the Levels’ Auto Adjust mode in the Preferences > Exposure tab as well as the threshold.
Levels RGB Auto Adjust
I show you an example of a low contrast image with a blueish cast, before and after the Levels RGB Auto Adjust. Note this is the default Auto Adjust we have in Capture One Pro for many years.
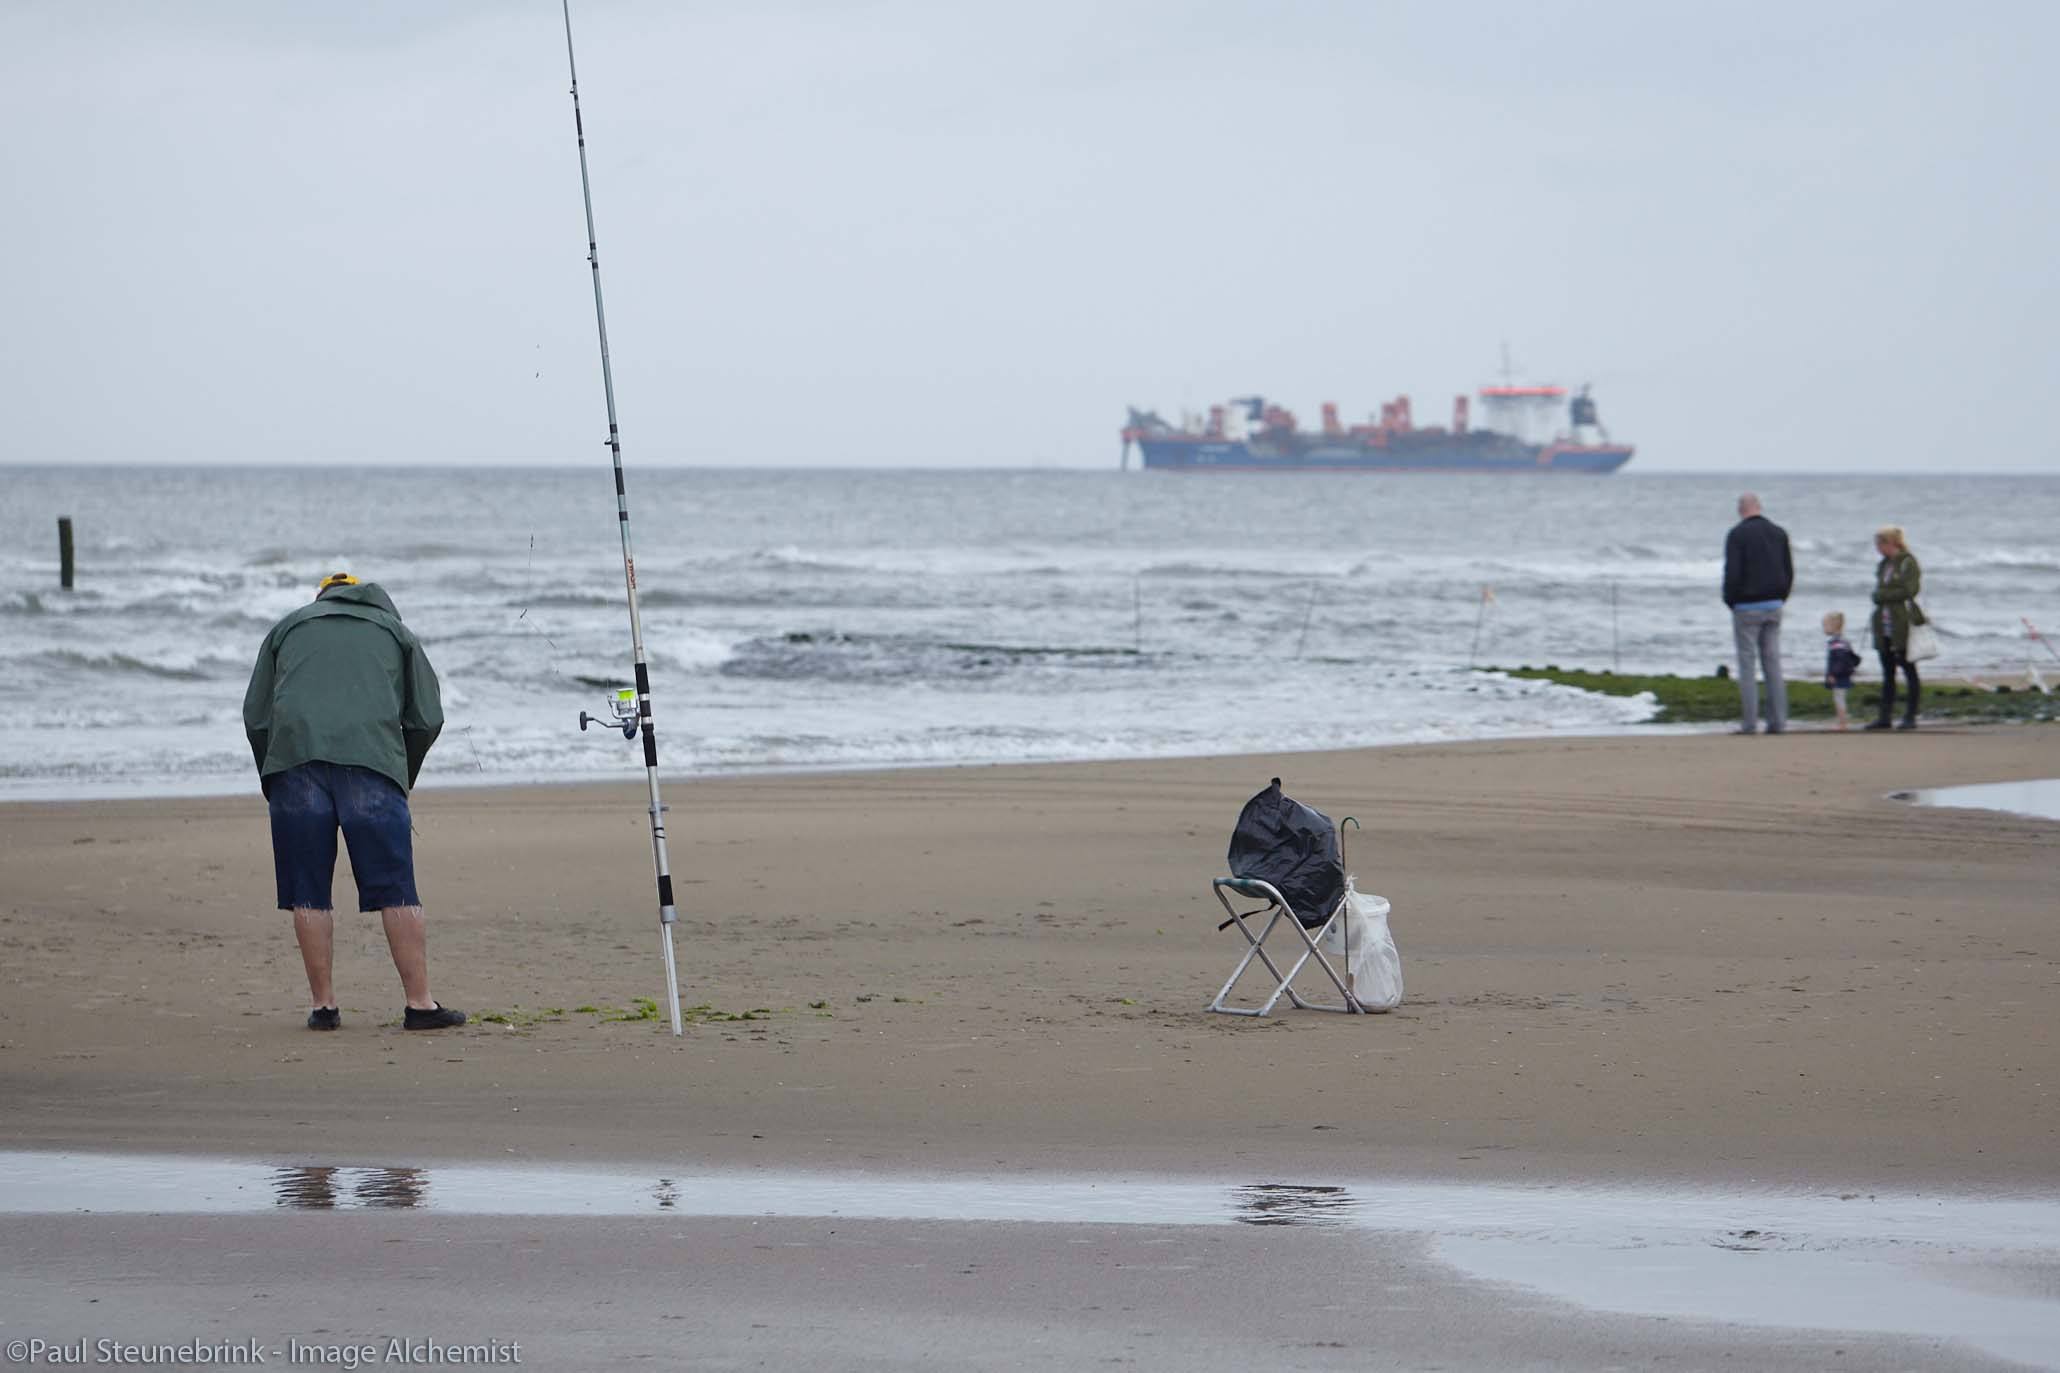
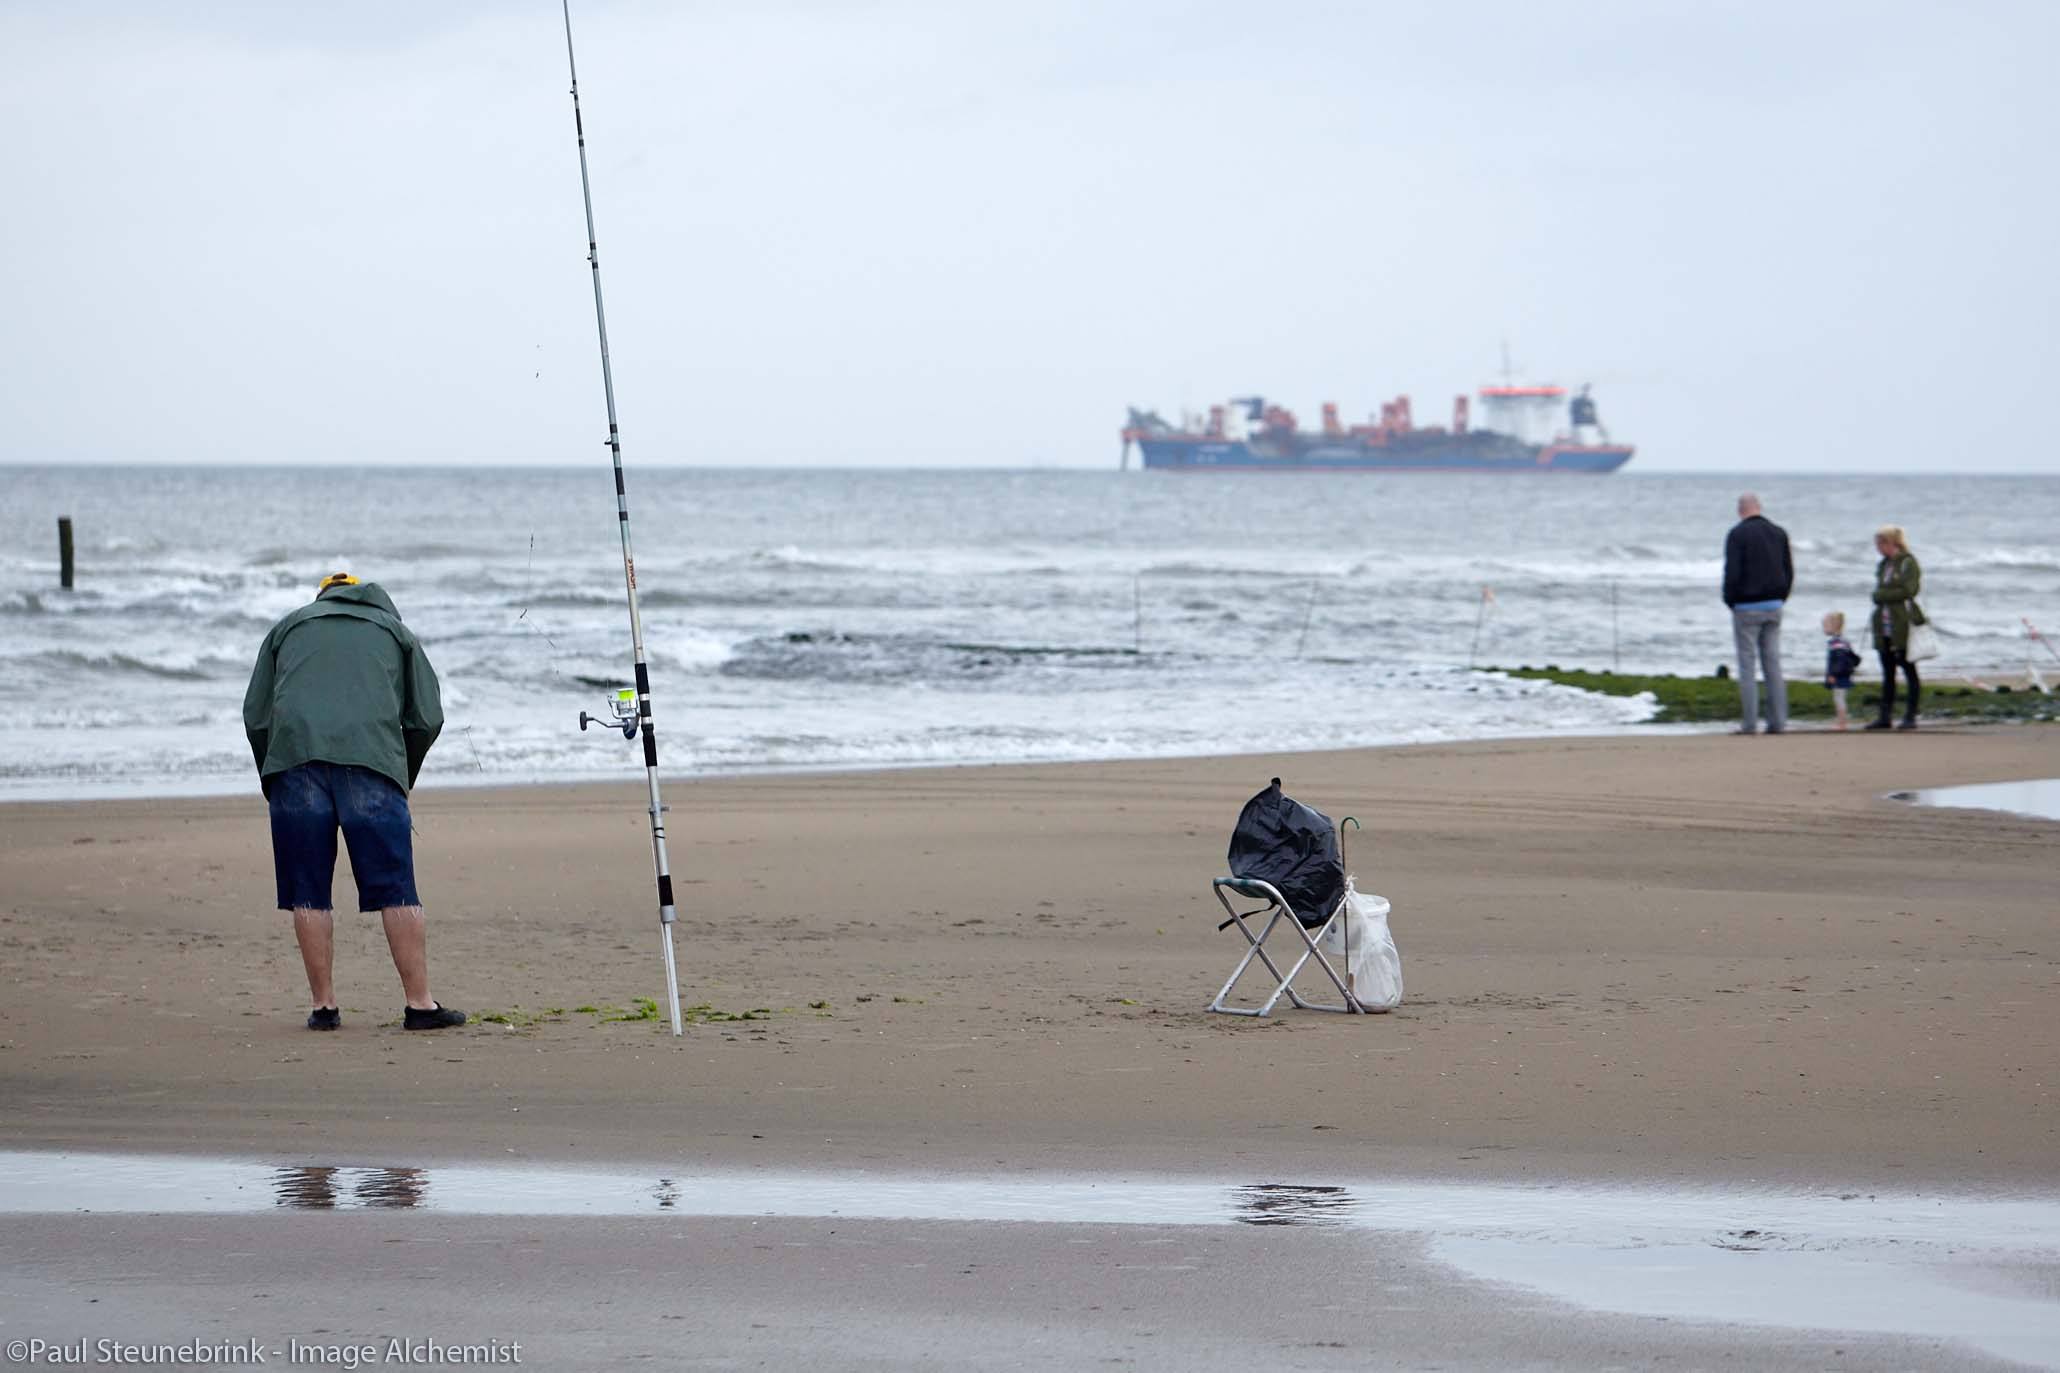
You can see the image significantly improves but the blue cast is still there and colors are not clearly defined. The reason is that both the Shadow and Highlight Levels of the three color channels are quite different but Auto Adjust is conservative to prevent any clipping in any channel.
Levels Channels Auto Adjust
In the next comparison, I show you the same Levels RGB Auto Adjust from above as the before image and compare it against the Levels R-G-B Channels Auto Adjust (after). Now I include the Levels tool in the image.

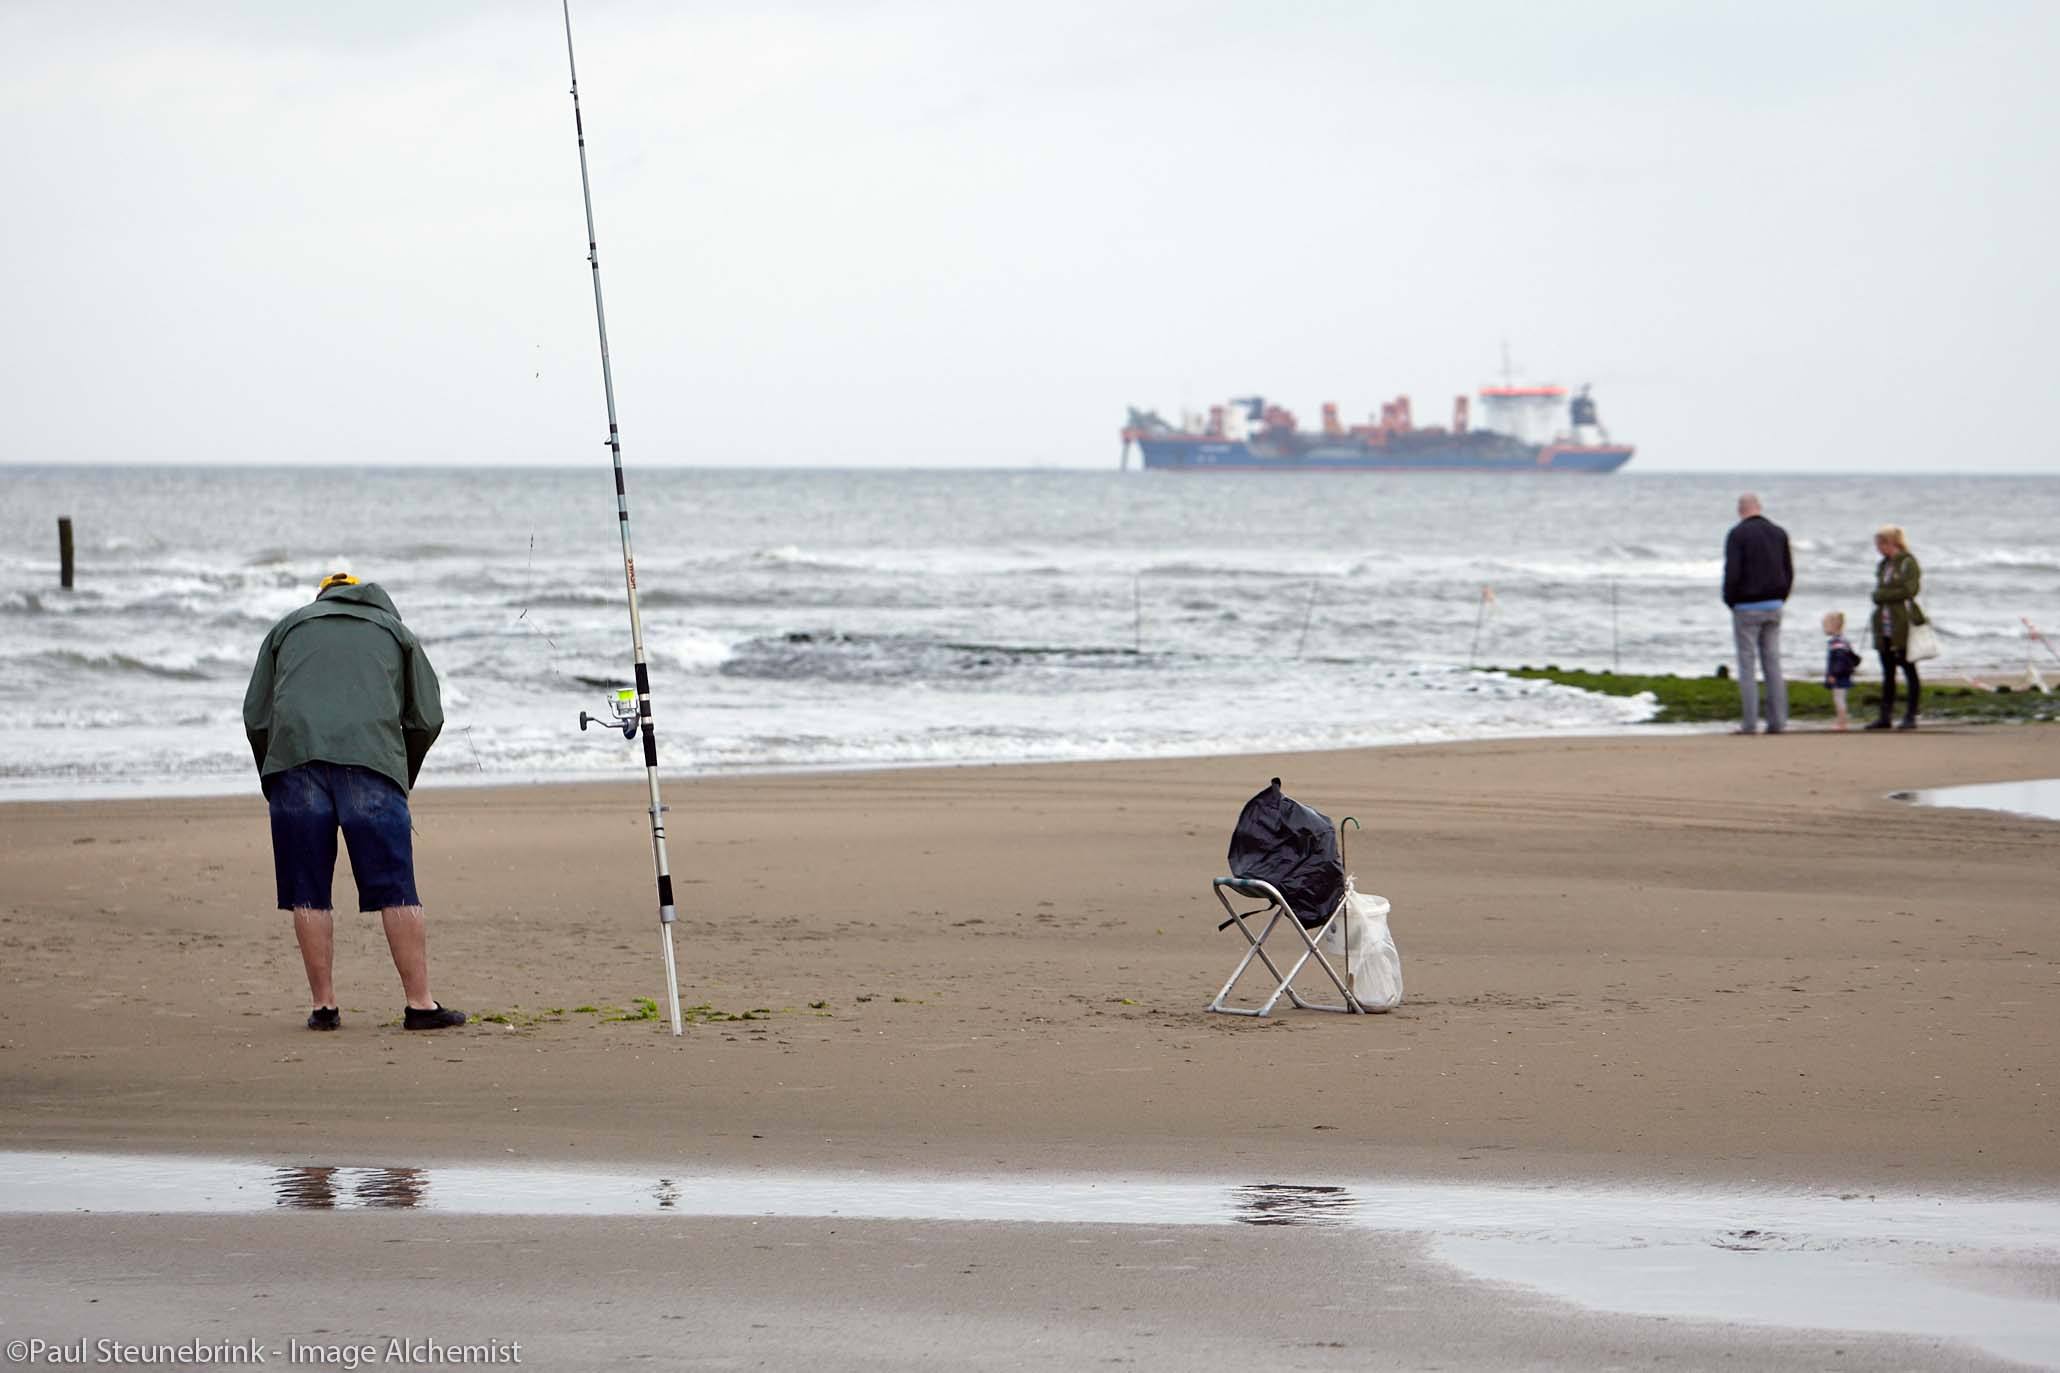
The blue cast has disappeared and colors come to life because each channel is separately adjusted for its Shadow and Highlight Levels. As a result, the image colors show as more intense.
Note however that you might need to adjust the White Balance. However, sometimes the white balance is better then it was before. As a result, Levels’ Channels Auto Adjust is also great for removing a color cast. Be warned however that it is not an ‘always better’ solution. A moody sunset image can be ruined with this mode for auto-adjust.
Tip
Maybe you like the R-G-B channels Auto Adjust as much as I do, but don’t like it all the time. Unfortunately, switching between both modes of Auto Adjust through the Preferences is a bit cumbersome or unwieldy. A workaround I use is that I set the Levels tool mode to the R-G-B Channels in the Preferences.
The generic Auto Adjust from the Edit menu, however (shortcut Cmd+L for Mac, Ctrl+L for Windows) always works in the RGB-mode. Because I use this command seldom, I configured it that it only affects the Levels tool. Now I have both modes available at any time without the need to switch modes in the Preferences.
Update: in later versions of Capture One the generic Auto Adjust from the Edit menu follows the selected channel mode.
Tip
Did you see the floating Levels tool, four times or one for each channel, in the image above? Very handy when working with channels. Set it up and save it as a Workspace.
Tip
When you start working with the different channels, you will soon have the need to reset a specific channel and not all channels. You can achieve this by pressing the Cmd-key (Mac) or Control-key (Windows) while you click on the reset arrow in the tool.
Capture One Levels Channels Presets
Capture One Pro does not come with built-in presets for the Levels tool. The Image Alchemist has created two extensive sets with presets for this tool. One set is for the RGB channel, the other set is for the Red, Green, and Blue channels combined. Both sets are complementary to each other. There is no overlap.
The Levels Channels set contains 115 presets for each color channel, containing 345 presets in total. A smaller subset is available for free and is a good way to start before you decide to buy into the full set.
The set mimics the different controls into the respective presets. Hovering your mouse over a list allows you to review the effect of each adjustment and select your choice with a click.
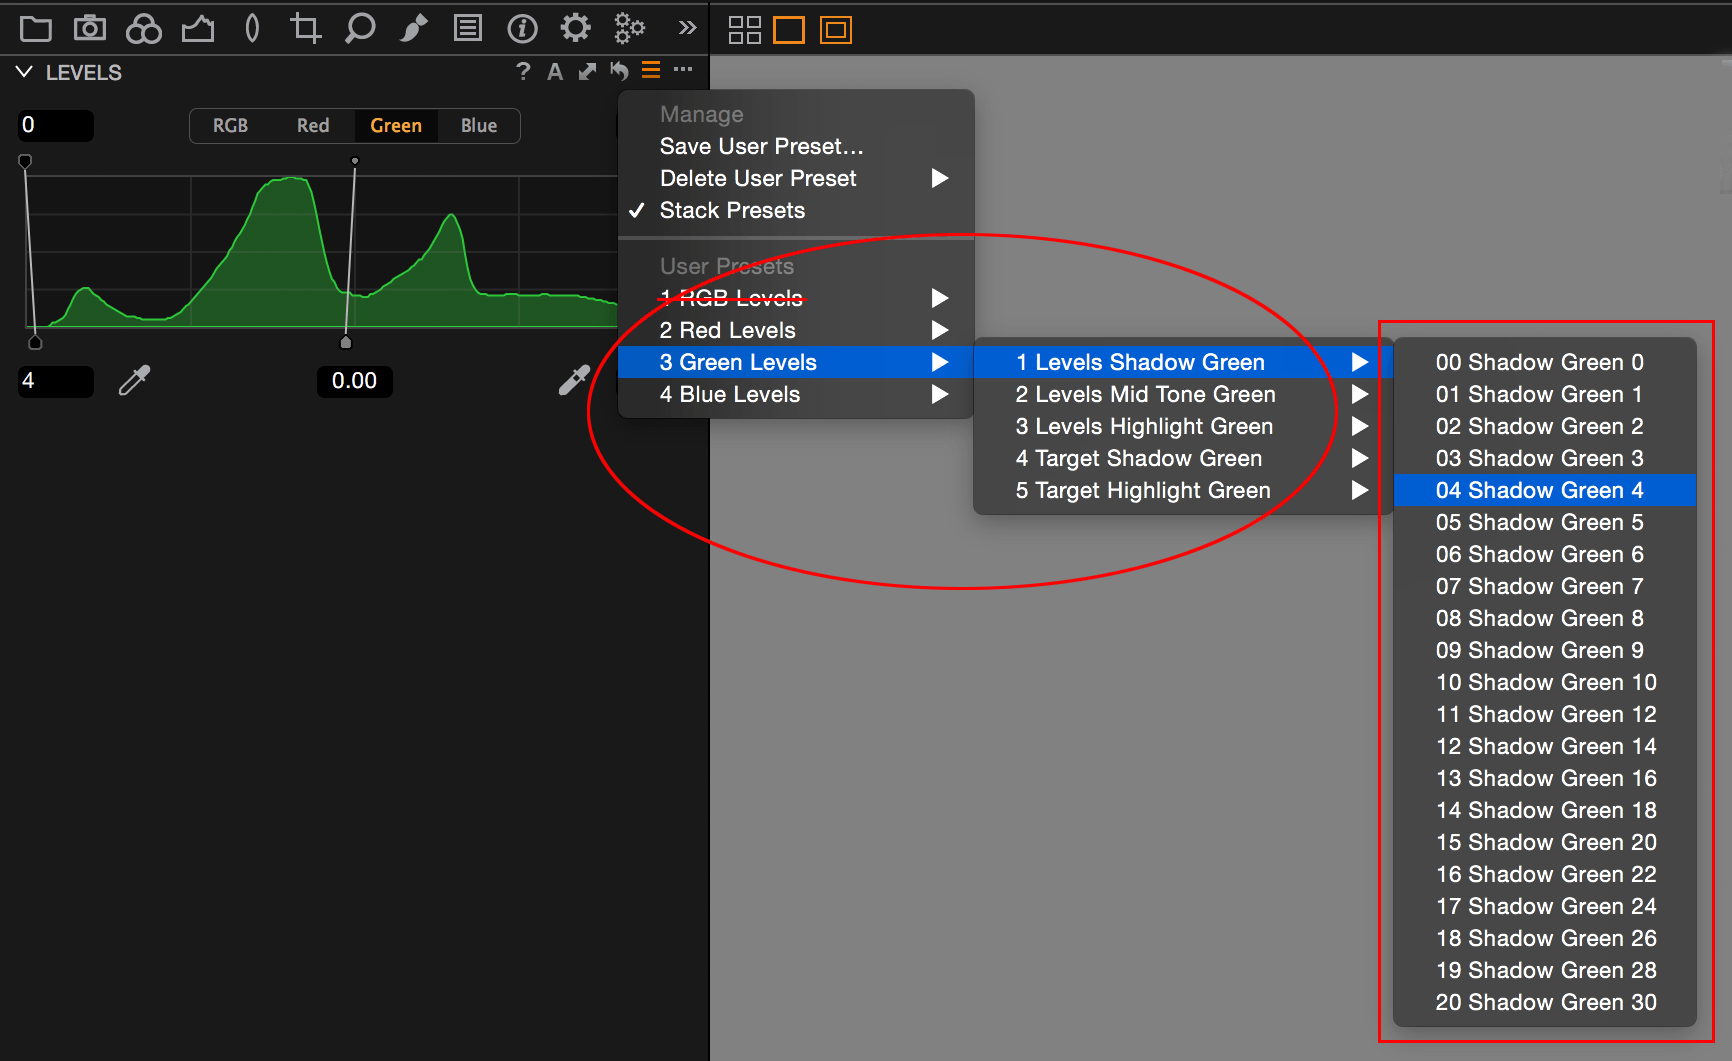
You will find the presets in 5 folders, one for each control. For the Red channel this will look like:
- Levels Shadow Red / Mid Tone Red / Highlight Red
- Target Shadow Red / Highlight Red
Note that the presets in this set work beyond normal operation. The preset save-option of the Levels tool allows you to select either the Levels (3 controls combined) and/or Target Levels (2 controls combined). Next, you can combine them independently through stacking.
With the set from the Image Alchemist, you have individual control of all 5 control handles. Even more, with stacking enabled, you can apply presets for all 5 controls independently and simultaneously. Note that this is currently only supported on Mac.
You are encouraged to run a test with the free trial set. Please visit the separate download pages for the Capture One Levels RGB and for the Capture One Levels Channels sets respectively.
Thank you
For reading. Please feel free to leave a comment. Like us on Facebook or subscribe to our newsletter to stay informed about new blogs.
Best Regards,
Image Alchemist








Great hint using R-G-B auto adjust. I didn’t know and just tried for a few different pics and seen some nice results. Thank you for sharing, really useful.
Hi Joachim, thanks for your comment. It is one of Capture One’s gems.
Best, Paul Steunebrink / Image Alchemist