Capture One Presets
Capture One Presets are the building blocks for a powerful workflow. This first post introduces the main features. You can learn the basics of presets in an earlier post Adjustments In-Depth.

Capture One Presets
In the coming months, I will explore with you the power of Capture One Presets. I will uncover what a Presets Workflow is and how you can get the most out of it.
Next, I will release the most comprehensive set of Presets in this part of the galaxy in incremental steps. Some will be free, others are yours for a modest fee and you can find them in our webshop.
Some Facts About Presets
- a preset is a predefined adjustment
- presets are tool specific
- a preset replaces any existing value (see note-1)
- stack presets for enhanced functionality (see note-2)
- presets are applied to all selected images (see note-3)
- a preset may contain the settings of all of the tool’s controls, or only a part (see note-4)
- an applied preset can be copied as a regular adjustment or as preset to other images
- both applying and removing a preset can be previewed before the change is made
The powerful nature of presets now comes to the surface, but hold your horses until you see how you can put this to practice. Let us have a look at how you can incorporate presets in your workflow.
Note-1: a Keywords preset is additive since Capture One Pro 9, as are some fields in the Metadata tool.
Note-2: I discuss Stacking Presets in-depth in Stacking Capture One Presets.
Note-3: Whether or not a Preset is applied to all selected images depends on the state of the Edit All Selected Variants toggle. If you are not familiar with it, I suggest you read Capture One Variants.
Note-4: Whether or not you can save tool controls individually depends on the options in de Save Preset dialog. Saving separately opens the ability to apply multiple presets independently. See note-2 on Stacking.
Why Presets?
What are the main benefits of using Capture One Presets in your workflow? Why use presets if you can drag sliders, checkboxes and click drop-down lists?
Because presets can improve your workflow considerably. Presets make you work per tool as before but make your work fast & easy, more precise & flexible, and more creative.
Fast & Easy
- with presets, you can adjust multiple images simultaneously; no copy/apply of adjustments needed
- with presets, you can apply complex adjustments with one click
- with presets, you can adjust multiple controls in a tool either simultaneously or separately
- on tools with tabs, a preset adjust the image independent from the selected tab first
- a preset is easier to undo than a manual adjustment
More Precise & Flexible
- with presets, you can make exact adjustments
- by stacking presets you have an adjustments history
- you can combine presets with manual adjustments
- presets can be copied/applied as a preset or regular adjustment
- presets makes it easier to create a consistent output

More Creative
- hovering over presets previews the adjustment before applying; see before you do
- keep your eyes on the image preview, not the tool’s sliders or buttons
- allows you to visually consider the best setting
- works similar for removing a preset
Minor Drawback
There is only one drawback in an effective Presets Workflow: you need to build all the necessary presets beforehand, logically grouped and organized, before the fun gets started. Not just a few presets, but a whole range of adjustments per tool or per slider. That is a lot of work!
Fortunately, there is a simple solution: I made these presets all ready for you. Not just a few but hundreds of them or no, more than a thousand. The presets of Image Alchemist are a collection that covers approximately 80-90% of the adjustments you would ever make with your tools.
Image Alchemist Presets
In the overview below I have organized the presets I am working on into six groups named Exposure, Color, Lens, Composition, Details, and Metadata, similar to the default tool tabs in Capture One Pro. Over time each item in the list will become a link you can click on. It directs you to the corresponding product page. In the meantime, I hope the list is appetizing and you will look forward to more to come.
When you see Buy/Try as a suffix to the tool’s name, it is available in the webshop. A limited set is free to get, the full set is available for purchase. When you see Free the full set is free of charge.
Color Tools
- Base Characteristics – Read
- White Balance – Read – Buy/Try
- Color Balance – Read – Buy/Try
- Black & White – Read – Buy/Try
- Color Editor – Read
Exposure Tools
- Exposure – Read – Buy/Try
- High Dynamic Range – Read – Buy/Try
- Levels RGB – Read – Buy/Try
- Levels Channels (Red-Green-Blue) – Read – Buy/Try
- Curve RGB-Luma – Read – Buy/Try
- Curve Channels (Red-Green-Blue) – Read – Buy/Try
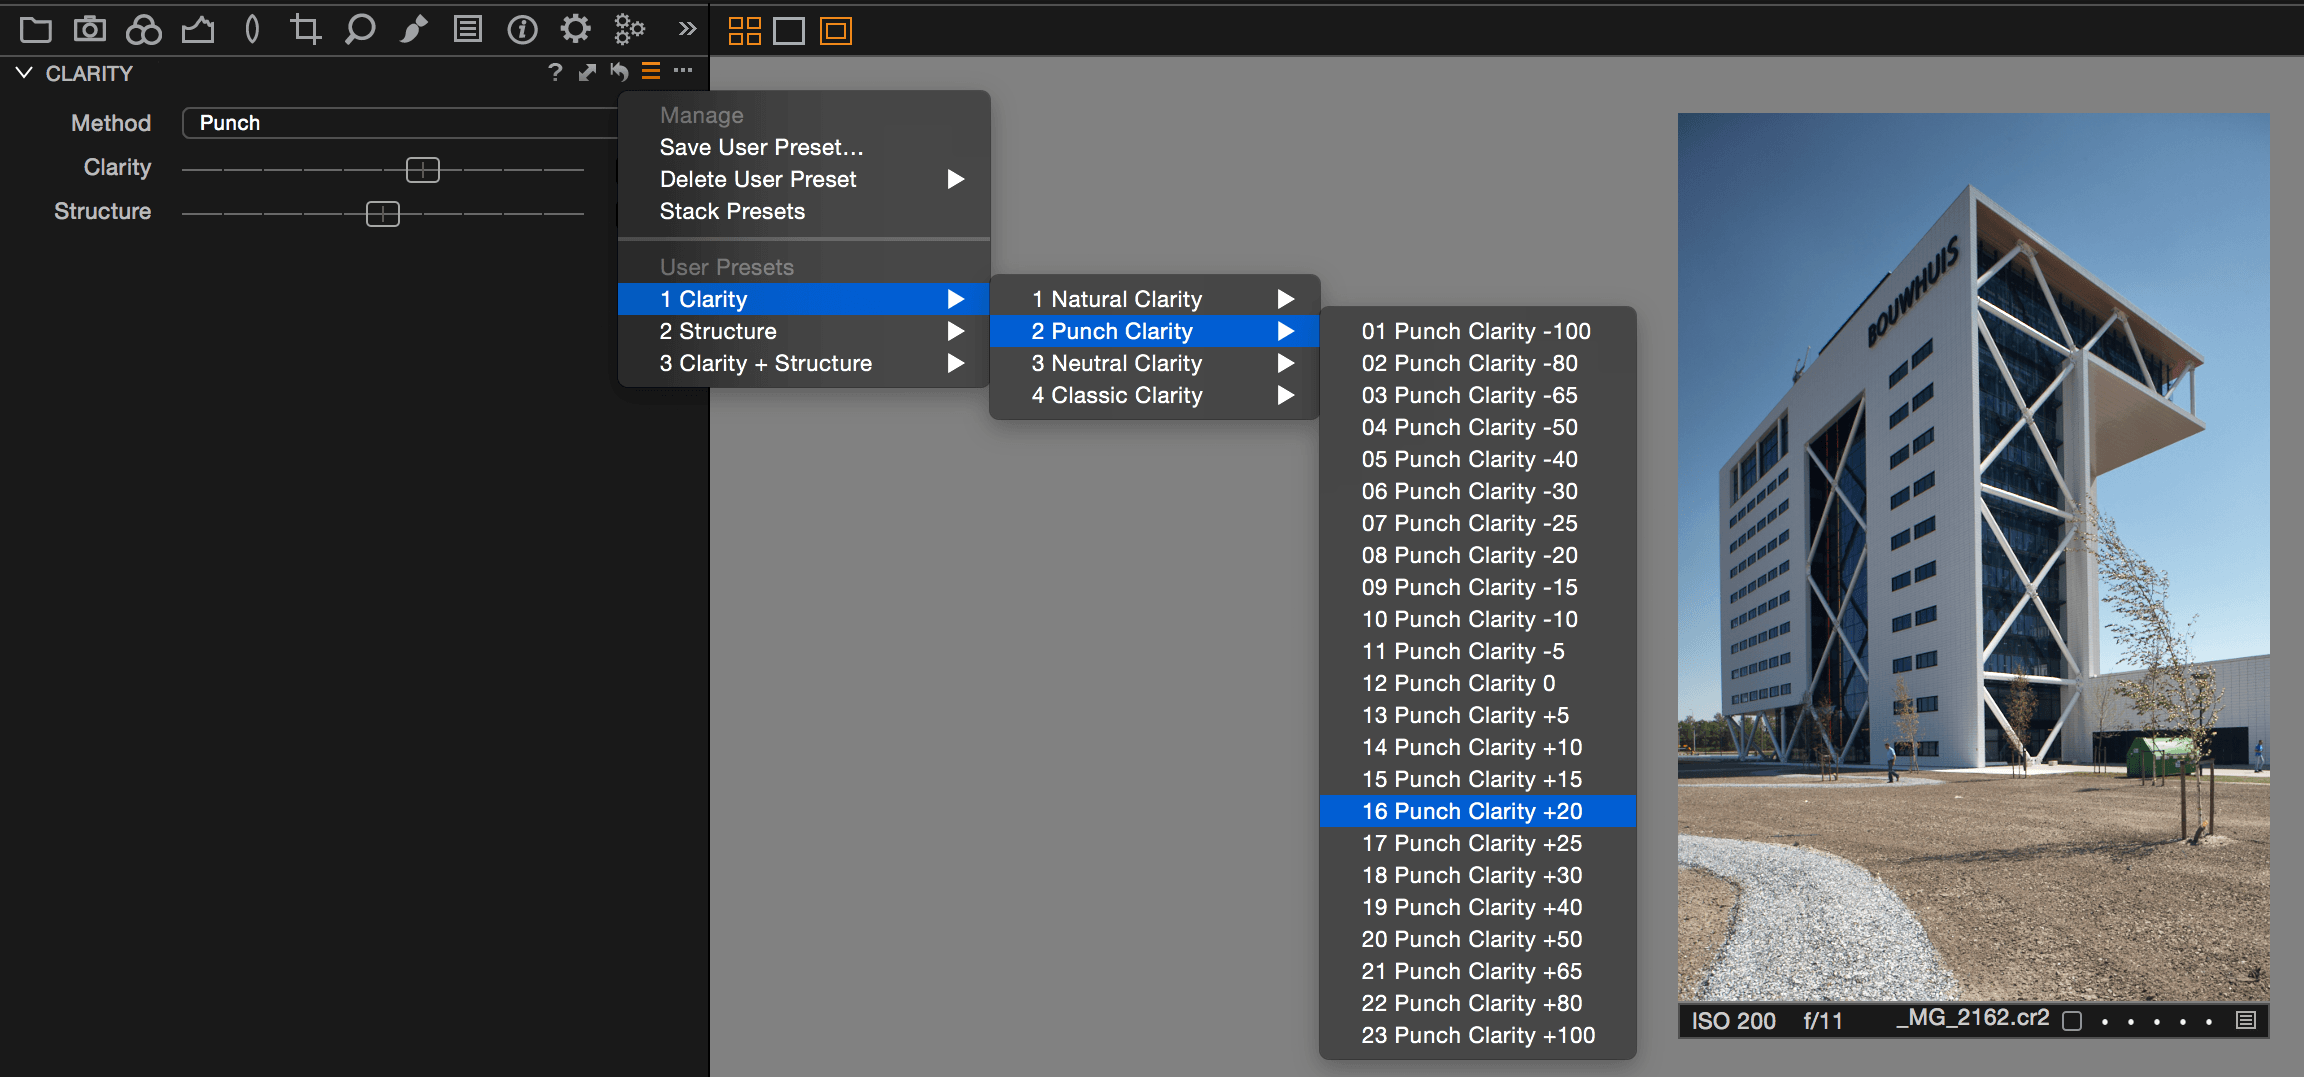
- Clarity – Read – Buy/Try
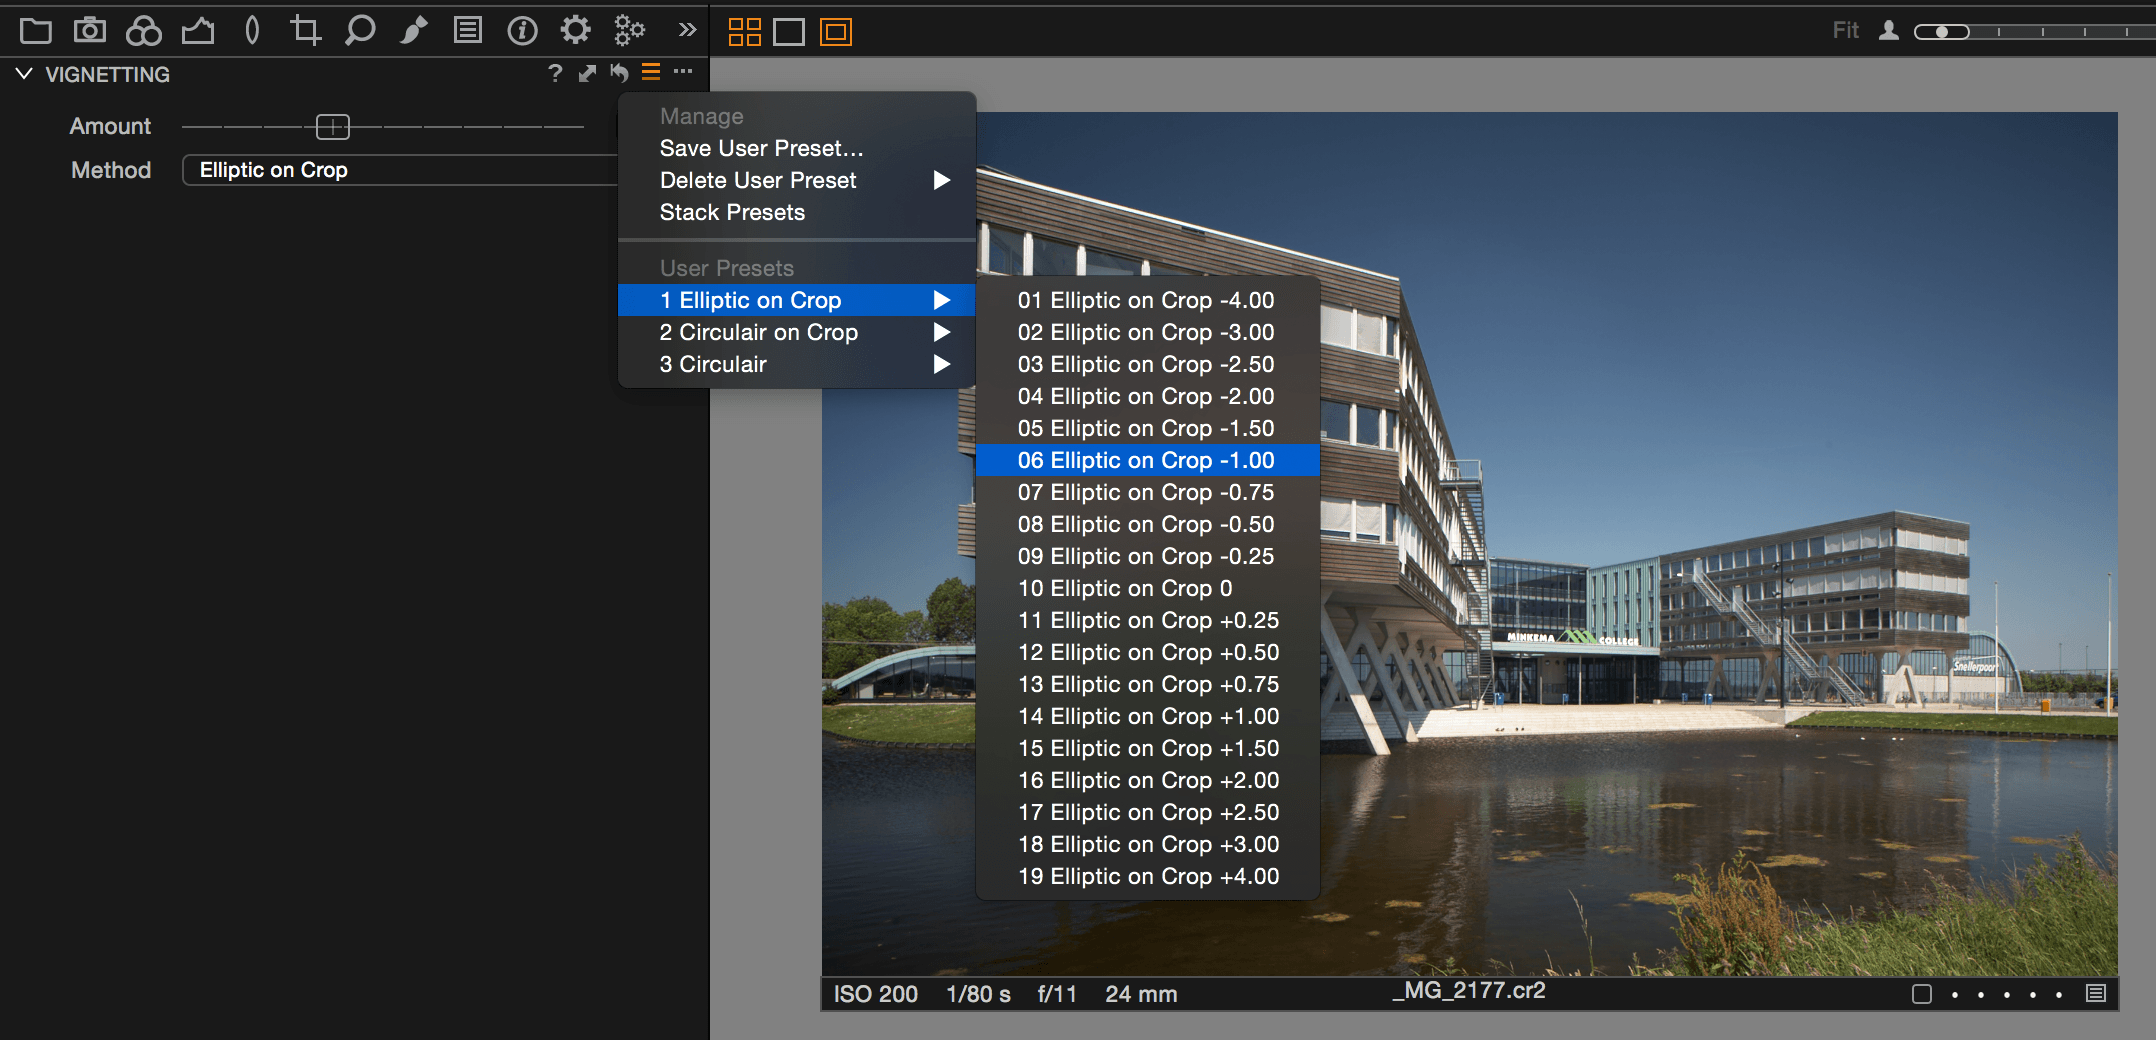
- Vignetting – Read – Buy/Try
Lens Tools
Composition Tools
Details Tools
Metadata Tools
- Metadata – Buy (free)
- Keywords
Thank you
For reading. Please feel free to leave a comment. Like us on Facebook or subscribe to our newsletter to stay informed about new blogs.
Best Regards,
Image Alchemist









Leave a Reply
Want to join the discussion?Feel free to contribute!